Inkscape Tutorial: Create Alexander Calder Style Geometric Art
Master Inkscape to design captivating geometric art inspired by Alexander Calder. Follow this step-by-step tutorial for abstract shapes, path division, and vibrant coloring.
What You'll Need
- Inkscape
- Alexander Calder
- geometric art
- drawing tutorial
- abstract shapes
- path division
- vector art
- Inkscape tutorial
- design tutorial
- geometric shapes
- Calder art
- divide path
- coloring shapes
- create art
- digital art
- graphic design
- Inkscape geometric art
- Inkscape abstract drawing
- Inkscape divide path
- how to create Calder style art in Inkscape
Step into the vibrant world of abstract art and learn how to create a stunning Alexander Calder-inspired geometric drawing using Inkscape. Alexander Calder, renowned for his kinetic sculptures and bold abstract paintings, often utilized simple shapes, primary colors, and a keen sense of balance to evoke movement and playfulness. In this Inkscape Alexander Calder drawing tutorial, you'll master fundamental vector art techniques to design your own captivating pieces.
This Inkscape tutorial for geometric abstract art will guide you through creating basic shapes, dynamically dividing paths, and applying a vibrant color palette to bring your vector art Inkscape creation to life. Whether you're a beginner or looking to refine your digital art skills, this guide will help you create geometric shapes Inkscape professionals use.
Estimated Time for Completion: 1-2 hours
Required Tool: Inkscape (free and open-source vector graphics software)
Prerequisites: Basic familiarity with Inkscape's interface is helpful but not required.
Setting Up Your Inkscape Workspace
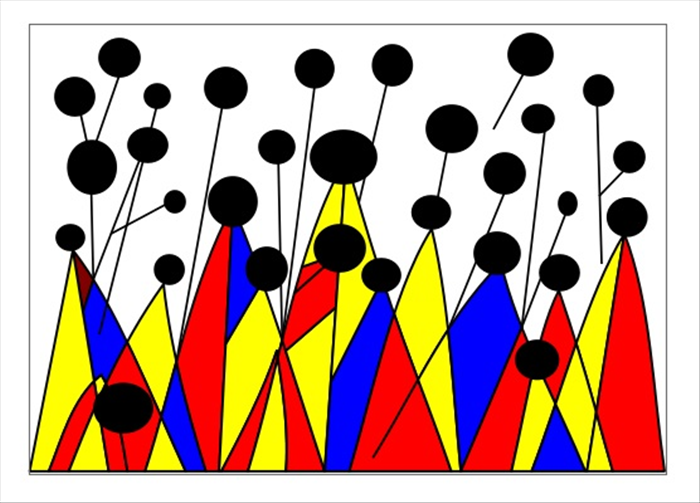
Begin by opening Inkscape and creating a new document (File > New or Ctrl+N). To ensure precise geometric drawing, configure your document properties and snapping options.
1. Go to `File > Document Properties` (Shift+Ctrl+D). Here, you can set your page size (e.g., A4, Letter) and display units (e.g., px for pixels, mm for millimeters). For vector art, choosing a standard unit like 'mm' or 'px' is suitable.
2. Enable snapping for accuracy. You'll find the snapping controls on the right side of the Inkscape window. Click the 'Enable snapping' button (it looks like a magnet). Then, enable options like 'Snap to cusp nodes' and 'Snap to grid' to ensure your shapes align perfectly as you draw and move them. This precision is key for creating clean Alexander Calder art tutorial designs.
Crafting Your First Geometric Base: The Triangle
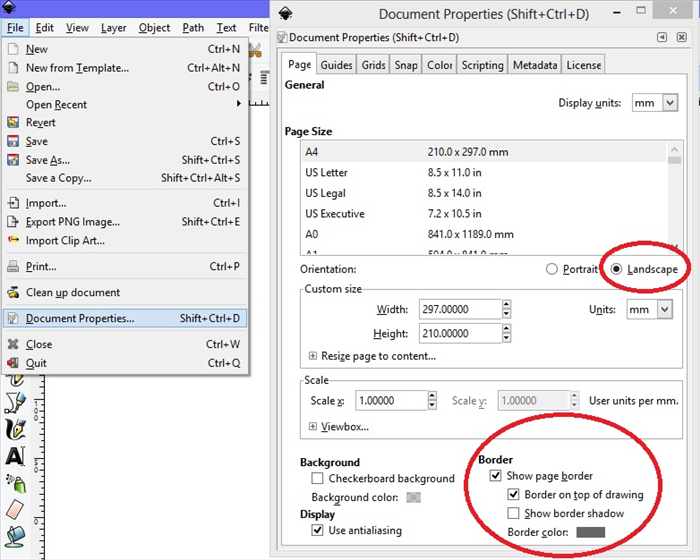
Our Calder-style geometric art often starts with fundamental shapes like the triangle. Let's create an equilateral triangle and begin forming a pattern.
1. Select the `Create stars and polygons` tool from the toolbox (it looks like a star, shortcut `Shift+F4` or `*`).
2. In the tool controls bar at the top, set `Corners` to `3` to create a triangle. Ensure 'Rounded' and 'Randomized' values are `0` for a perfect geometric shape.
3. Click and drag on your canvas to draw a triangle. Hold down `Ctrl` while dragging to ensure it's an equilateral triangle.
4. With the triangle selected using the `Selection tool` (S or F1), duplicate it by pressing `Ctrl + D` (Copy in place). You now have two identical triangles occupying the same space.
5. Move and rotate the duplicated triangle to start forming an interesting pattern. Experiment with overlapping and arranging multiple triangles to build a foundational structure for your Inkscape abstract drawing. Think about how Calder balanced elements in his mobiles and sculptures.
Dynamic Path Division for Multi-Color Shapes
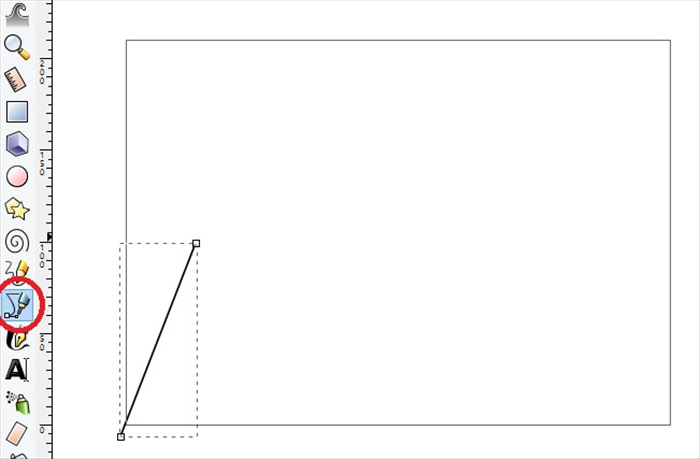
One of the most powerful techniques for creating intricate, multi-colored geometric designs in Inkscape is `Path > Division`. This allows you to cut one shape with another, creating separate sections that can be individually colored.
1. Ensure you have two overlapping objects. For example, use two of your duplicated triangles, or draw a rectangle partially overlapping one of your triangles.
2. Select both objects. You can do this by dragging a selection box around them or by clicking one, then holding `Shift` and clicking the other.
3. Go to `Path > Division` (the shortcut is `Ctrl + /`). The top object will 'cut' the bottom object wherever they overlap, resulting in separate path segments. The original top object will disappear, leaving the bottom object divided.
4. Now you can select the individual segments created by the division and apply different colors to them. This is how you achieve those distinctive multi-color shapes in your Inkscape geometric art.
Tip: For More Exact Divisions
When you need to make very precise cuts, especially for creating symmetrical or evenly spaced sections, use this method:
a. Select the line or object you want to use as a divider.
b. Duplicate it in place by pressing `Ctrl + D`.
c. With the duplicate selected, go to `Object > Transform` (Shift+Ctrl+M). In the 'Move' tab, enter a precise value (e.g., `30 mm` in the 'Horizontal' field) and click 'Apply'. This moves the duplicate exactly 30mm from the original.
d. Select the *original* dividing line and the object you want to divide. Perform `Path > Division` (`Ctrl + /`).
e. Now, select the *moved duplicate* and move it back by the same amount, but negative (e.g., `-30 mm` horizontally) using the Transform dialog, or create a new duplicate and repeat the process for another division. This allows for controlled, repeatable cuts.
Handy Shortcuts:
- `Ctrl + A`: Select All objects on the canvas.
- `Ctrl + K`: Combine Paths. This is useful for merging multiple selected path segments into a single, more manageable path.
Integrating Circles and Balancing Elements
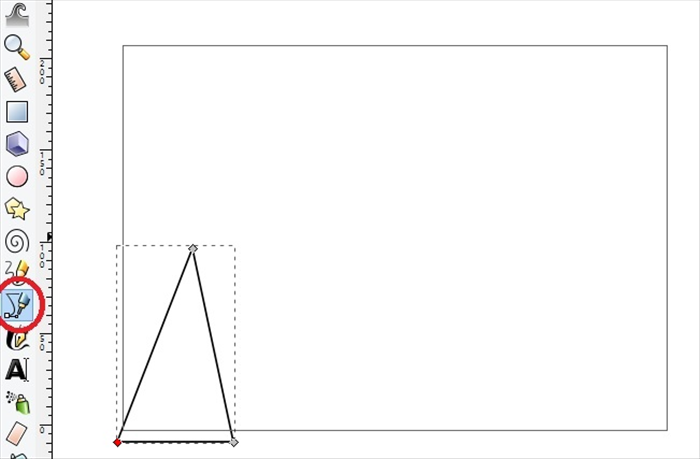
Calder's works often feature a harmonious blend of triangles, rectangles, and circles. Let's incorporate circles into your Inkscape design to add variety and balance.
1. Select the `Create circles, ellipses and arcs` tool (`F5` or `Shift+F5`).
2. Click and drag on the canvas to draw a circle. Hold down `Ctrl` while dragging to ensure you create a perfect circle.
3. Use the `Selection tool` (S or F1) to scale and position your circles strategically within your composition. Consider how they interact with your existing triangles and how they contribute to the overall balance and flow, much like elements in a Calder mobile.
4. You can also apply the `Path > Division` technique to circles. For example, draw a rectangle or line across a circle and divide it to create multi-colored segments within the circle itself.
Applying Vibrant Colors and Refinements
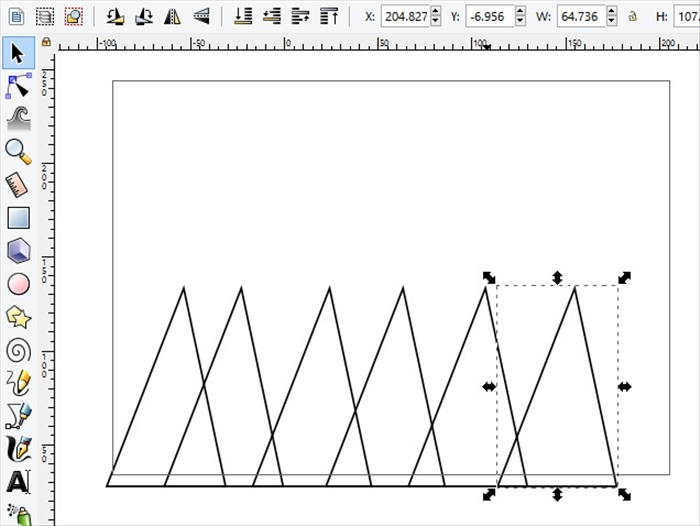
Now it's time to bring your abstract design to life with a vibrant color palette, reminiscent of Calder's use of bold primary and secondary colors.
1. Select an individual divided section of your shapes using the `Selection tool` (S or F1).
2. Open the `Fill and Stroke` dialog (`Shift+Ctrl+F`). This panel allows you to precisely control the color, opacity, and stroke properties of your selected object.
3. In the 'Fill' tab, choose a vibrant color. Experiment with primary colors (red, blue, yellow) and secondary colors (green, orange, purple) to create striking contrasts and harmonies. Avoid overly complex gradients unless that's your specific goal, keeping in line with Calder's generally flat color fields.
4. Repeat this for all the divided sections of your geometric shapes, building a compelling visual composition.
5. Once you're satisfied with the colors, you might want to remove the stroke (outline) from your shapes for a cleaner, more modern look. Select the objects, go to the 'Stroke paint' tab in the `Fill and Stroke` dialog, and click the 'No Paint' (X) button.
6. As you refine your Inkscape design, you can group related objects (`Ctrl + G`) for easier manipulation and movement. This helps keep your canvas organized.
7. Finally, review the overall composition. Check for alignment, color harmony, and ensure your artwork achieves the visual balance characteristic of Alexander Calder's unique style.
Congratulations! You've successfully completed this Inkscape tutorial to create an Alexander Calder-style geometric drawing. You've honed your skills in creating and manipulating shapes, utilizing the powerful `Path > Division` tool, and applying vibrant colors to construct a dynamic piece of vector art. This project serves as a fantastic foundation for further exploration in digital art.
What's Next?
- Experiment with Animation: Consider animating some of your shapes within Inkscape or a similar tool to mimic Calder's kinetic sculptures.
- Print Your Designs: Prepare your Inkscape geometric art for printing on posters, t-shirts, or other merchandise.
- Integrate into DIY Crafts: Use your designs as stencils for painting, patterns for fabric art, or templates for paper crafts.
- Explore More Abstract Styles: Apply the techniques you've learned to create art inspired by other abstract artists or develop your unique geometric style. Keep practicing and experimenting with Inkscape's vast capabilities!