DIY Color-Coded Book Covers for School | Easy Guide to Organize Kids' Textbooks
Learn how to make DIY color-coded book covers to help your child easily find school subjects. This simple guide helps parents protect books and boost organization for kids.
Getting ready for school often means tackling a mountain of new textbooks and notebooks. While exciting, it can also lead to disorganization, lost homework, and wasted time searching for the right subject. But what if there was an easy, fun, and creative way to keep everything in order? Enter DIY color-coded book covers! This guide will show you how to protect your child's school books while transforming their study routine into a streamlined, stress-free experience. Not only will color-coding help them quickly identify subjects, but it also fosters valuable organizational skills from a young age.
Gather Your Materials
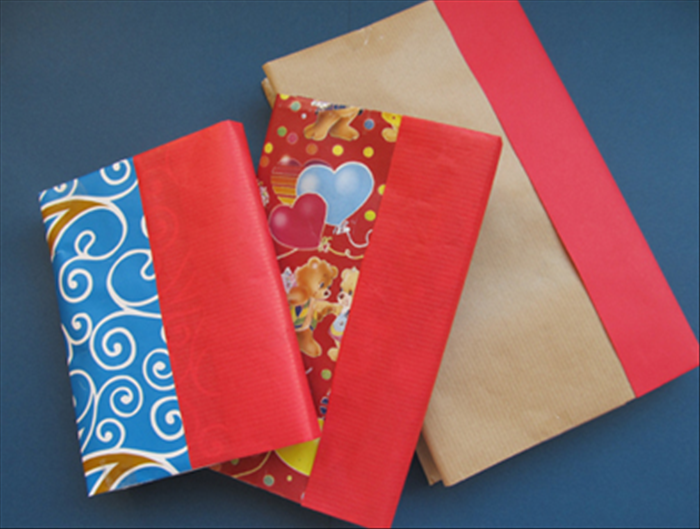
Before you begin, ensure you have a clean, flat workspace. This DIY project is simple, but having everything ready will make the process much smoother. Decide which covering material you'll use: pre-made plastic book covers for quick durability, adhesive contact paper for a sleek, protective finish, or sturdy brown paper bags for a customizable, eco-friendly option. Each has its benefits, so choose what best suits your needs and creative vision. Gather your scissors, ruler, pencil, and plenty of clear adhesive tape. Don't forget your color-coding supplies – whether it's a set of vibrant markers, colorful construction paper, or a collection of fun stickers, have them close at hand.
Measure and Cut Your Covering Material
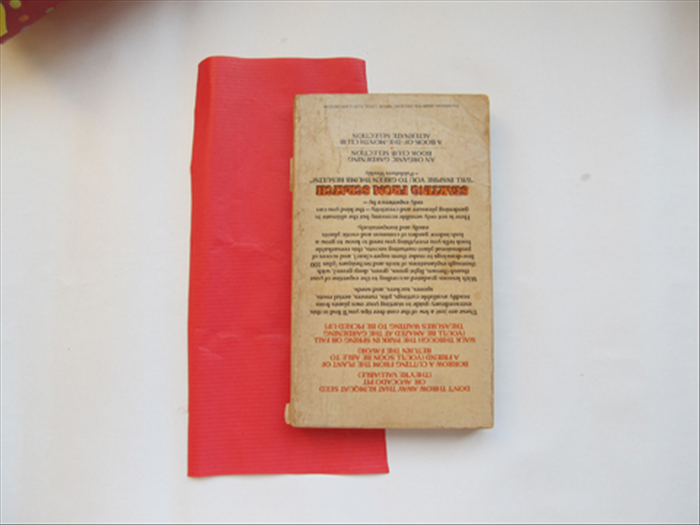
Accurate measurements are key for a snug and professional-looking book cover. Open your textbook or notebook completely flat on your chosen covering material. Using a pencil, mark the material, leaving an ample overlap of 2 to 3 inches (5-8 cm) on all sides (top, bottom, and along the open edges of the book). This extra material is crucial for creating the flaps that will hold your book securely. Once marked, carefully cut out the rectangle using your scissors. For plastic or contact paper, you might find it easier to score lightly with a craft knife and ruler before cutting.
Position and Secure the Book
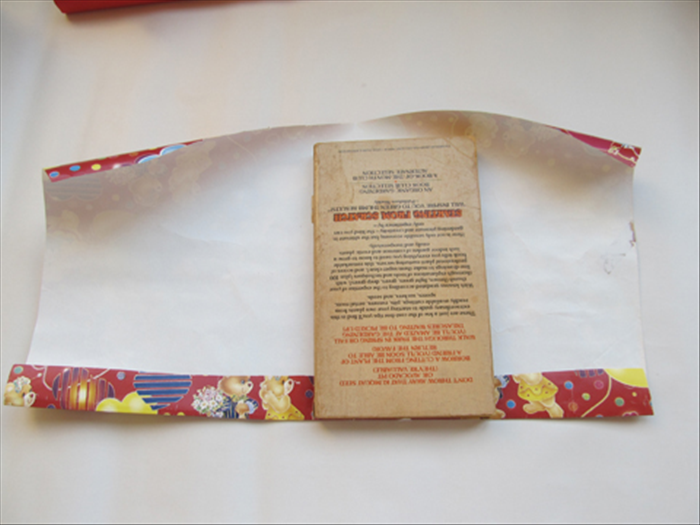
Now it's time to fit the cover. Center your opened book on the freshly cut material. The goal here is to create the primary creases that define the book's covers. Gently fold the excess material over the front and back covers of the book, ensuring the material is taut but not stretched. Using your fingers, firmly crease the material along the top and bottom edges of the book's spine and covers. These creases will form the backbone of your book cover, providing a custom fit.
Fold and Crease the Edges
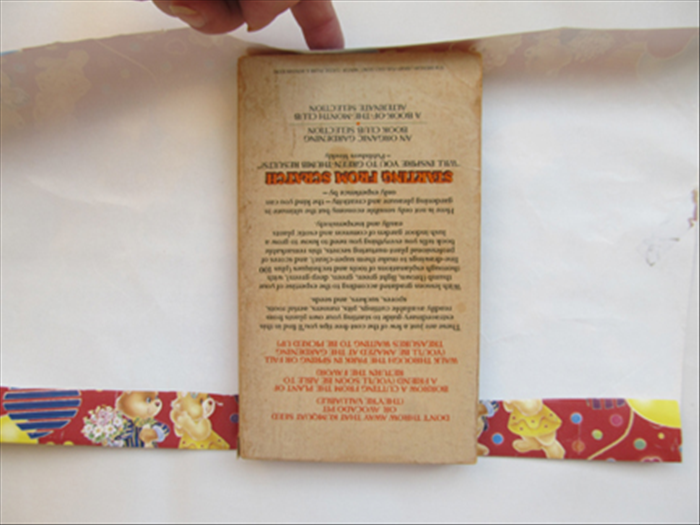
With the initial creases made, carefully remove the book from the material. You should now have clear lines indicating where the top and bottom of your book sit. Fold the top and bottom excess material inwards along these crease lines. Smooth out any wrinkles as you fold to create crisp, clean flaps. These flaps will eventually tuck inside the book's covers, holding it in place. For paper covers, you can make a small diagonal cut at the corners of these flaps to reduce bulk and allow for a cleaner fold.
Trim and Finish for a Neat Look
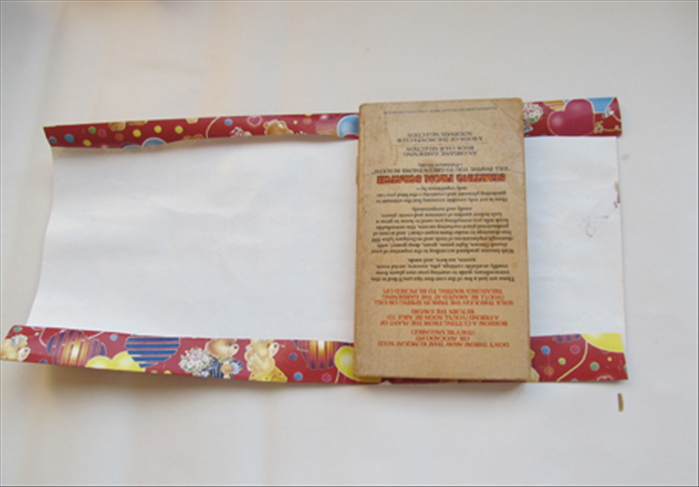
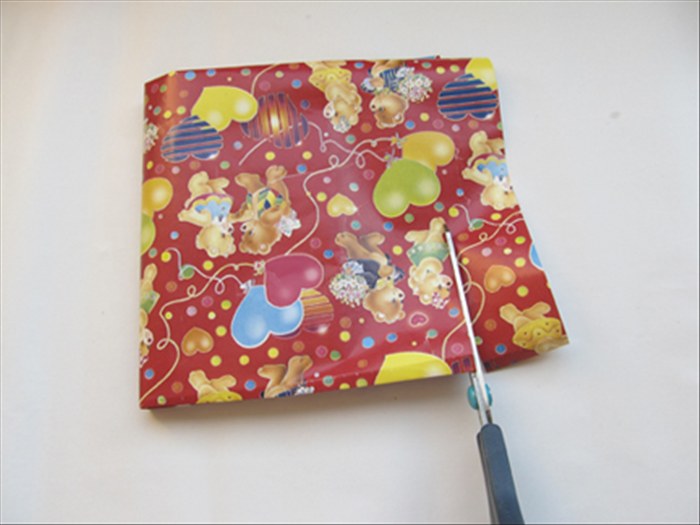
This step is all about perfecting your book cover. For paper covers, you might find some excess material that makes the fit bulky. Carefully trim any overhang, especially around the spine area, to ensure a snug and neat appearance. Once trimmed, use clear adhesive tape to secure all the folded edges and corners. This is especially important for paper covers to prevent tearing and add durability. If using contact paper, slowly peel back the backing and smooth it onto the book, pressing out any air bubbles as you go. For pre-made plastic covers, simply insert the book covers into the flaps.
Apply Your Color-Coding
Here's where the magic of organization happens! Assign a unique color to each of your child's school subjects. For example, red for Math, blue for English, green for Science, and yellow for History. There's no right or wrong system, just one that works best for your child. Once decided, prominently mark the book covers with their designated color. You can use large colored stickers on the spine, draw a bold stripe with a marker across the front, or even cut out colored shapes from construction paper and tape them on. The key is consistency and visibility, allowing for quick and easy identification.
Involve your child in choosing the colors for each subject! This gives them ownership of the organizational system and makes them more likely to use it.
Personalize Your Covers (Optional)
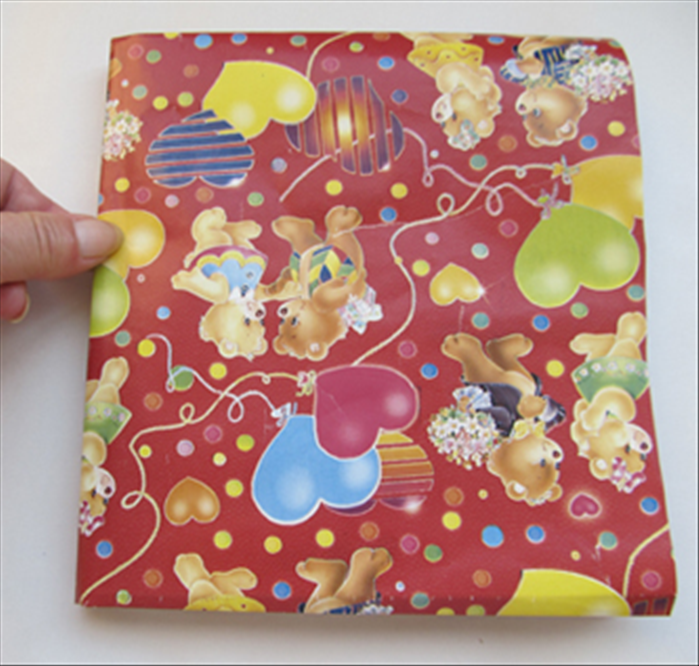
Make learning even more fun by letting your child personalize their new color-coded book covers! This step is optional but highly recommended to encourage engagement and creativity. They can add stickers related to their subjects, draw pictures, or simply write their name and the subject clearly on the front. Personalization turns a simple protective cover into a unique item they'll be proud to carry, making their school supplies truly their own. Don't forget to clearly write the student's name and the subject on the cover, especially if using a paper cover.
And there you have it – beautifully protected and brilliantly organized school books! DIY color-coded book covers are a simple yet incredibly effective way to bring order to the school year. This project not only extends the life of textbooks but also empowers children with essential organizational skills, reduces morning stress, and makes finding the right book a breeze. Enjoy the peace of mind that comes with a well-organized backpack, and watch your child thrive with their new system. For more ways to keep school supplies tidy, explore our guides on organizing school supplies and DIY desk organization ideas.