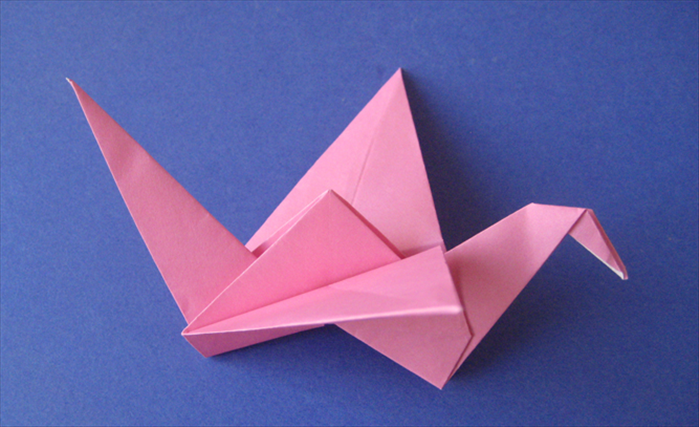
How to fold an origami flapping bird
This traditional bird model moves it wings when the tail is pulled up and down.
Medium 15,703 views
What You'll Need
- origami bird
- origami flapping bird
- paper bird
- origami toys
Steps
- 1
Step 1
 Materials: one square sheet of paper
 - 2
Step 2
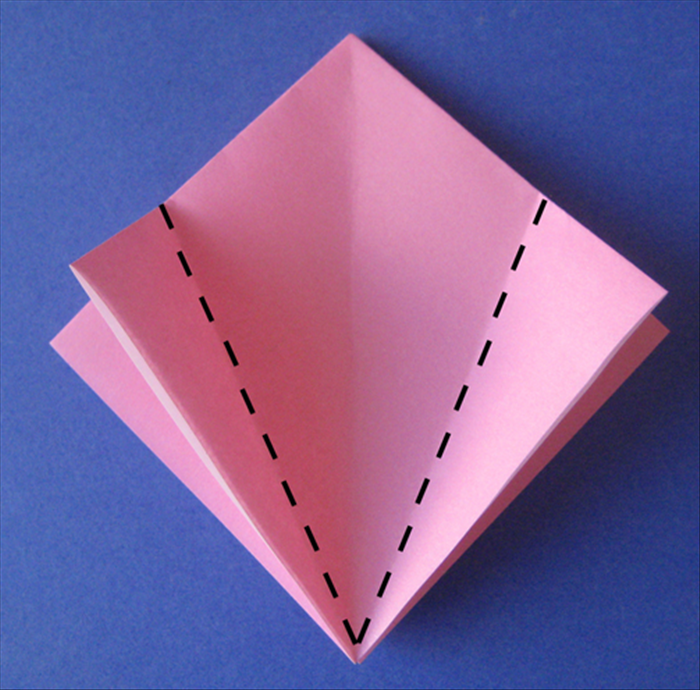 This model begins with the square base. See the instruction of how to make a square base if you do not know how With the open end of your square base at the bottom fold the 2 side points to the center crease
 -
- 3
Step 3
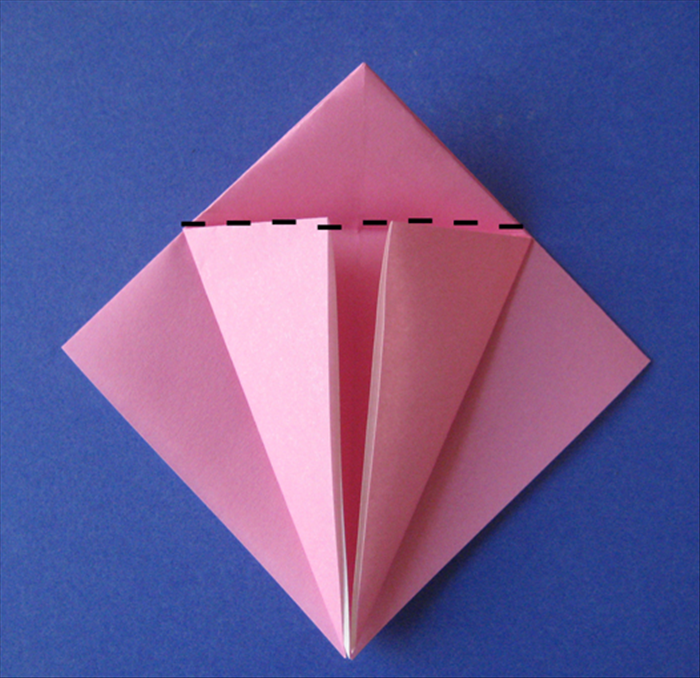 Fold the top point down along the 2 flaps you just made. Unfold Flip your paper over and repeat steps 2 and 3 on the other side.
 - 4
Step 4
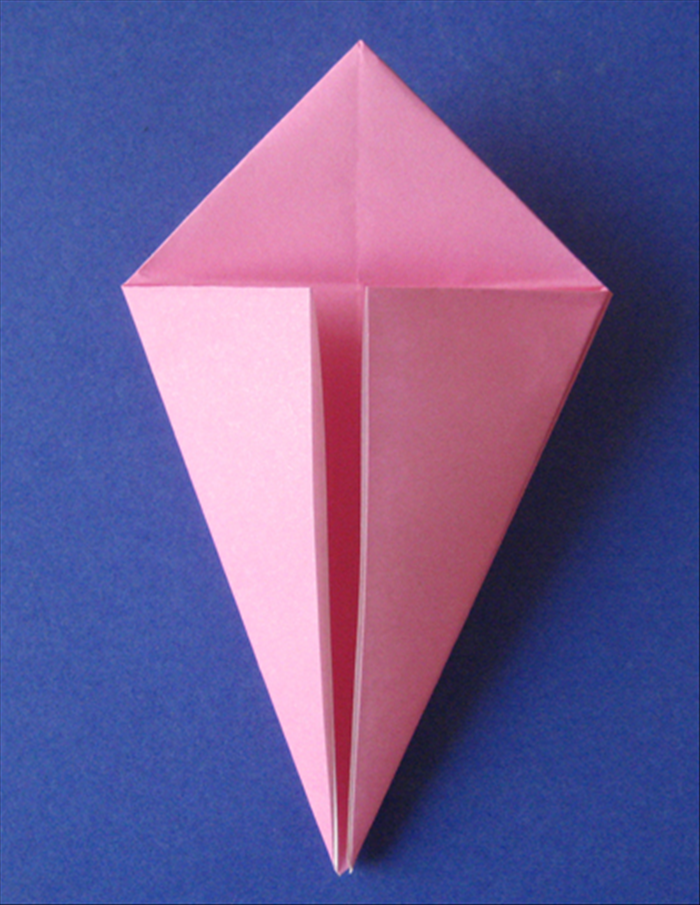 Result
 - 5
Step 5
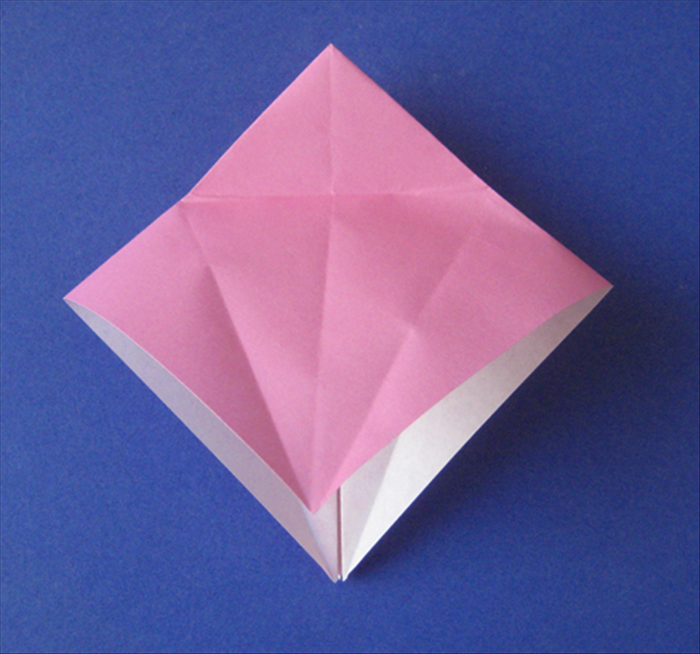 Unfold the flaps you just made in steps 2 to 4 and lift the top layer up
 - 6
Step 6
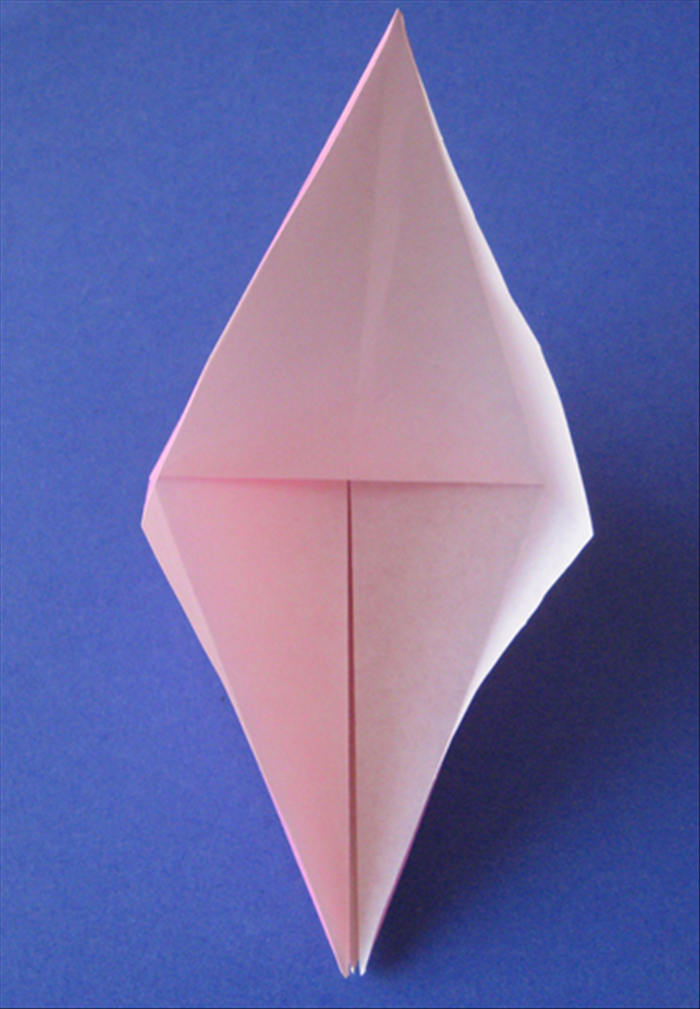 Press down on the horizontal crease and push the sides sticking up to the center along the creases.
 - 7
Step 7
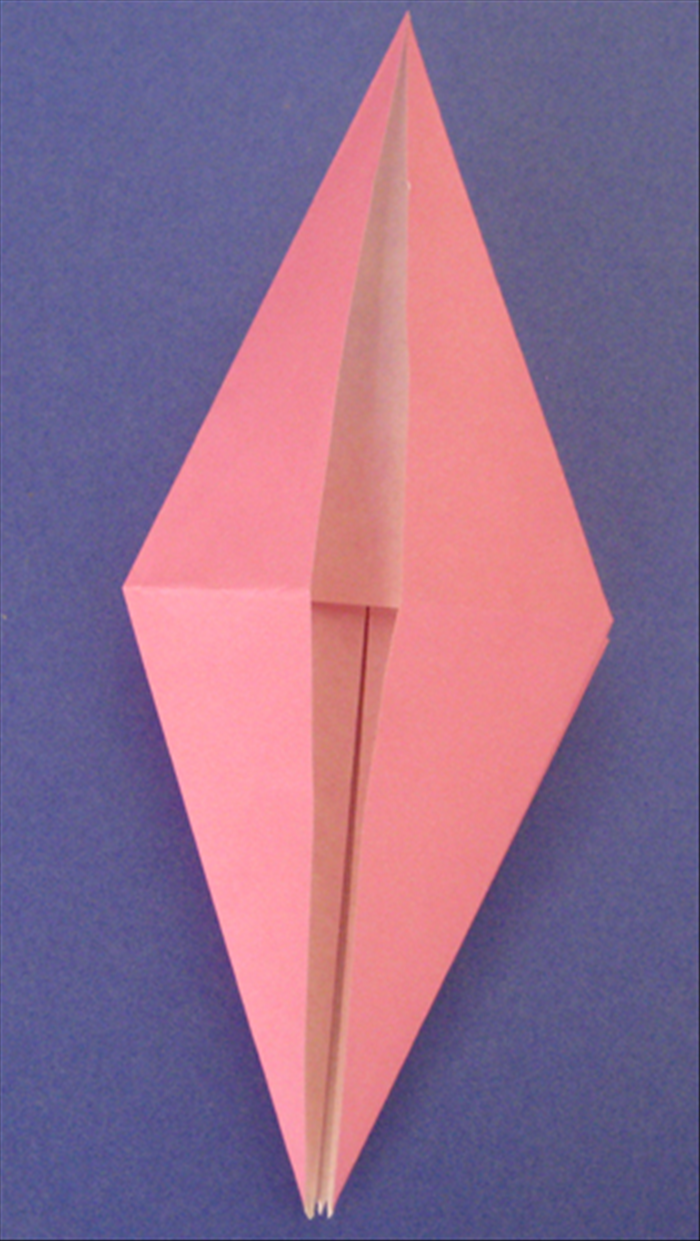 Result Flip the paper over and repeat steps 5 and 6
 - 8
Step 8
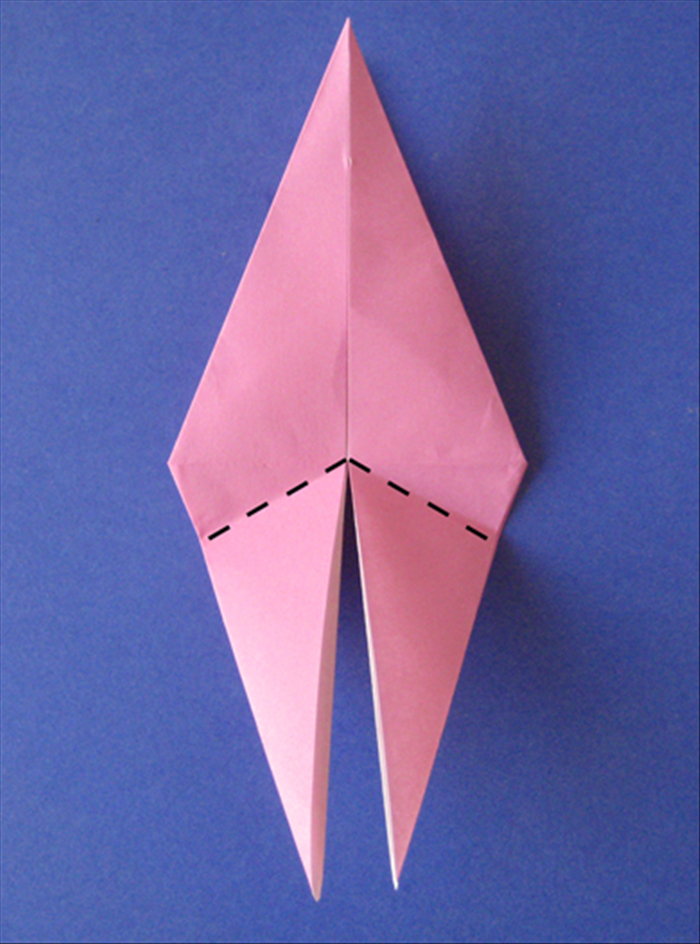 Fold both parts of the bottom up at an angle as shown in picture.
 - 9
Step 9
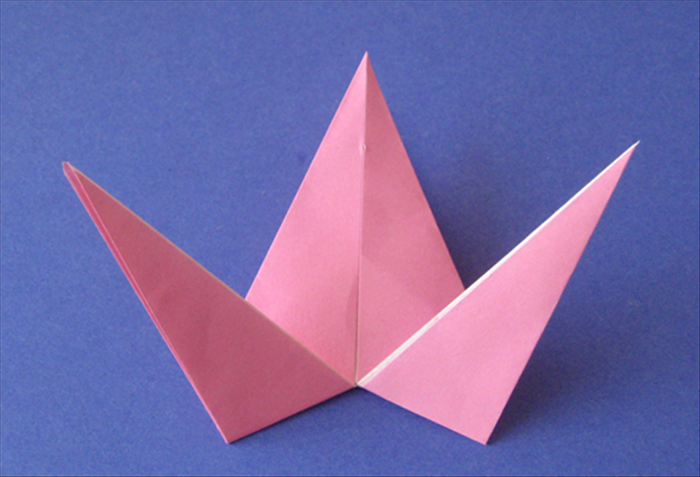 Result Unfold
 - 10
Step 10
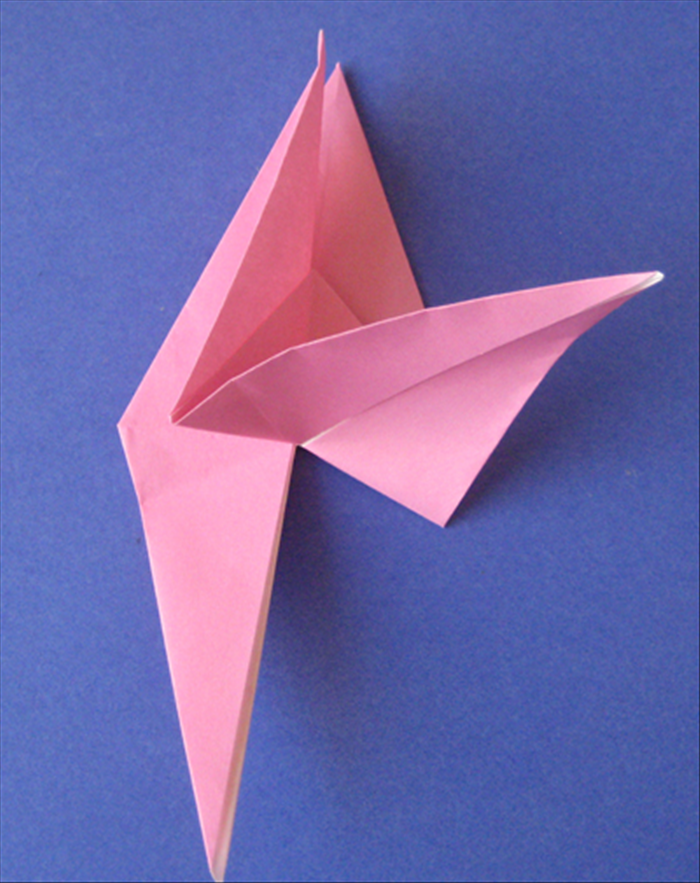 and push the left flap to the right side at the same time
 - 11
Step 11
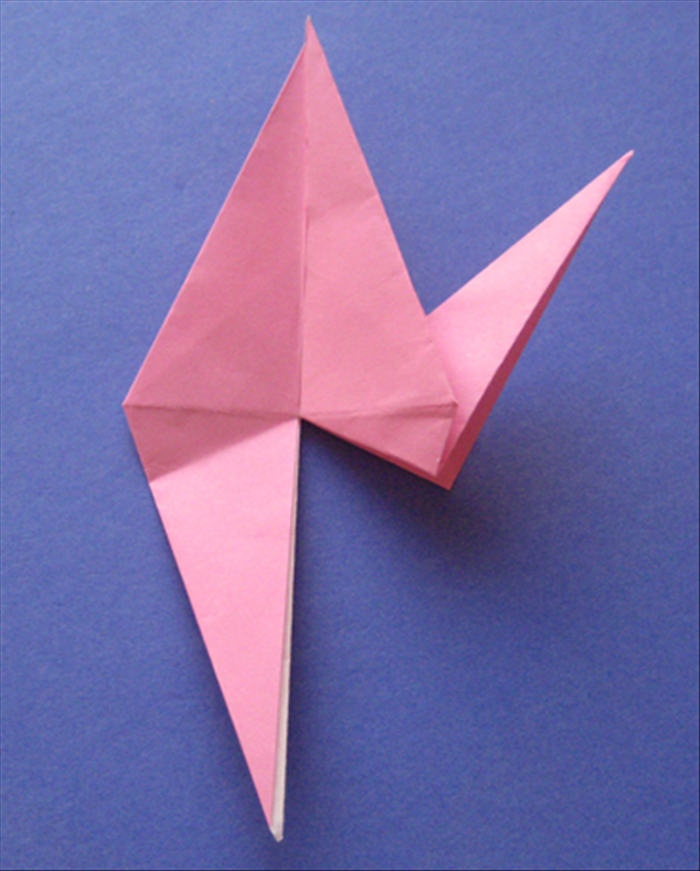 Result Repeat steps 10 to 13 on the left side.
 - 12
Step 12
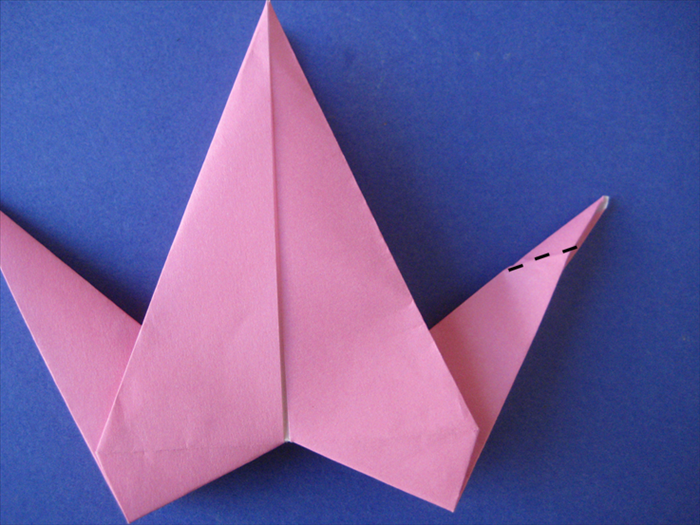 Make a slanted crease for the head. Pull the right side open a little. See next picture of the view from the inside
 - 13
Step 13
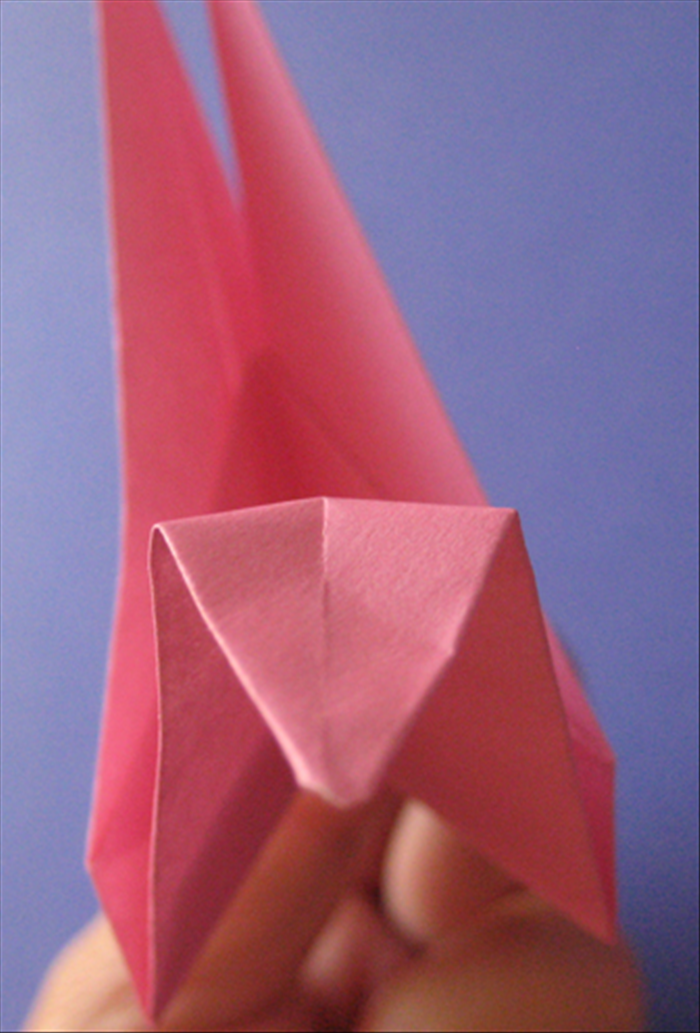 Fold along the crease you made for the head and reclose the layer you opened. See next picture for the angle and result.
 - 14
Step 14
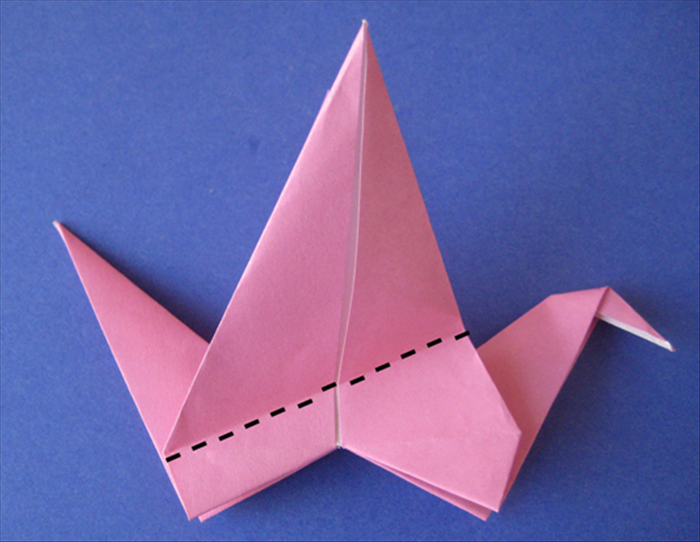 Fold the wing down at an angle. Flip the paper over and fold down the other wing to match. Pull the wings up.
 - 15
Step 15
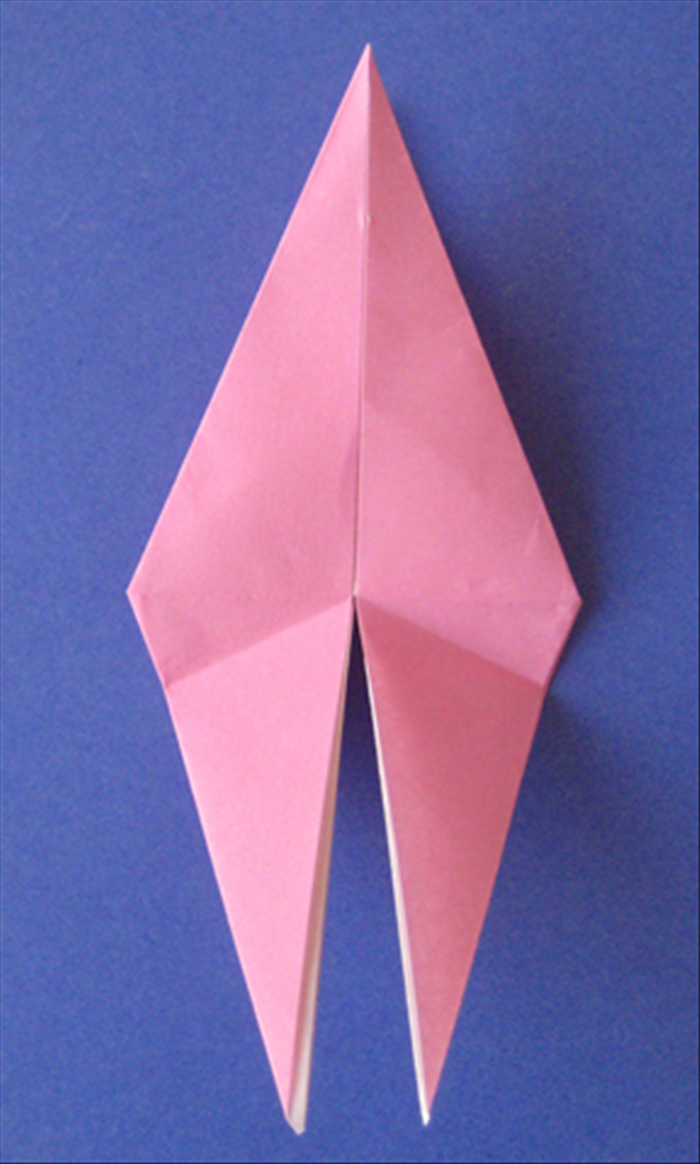 Fold the right flap to the left as you would a page in a book.
 - 16
Step 16
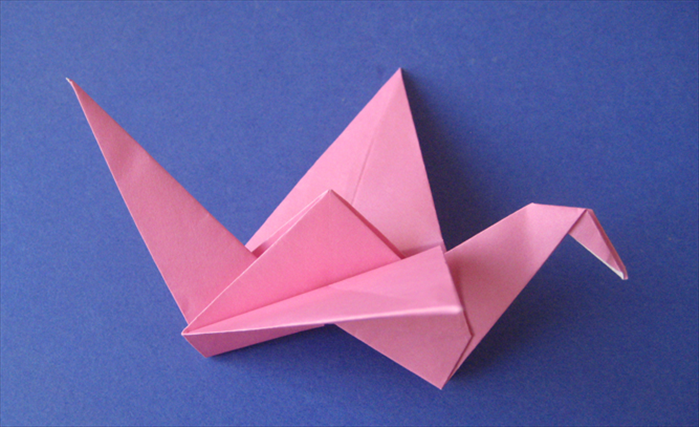 Your flapping bird is ready to play with! Hold the bird at the center bottom and pull the tail up and down to see the wings move.
 - 17
Step 17
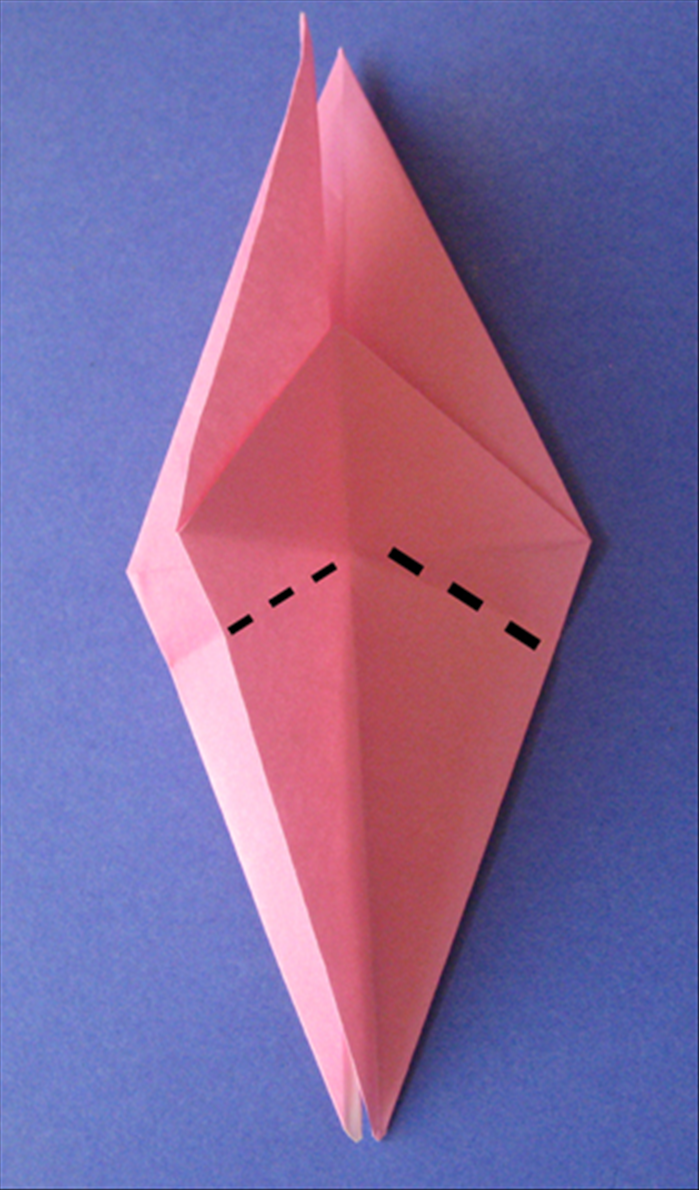 Bring the bottom point up along the crease