How to make a greeting card with a pop-up star
This guide will show you and easy way to draw a star and how to make a greeting card that has the star pop-up out when you open it.
What You'll Need
- pop-up card
- pop-up star
- greeting card
- Hanukah
- Hannukah
- Christmas
Steps
- 1
Step 1
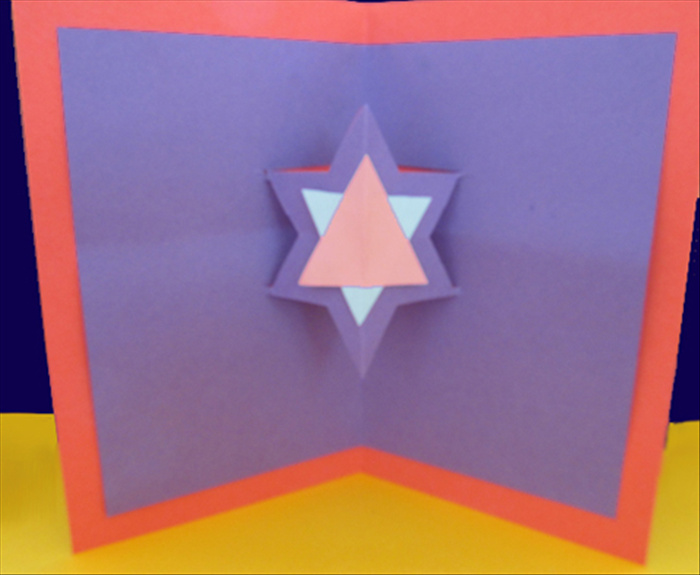
Materials:
2 squares of scrap paper of equal size – 3 3/4 inches X 3 3/4 inches
Scissors
1 thick paper 7 inches X 9 inches
1 thick paper of a contrasting color 8 inches X 10 inches
Pen
Paper glue
- 2
Step 2
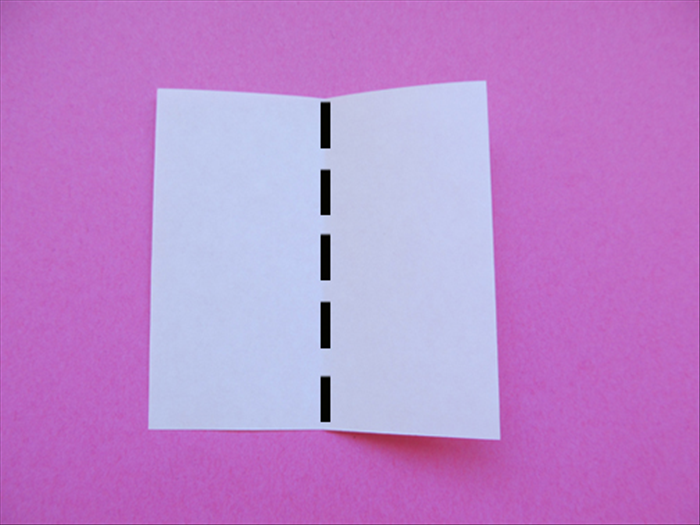
Fold one of the small square papers in half vertically
-
- 3
Step 3
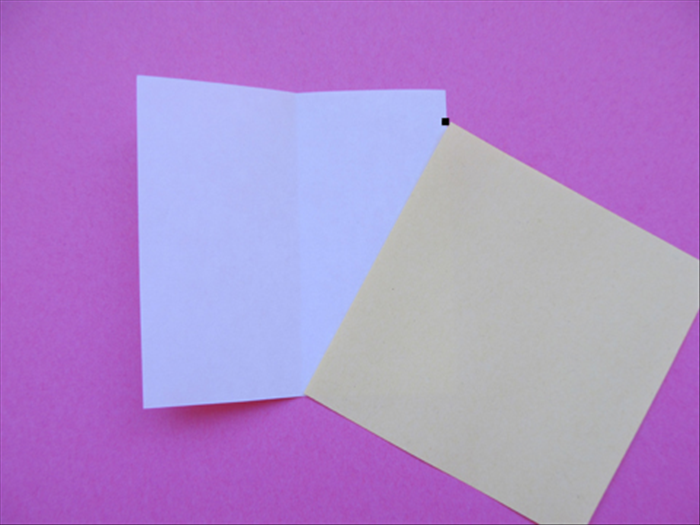
Place a corner of the other square paper on the bottom edge of the crease mark .
Rotate the square on top until the other point touches the right side of the paper underneath it.
Mark the spot it touches.
- 4
Step 4
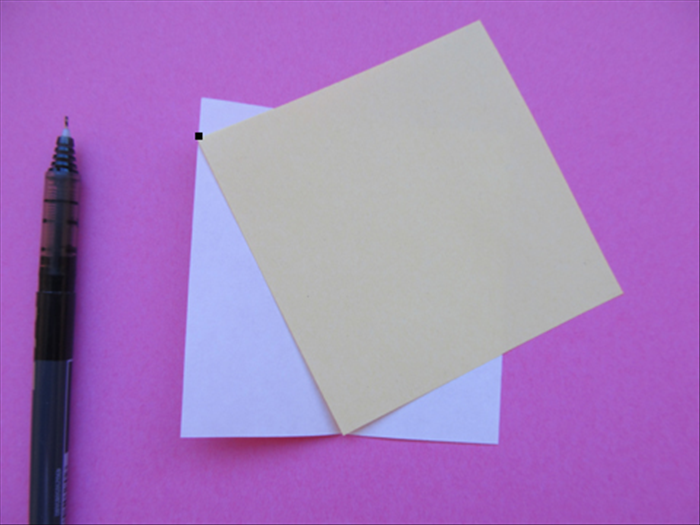
Rotate the top paper to the left until the point touches the edge.
Mark the point it touches.
- 5
Step 5
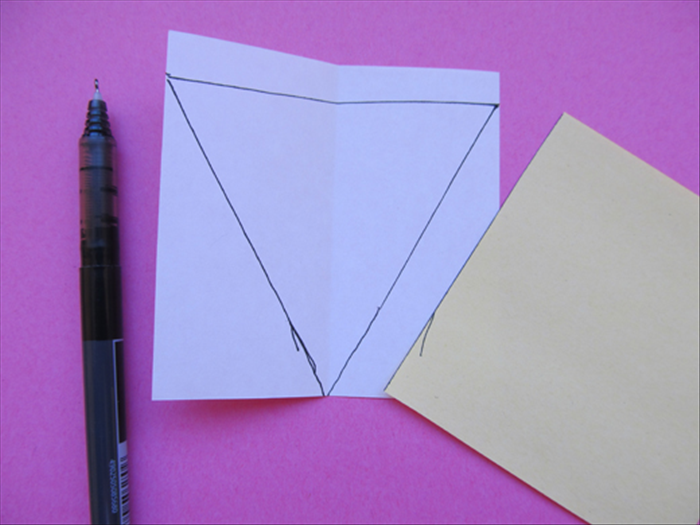
Use the straight edge to connect the dots with a line.
Cut out the triangle
- 6
Step 6
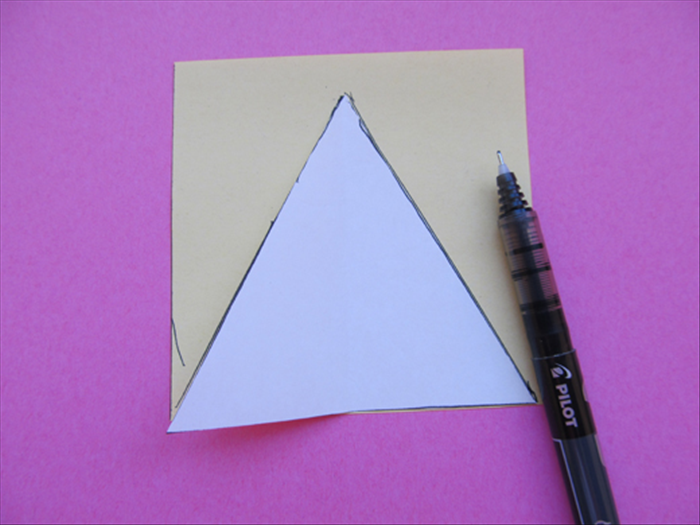
Trace the triangle on the second square paper
- 7
Step 7
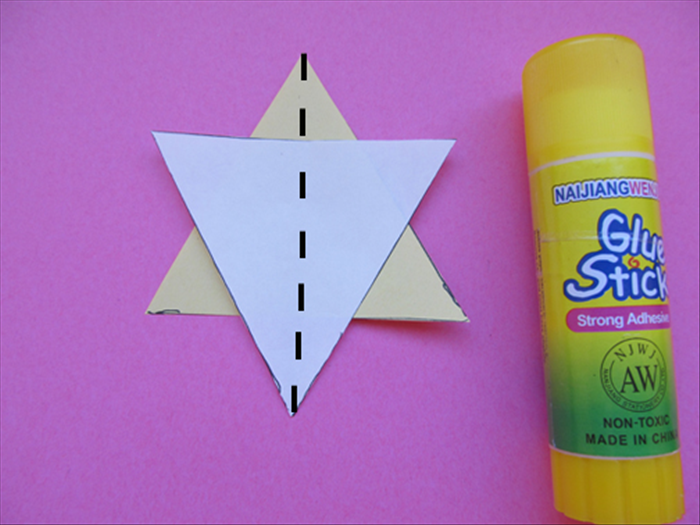
Glue the triangles together to make a star.
Fold the star in half vertically as shown
- 8
Step 8
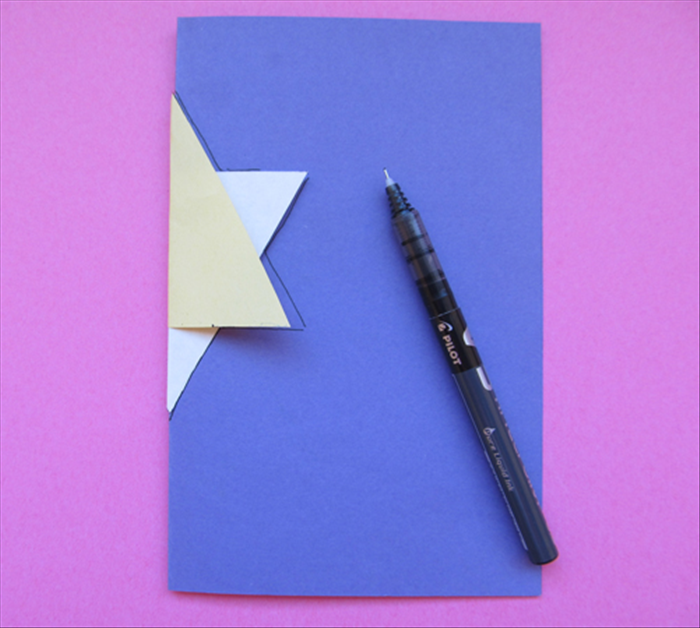
Fold the 7 X 9 inch paper in half. Insert the folded edge into the folded star.
Trace the half star. You only need to trace it on the one side of the folded paper.
- 9
Step 9
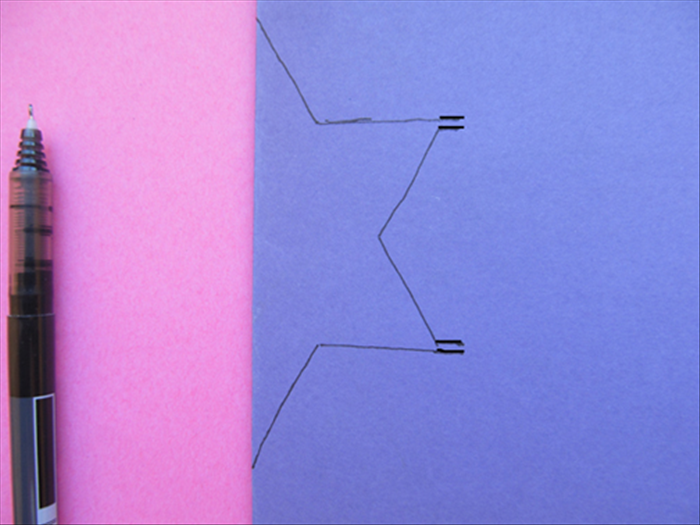
Draw two parallel lines 1/4 inch long at the inner points of the star.
- 10
Step 10
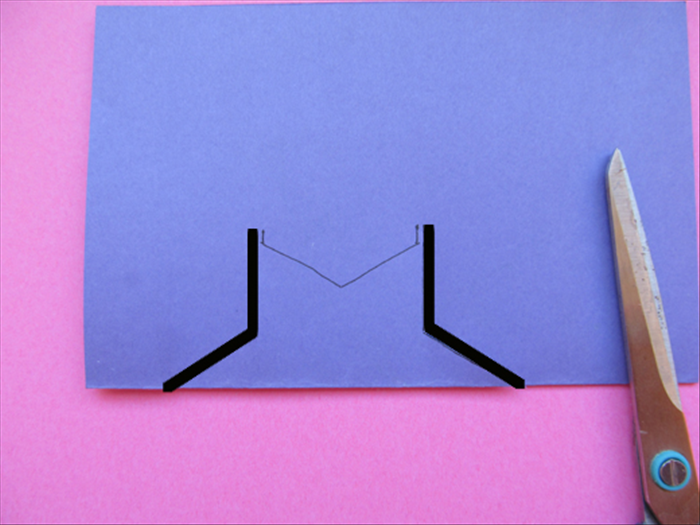
Make 2 cuts from the folded edge of the paper to the end of the extra lines you just added.
- 11
Step 11
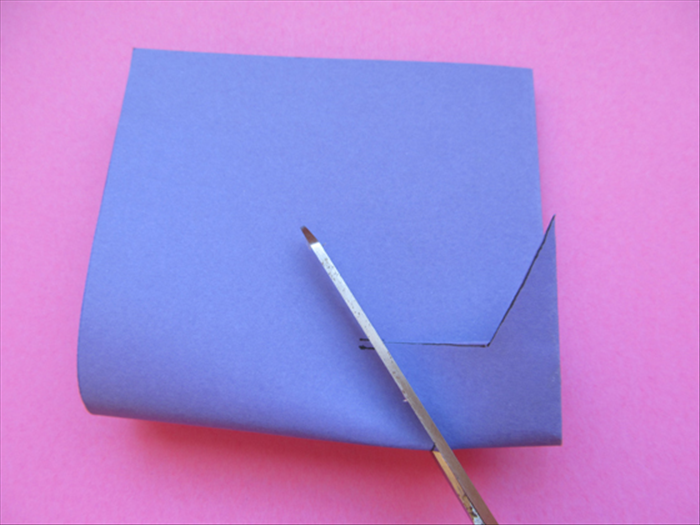
Bring the cut points of the cut star at the folded edge together. Do not crease. Cut the paper along the inner line.
- 12
Step 12

Fold the star inwards at the ends of the parallel lines. Give it a good crease and bring the star back in
place.
- 13
Step 13
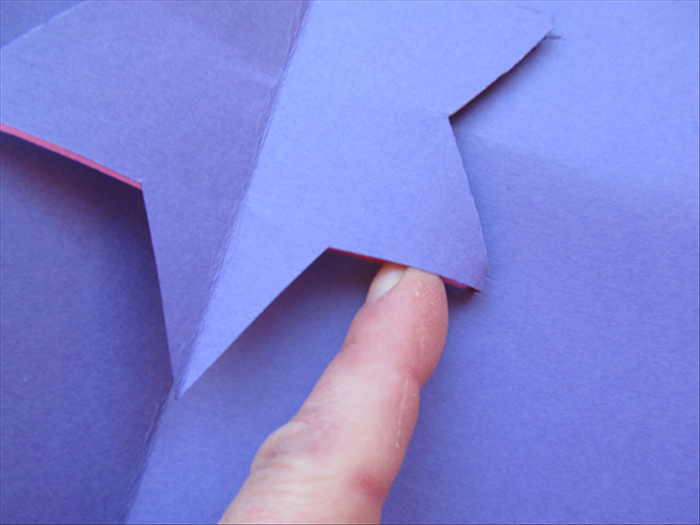
Open up the card and stick your finger under the star to fold the parallel lines down from the bottom.
Lift the star to push it up from the middle and squeeze the center crease so it will go in the other
direction.
Close the card and give it a sharp crease.
- 14
Step 14
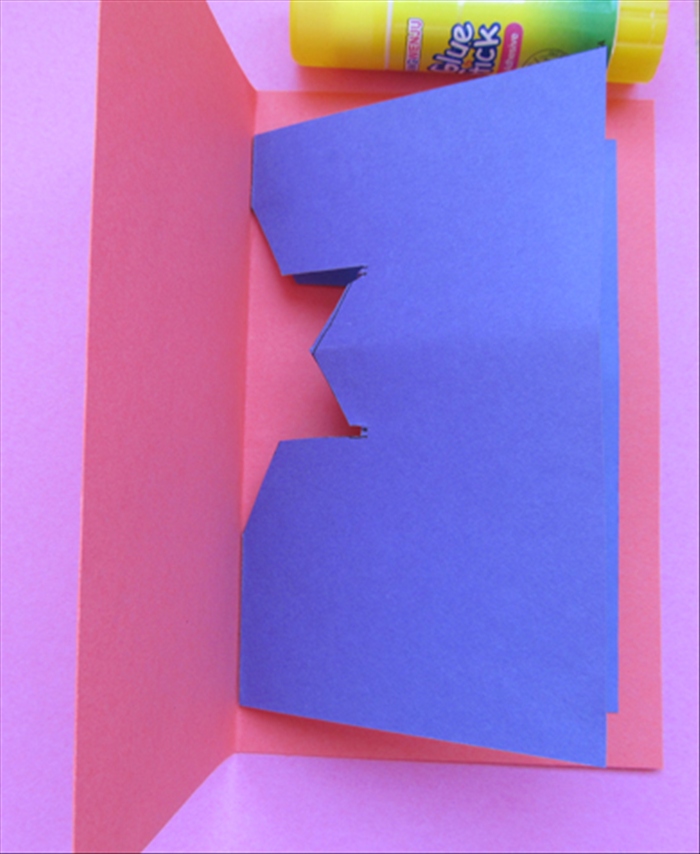
Fold the larger paper in half, align the creases and glue both sides in place.
- 15
Step 15
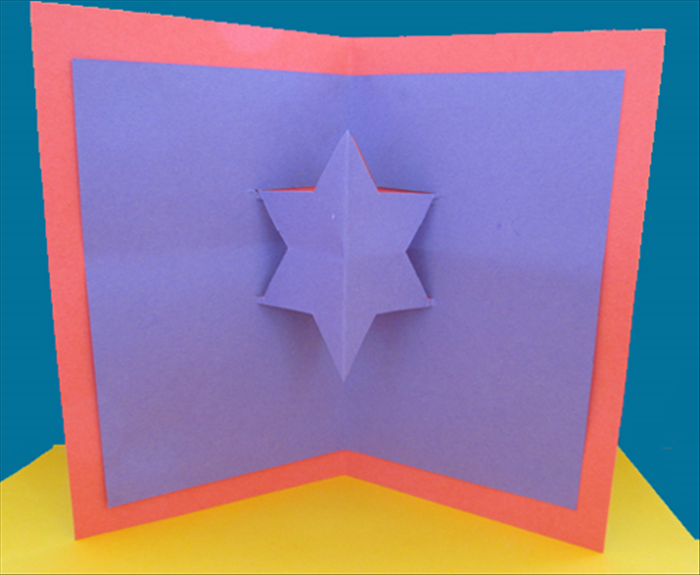
Open to see your ready card. Now you can write your greeting and decorate it.
If you want to glue a smaller star on top of the cut star, follow the direction in steps 2 to 6 with a
smaller square.