How to make a hanging organizer from a hanger and envelopes
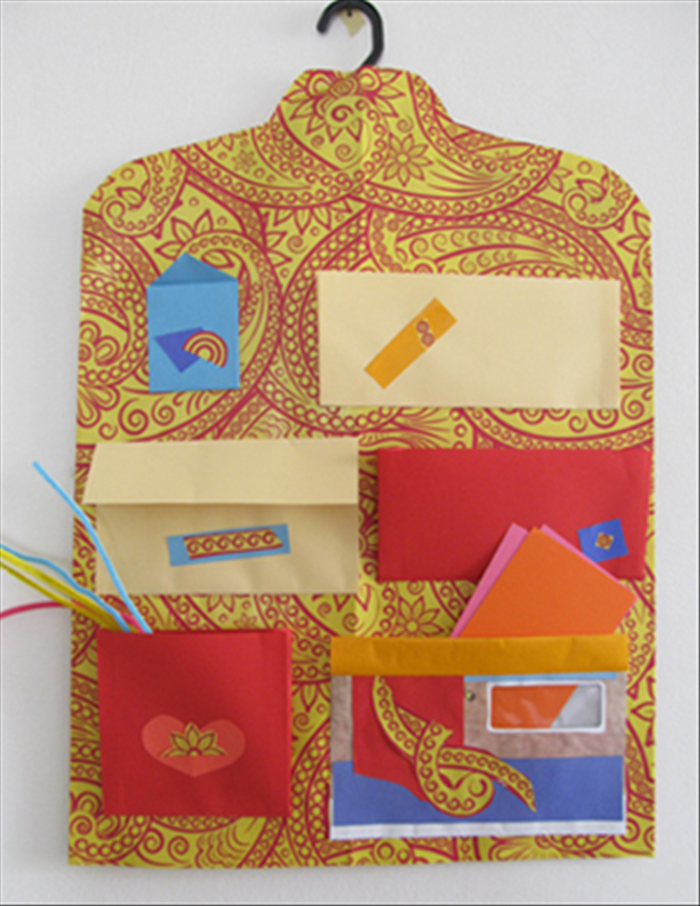
This guide will show you how easy it is to make an organizer from paper. You can hang it in the closet or on the wall.
Easy 10,383 views
What You'll Need
- organizer
- hanging organizer
Steps
- 1
Step 1
 Materials: Clothing hanger Wrapping paper Paper glue Scissors Pen or pencil Optional: scrap paper Envelopes if you don’t want to make your own. Paper for envelopes
 - 2
Step 2
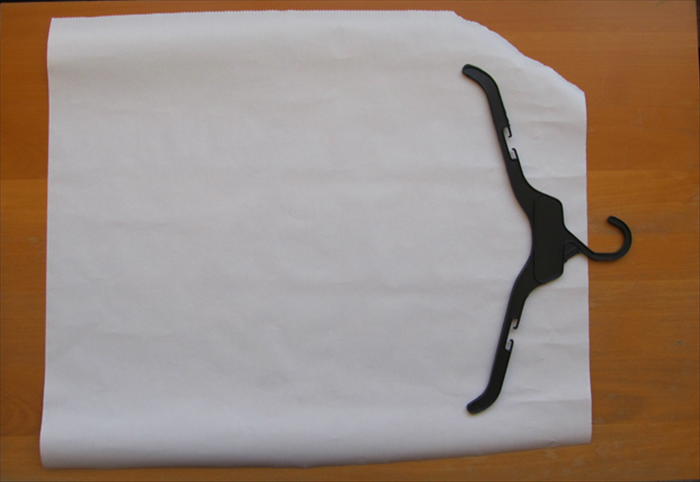 Cut 2 pieces of the wrapping paper the same size. They should be 4 inches wider than the width of the hanger and any length you want, as long as it can fit nicely hanging in your closet or as long as you like if you hang it on the wall. Take one of the sheets of paper and place it with the design side facing downward. Place the hanger on the paper as shown in the picture.
 -
- 3
Step 3
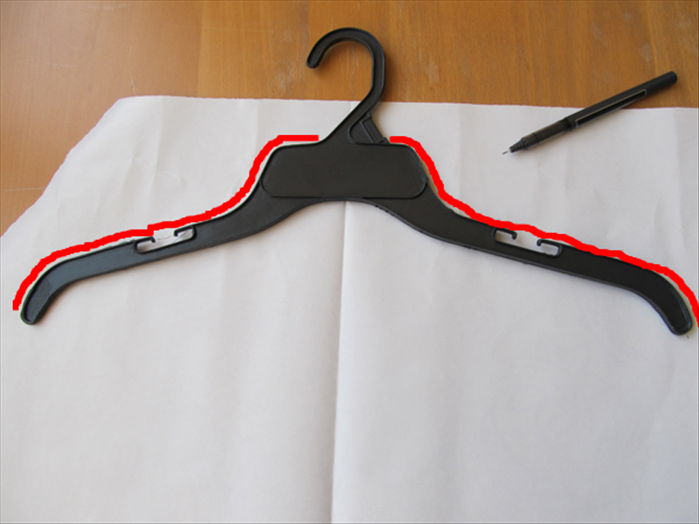 Trace the top outline of the hanger as shown in red in the picture
 - 4
Step 4
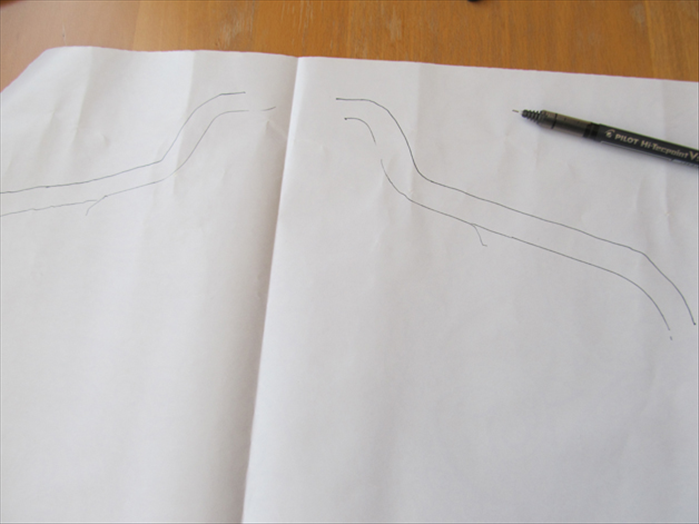 Use the line you made as a guide and make another line 1 inch above it.
 - 5
Step 5
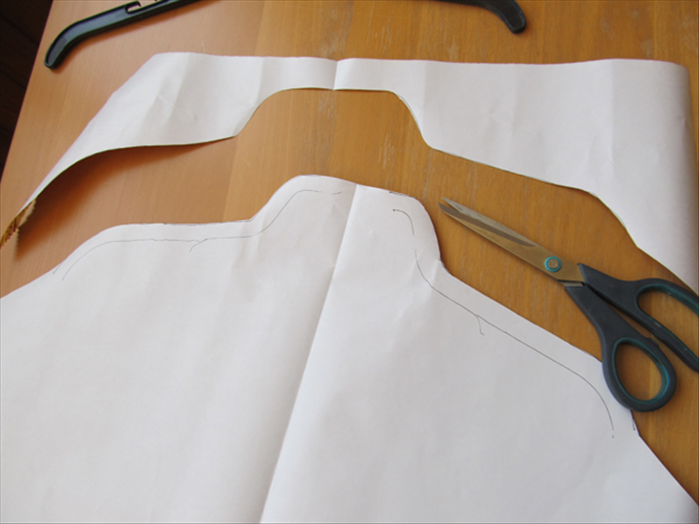 Cut along the line you just made. Pay attention that the top is straight. When you get to the ends cut at an angle to the edge of the paper
 - 6
Step 6
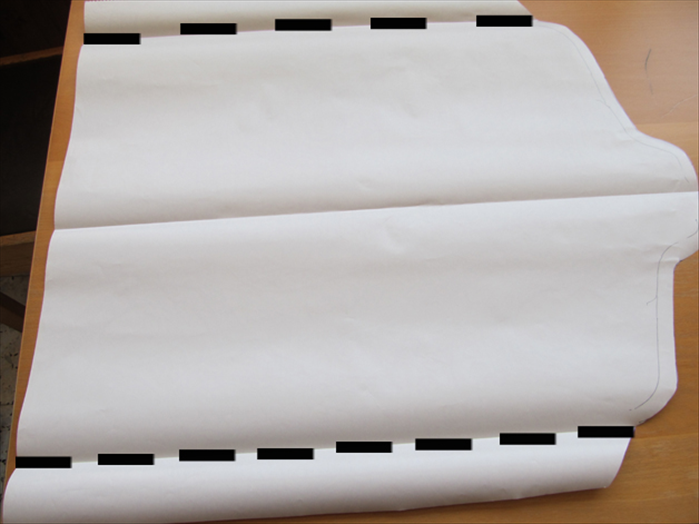 Fold the paper horizontally on both sides starting from where the lines you drew end.
 - 7
Step 7
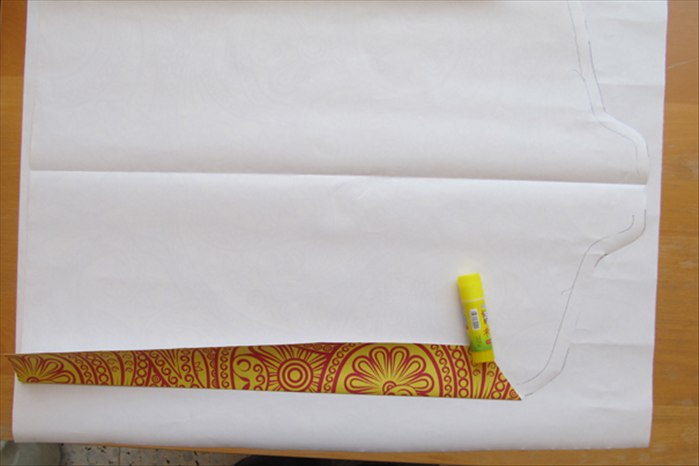 Put glue on the folded edge and inside the 2 lines where the hanger was traced. Do not put glue on the top part of the hanger lines. It must stay open to slide the hanger top through. See step 10.
 - 8
Step 8
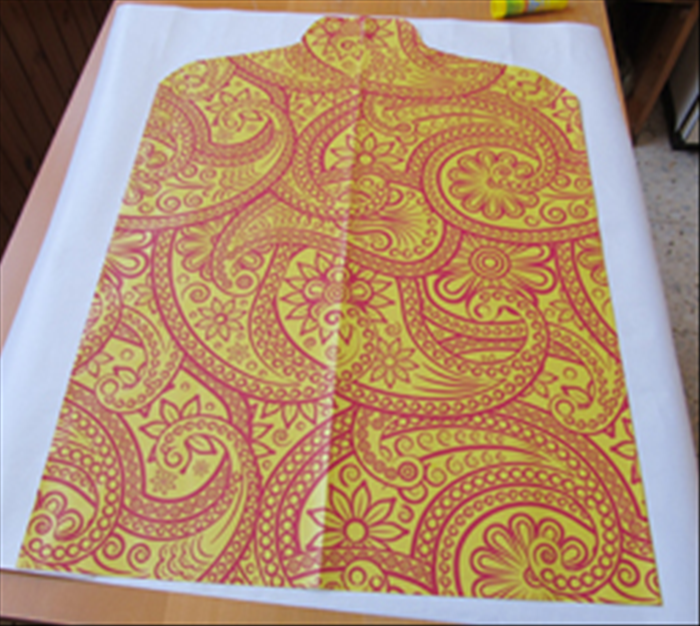 Flip the paper over and press the glued area down on the second paper. The side with the design of the paper underneath should be facing downward as shown in the picture.
 - 9
Step 9
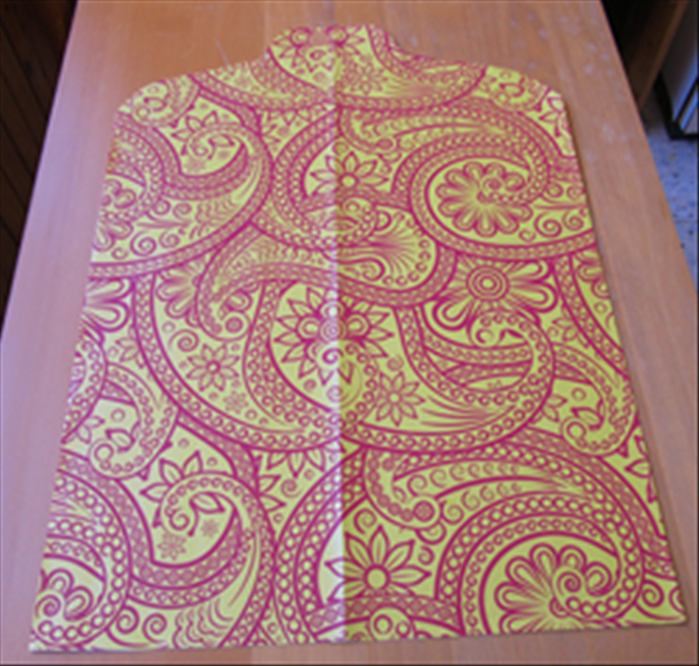 Cut off the extra paper.
 - 10
Step 10
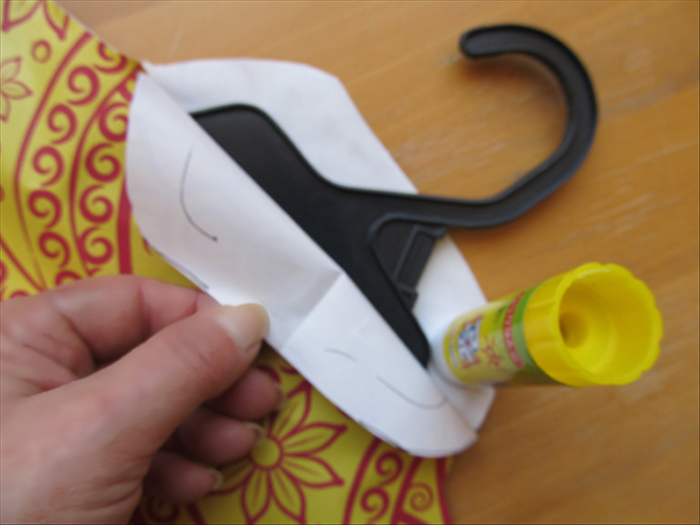 Slide the hanger up from the opening at the bottom. Bring the hook of the hanger through the unglued top. Glue the top closed on both sides of the hook.
 - 11
Step 11
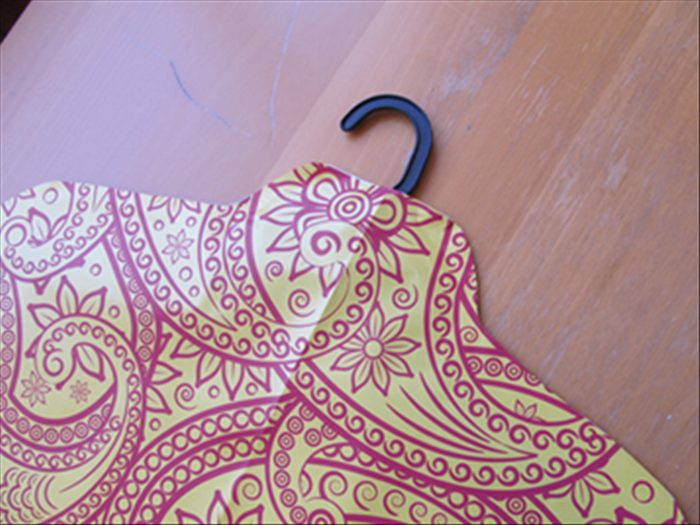 Result
 - 12
Step 12
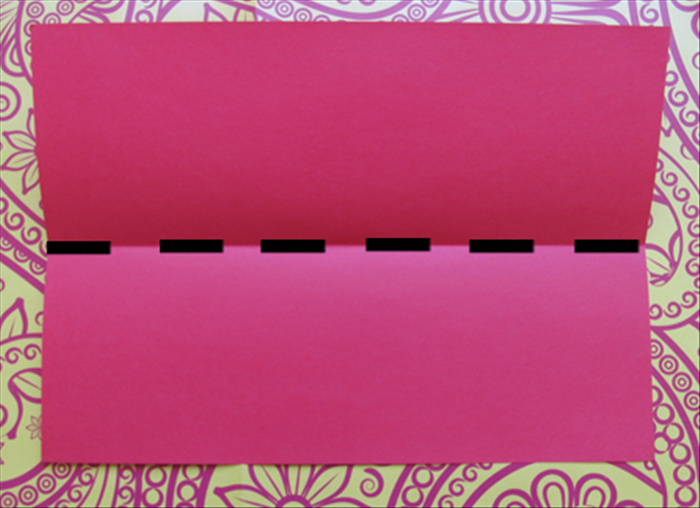 You can use ready envelopes or make your own. In this guide A4 sized paper was used but you can use any size. To make a wide envelope fold your paper in half horizontally and unfold.
 - 13
Step 13
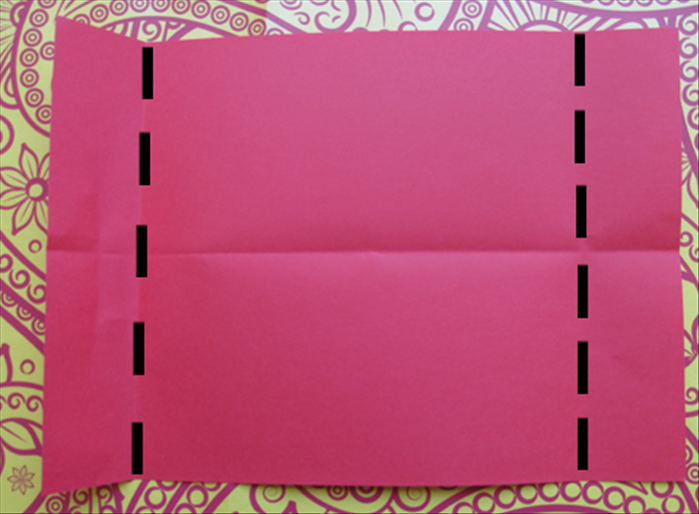 Make a vertical fold 1 ½ inches from each side
 - 14
Step 14
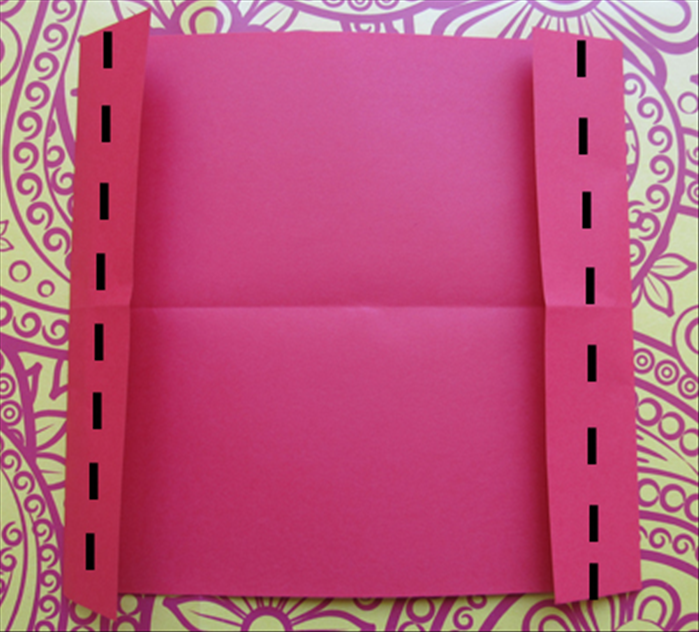 Fold them back in half outwards to align with the outer edges
 - 15
Step 15
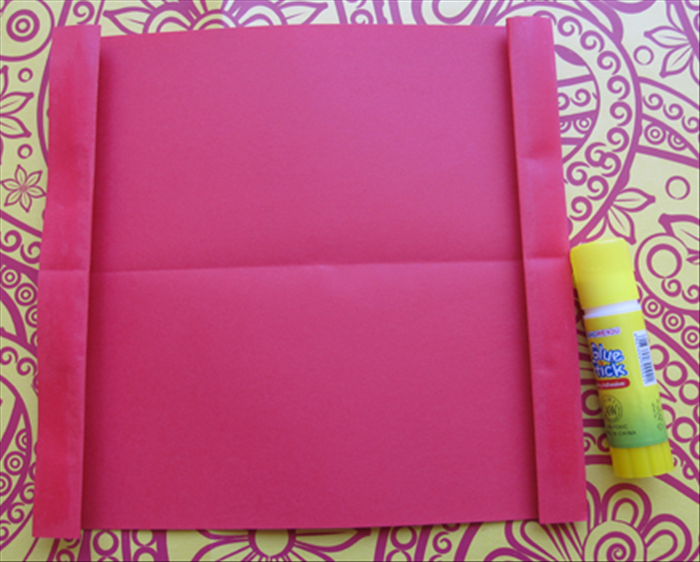 Put glue on the top layer of the flaps you just made then refold the paper in half along the horizontal crease.
 - 16
Step 16
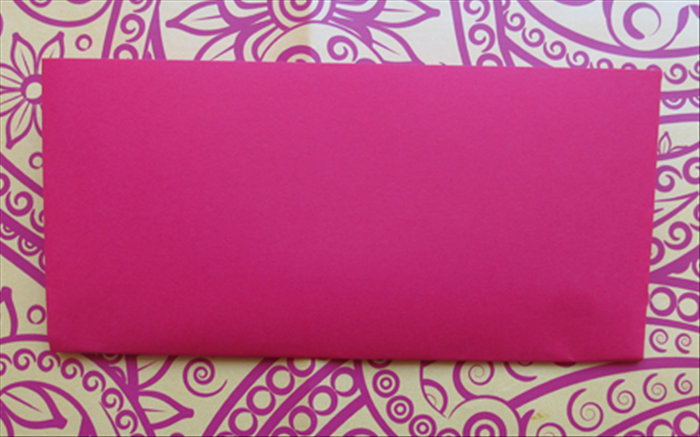 Result
 - 17
Step 17
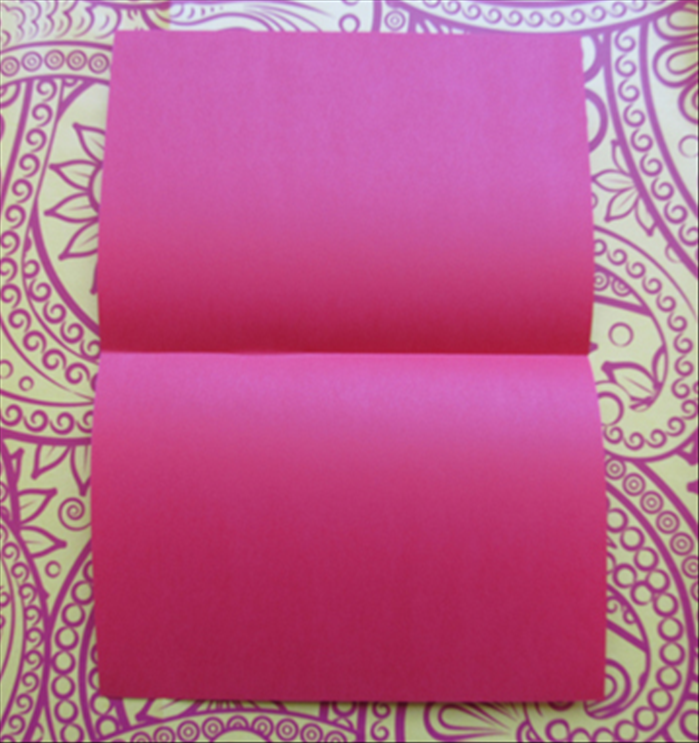 If you want to make an envelope that will be taller and less wide, hold the paper with the short edges at the top and bottom and repeat steps 12 to 15
 - 18
Step 18
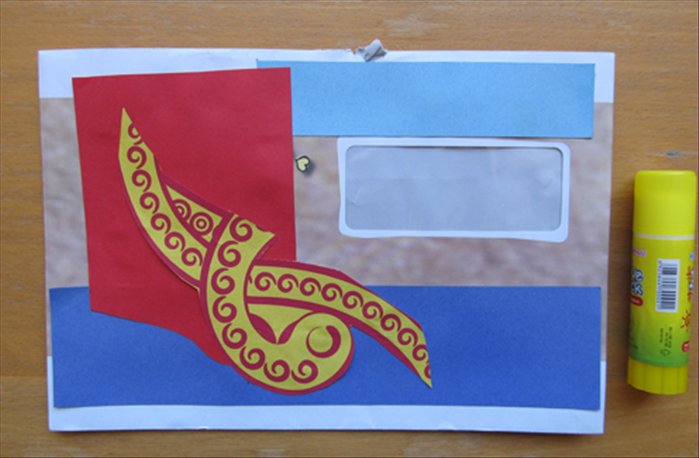 Another option is to take an envelope you got in the mail and glue paper over the writing
 - 19
Step 19
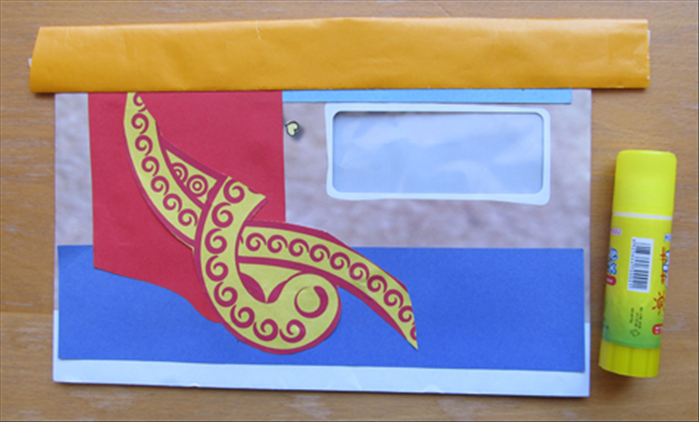 If the opening is a little messy you can glue paper over it and cut the sides along the edges
 - 20
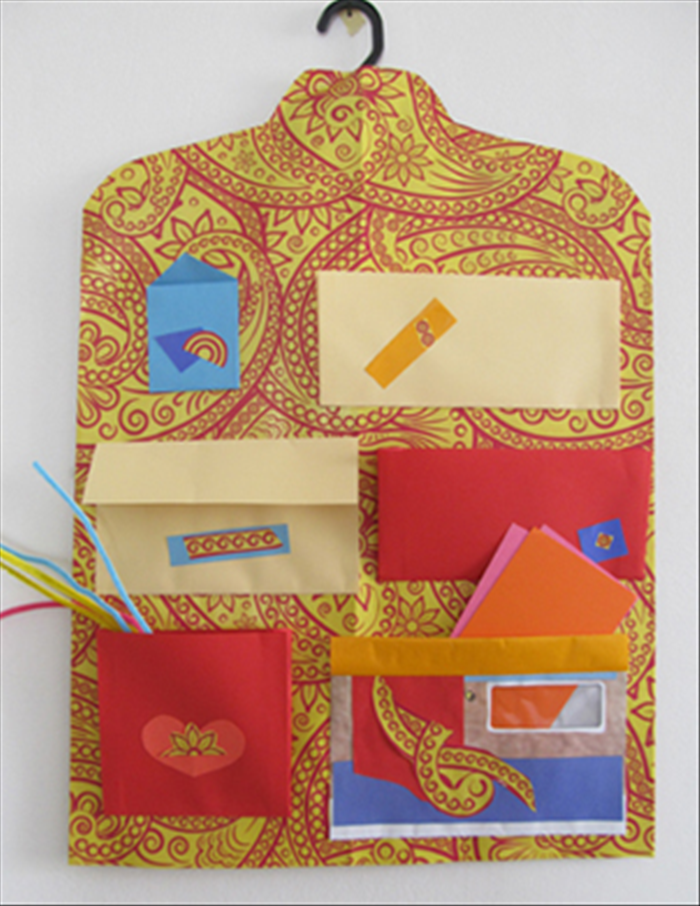
Step 20
 Glue the backsides of the envelopes to the background paper. You can glue decorations or put labels on them if you like. The hanging organizer has a front and a back. You can glue the envelopes on each side.