How to Make Guitar Picks from Recycled Plastic | Easy DIY Guide
Never run out of guitar picks! Learn how to make your own durable, eco-friendly guitar picks from recycled plastic discards with this easy DIY guide.
Tired of losing your guitar picks or constantly buying new ones? What if you could make your own, customize them, and help the environment all at the same time? This guide will show you how to transform everyday plastic discards into durable, personalized guitar picks. It's an easy, eco-friendly, and incredibly satisfying DIY project that ensures you'll always have a pick on hand for your next jam session!
Prioritize Safety First
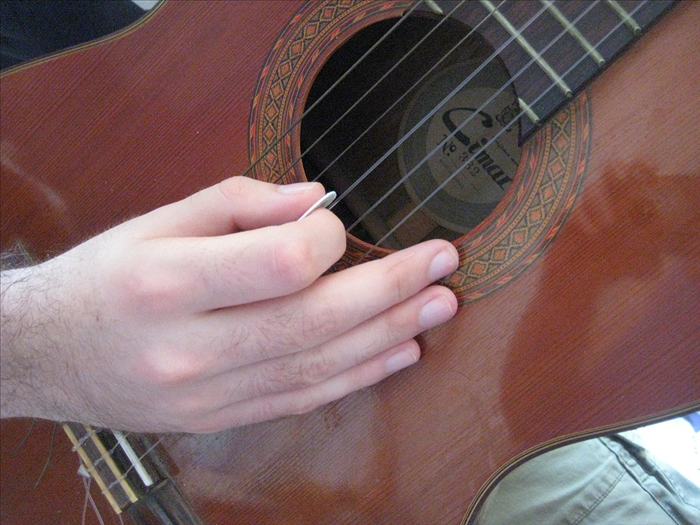
Before you begin cutting and shaping, let's talk about safety. Working with sharp tools and plastic requires attention to prevent accidents. Always prioritize your well-being.
If children are participating, ensure strict adult supervision when using sharp objects like scissors or craft knives. Always cut away from your body to avoid accidental injuries. If using a craft knife, place a cutting mat underneath to protect your work surface. Consider wearing safety glasses if using power tools like a Dremel to protect your eyes from plastic shards.
Prepare Your Plastic Discards
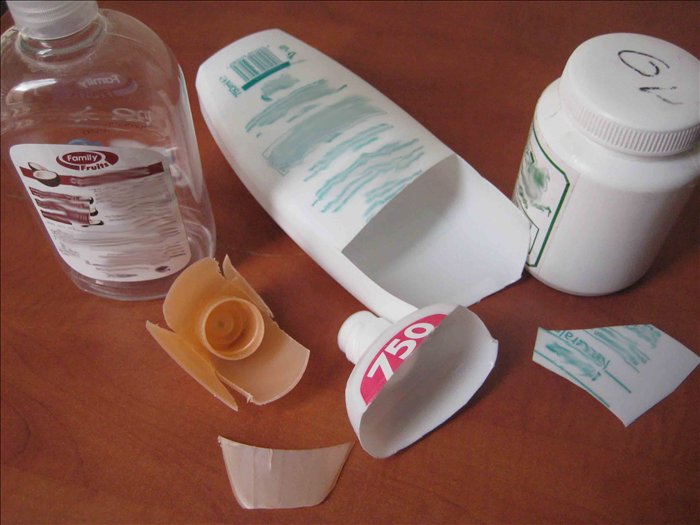
The better prepared your plastic, the easier it will be to work with and the better your picks will turn out. Select plastics that are relatively flat and firm but not brittle.
1. Clean Your Plastic: Wash any chosen plastic cards or other discards thoroughly with soap and water to remove dirt, grease, or sticky residues. Rinse well and ensure they are completely dry before proceeding.
2. Remove Personal Information: If using old credit cards, gift cards, or loyalty cards, make sure any sensitive personal information is removed, obscured, or cut away before using. You can scratch off numbers or simply cut around them.
3. Flatten if Necessary: Most plastic cards are already flat. If you're using a different type of plastic that has a slight curve, you might be able to gently warm it with a hairdryer and press it flat under a heavy book once cooled. However, perfectly flat plastic works best.
Trace and Cut Your Pick Shapes
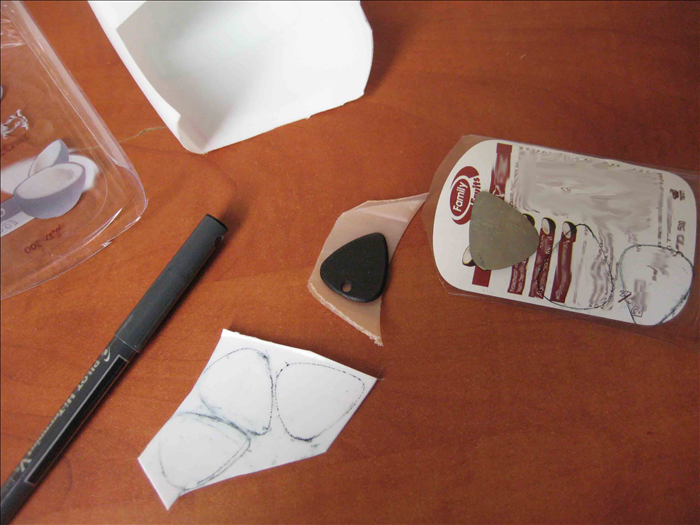
Now for the fun part: bringing your pick shapes to life! This step requires a steady hand for precise outlines and careful cutting.
1. Position Your Template: Place your existing guitar pick or a printed template onto your prepared plastic. Try to position it to maximize the number of picks you can get from each piece of plastic, avoiding any pre-existing holes or weak spots.
2. Trace the Shape: Using a permanent marker, carefully trace around the edges of your template or existing pick. Press firmly enough to create a clear line, but avoid pressing so hard that you scratch the plastic.
3. Experiment with Shapes & Sizes: Don't be afraid to try different pick shapes (standard teardrop, jazz, sharp, triangular) and thicknesses. Some guitarists prefer thinner picks for strumming and thicker ones for lead playing. You can layer two thinner plastics together with strong adhesive for a thicker pick if desired.
4. Carefully Cut Out: Using sharp scissors, meticulously cut along the traced lines. For intricate curves or very thick plastic, a craft knife can offer more precision. If using a craft knife, make several shallow passes rather than trying to cut through in one go. Go slowly to avoid jagged edges.
If you're making multiple picks, trace all your shapes onto the plastic first before you start cutting. This can help you optimize space and make the cutting process more efficient.
Refine the Edges
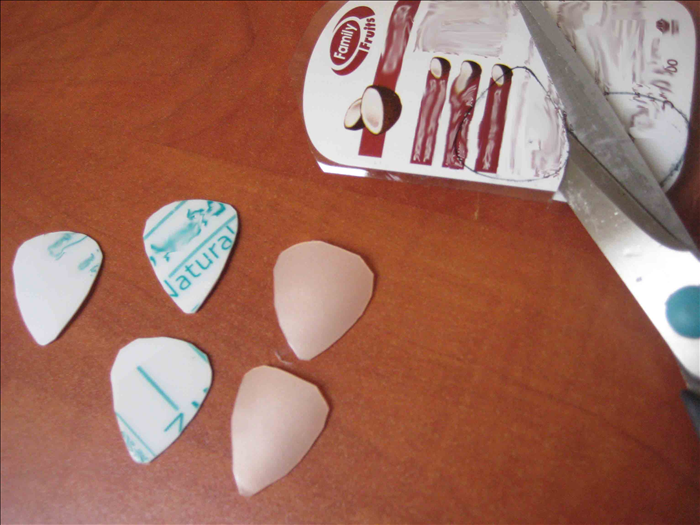
Once your shapes are cut, the edges will likely be rough. Refining them is crucial for comfort, playability, and preventing damage to your strings.
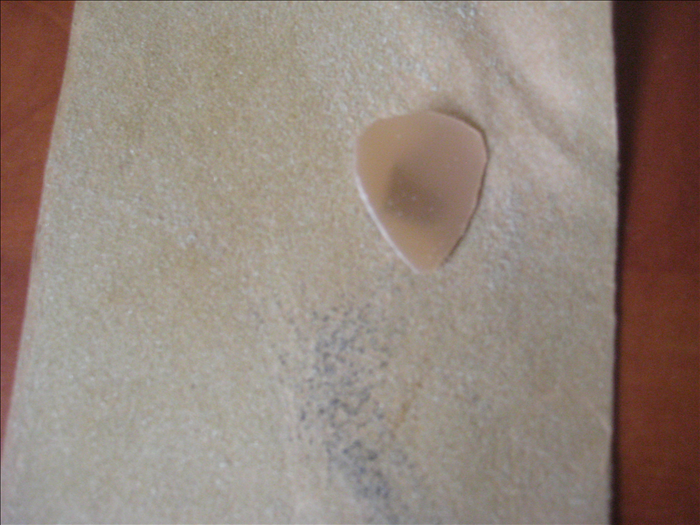
1. Rough Sanding: Start with coarser sandpaper (e.g., 220-grit). Gently sand all the edges of your newly cut pick. Focus on removing any major burrs or sharp points created during cutting. Keep the pick moving against the sandpaper (or the sandpaper moving against the pick) to avoid creating flat spots.
2. Medium Sanding: Switch to a finer grit sandpaper (e.g., 400-grit). Continue sanding to smooth out the marks left by the coarser paper. At this stage, you should start feeling a significant difference in the smoothness of the edges.
3. Fine Finishing: For a truly professional feel, finish with very fine grit sandpaper (e.g., 600-grit or even 1000-grit). This step will polish the edges, making them incredibly smooth and comfortable for playing. Pay extra attention to the tip and the playing edges of the pick for optimal contact with the strings.
For extra grip, you can use a standard hole punch to make small indentations on the surface of your pick, or even a small triangle removed from the side. This can prevent the pick from slipping during intense playing.
Finishing Touches & Variations
Your picks are almost ready to rock! A few final touches can enhance their durability and aesthetic appeal, and there's always room to experiment with variations.
1. Add a Protective Coat (Optional): To give your pick a glossy finish and extra protection, you can apply a thin coat of clear nail polish or a clear sealant. Allow it to dry completely between coats if applying more than one.
2. Experiment with Thickness: Try layering two pieces of thinner plastic together using strong craft glue or super glue. This allows you to achieve custom thicknesses that might not be available from a single plastic source.
3. Custom Shapes: Don't limit yourself to traditional pick shapes. Consider designing your own unique shapes for comfort or specific playing styles. A slightly larger pick might be easier to hold, while a smaller, sharper one offers more precision.
4. Decorate: Once finished, you can further personalize your picks with permanent markers, paint, or even by engraving with a Dremel tool (if you're careful!).
Congratulations! You've successfully transformed discarded plastic into a functional and personalized guitar pick. Not only have you saved money and created a unique accessory, but you've also contributed to reducing waste. Your new eco-friendly picks are ready to hit the strings!
This project is just the beginning of what you can do with plastic upcycling. Keep an eye out for other plastic items around your home that could be given a new life through crafting. Happy strumming, and happy recycling!