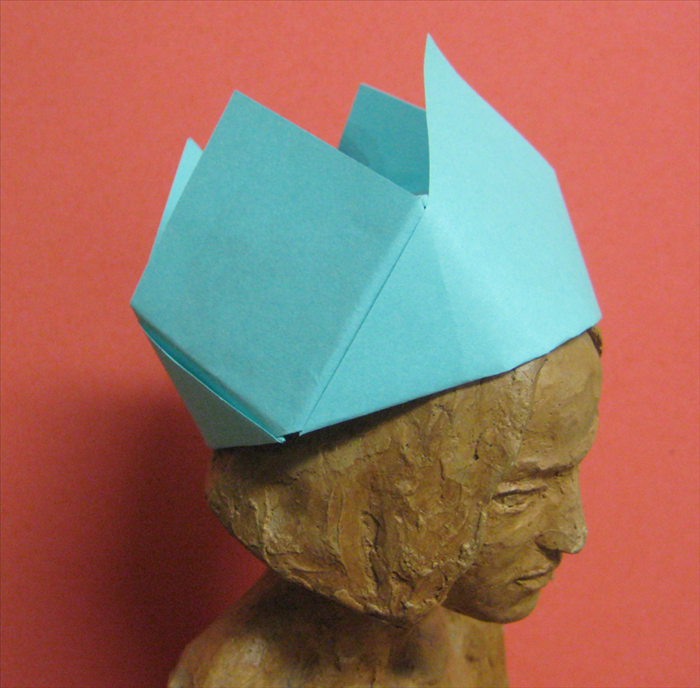
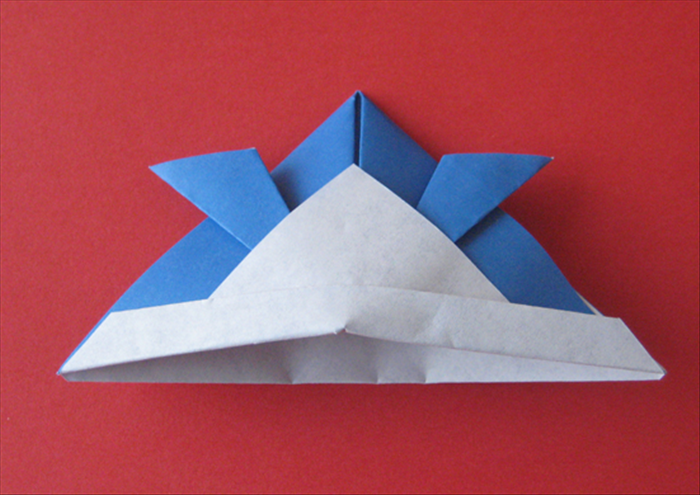
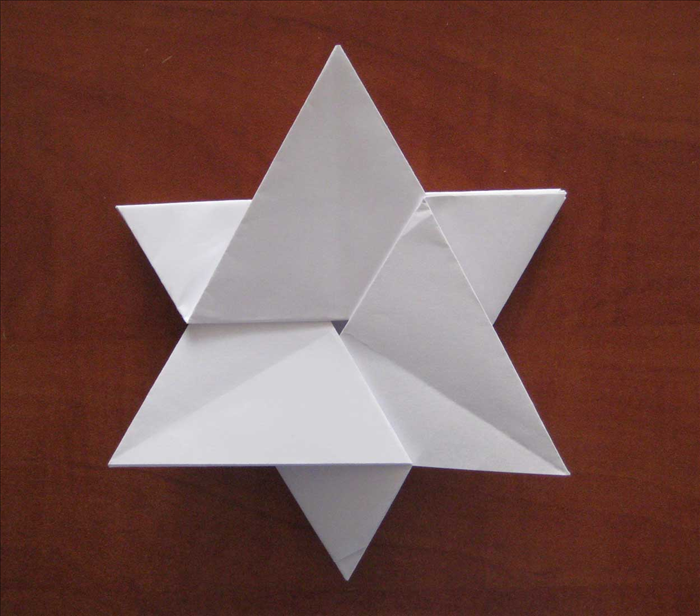
How to Fold an Origami Sombrero: Easy Paper Hat for Kids
Learn how to fold an easy origami sombrero step-by-step. Perfect paper hat craft for kids! Create a fun paper sombrero or even a witch hat.
Looking for a fun, simple paper craft that kids and beginners will love? This guide will show you exactly how to fold an origami sombrero, a classic paper hat that’s surprisingly easy to make. Not only is it a great way to introduce children to the joy of origami, but with a simple paper swap, it can even be transformed into a spooky witch's hat for Halloween! Get ready to fold your way to a fantastic paper creation.
This project is quick and enjoyable, typically taking 15-30 minutes to complete, depending on your folding experience.
- A single square sheet of paper (6x6 inches or 15x15 cm is ideal for beginners, but any size will work. Origami paper, construction paper, or even printer paper are suitable).
- A flat, clean surface for folding.
Step 1: Prepare Your Paper
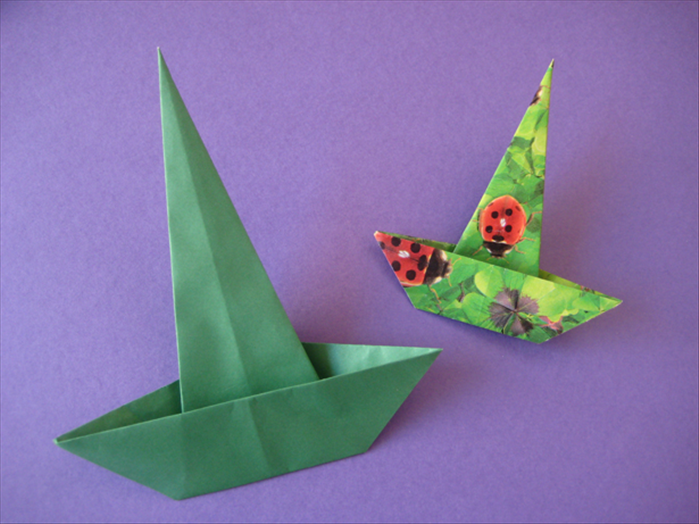
Begin with your square sheet of paper. If your paper has a colored side and a white side, place it colored side up. Fold the paper diagonally in half, pressing firmly to create a sharp crease, then unfold it. Rotate the paper 90 degrees and repeat the diagonal fold from the other corners, then unfold. You should now have an 'X' shaped crease pattern in the center of your paper.
Step 2: Fold the Sombrero Crown
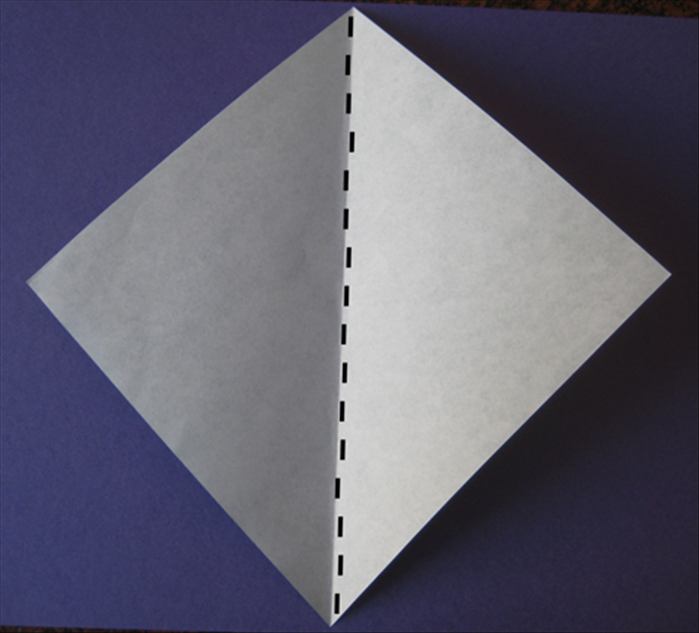
Take the top corner of your paper and fold it downwards so that the tip meets the exact center point where your 'X' creases intersect. Press firmly to create a crisp fold. Next, take the bottom corner of your paper and fold it upwards. The tip of this corner should align with the top edge of the section you just folded down. This will start to form the main body or 'crown' of your sombrero.
Step 3: Shape the Brim
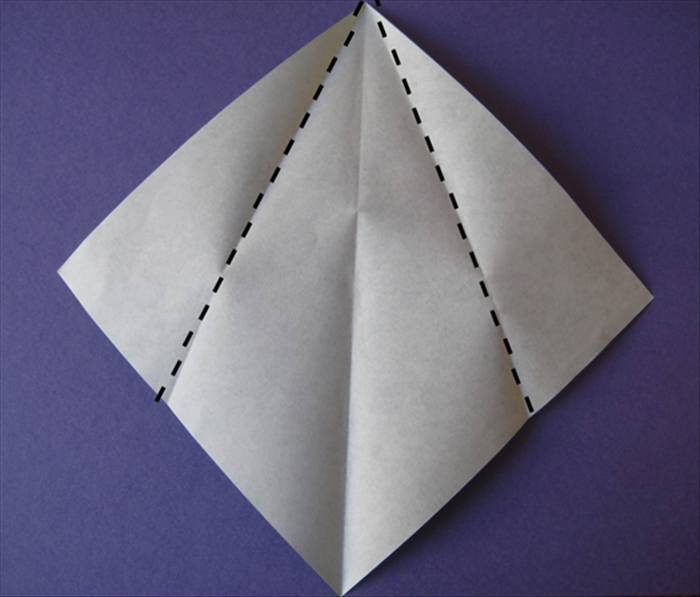
Now, let's create the distinctive brim of the sombrero. Take the bottom edge of your entire model and fold it upwards by approximately 1 to 2 centimeters (or about 0.5 to 1 inch). Crease this fold very firmly. For a thicker, more defined brim, repeat this fold once more, folding the newly created brim upwards again by the same amount. Flip your entire model over and repeat both brim-folding steps on the other side to ensure the sombrero has a symmetrical brim.
Step 4: Final Adjustments
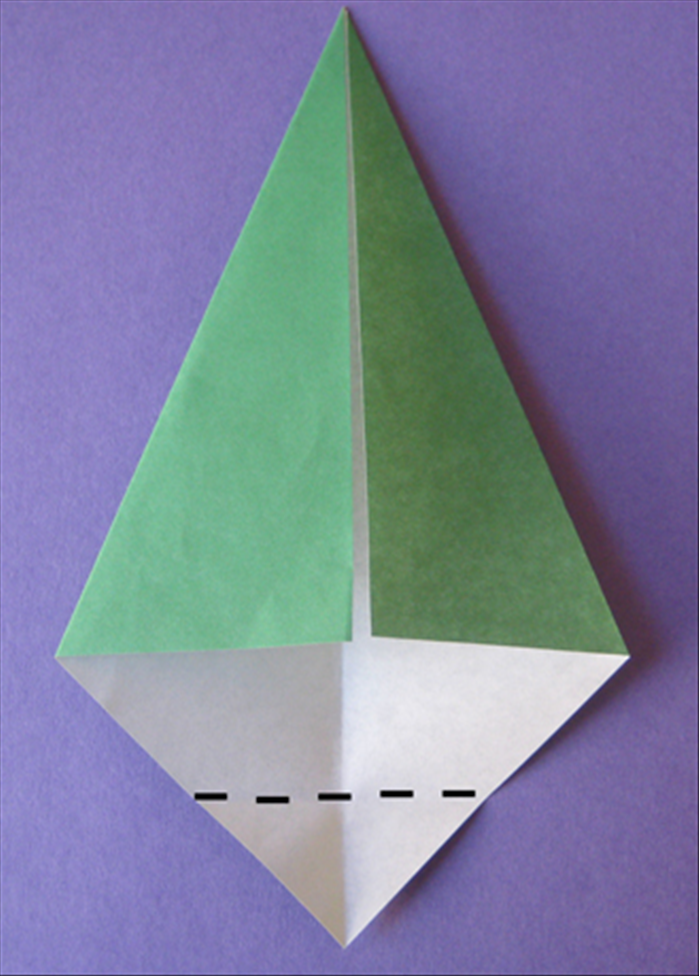
Almost there! Gently open your origami model from the bottom. You'll see the potential for the sombrero to take shape. Carefully push the center of the brim outwards, working your way around, to give it a more rounded, traditional sombrero look. Adjust the folds as needed to achieve your desired brim width and overall shape. Stand it up to admire your new paper hat!
Tips & Variations
Experiment with different types and colors of paper! Brightly colored paper makes a festive sombrero, while black paper can easily transform this into a classic witch's hat—just make the crown a bit pointier in Step 2. You can also decorate your finished sombrero with markers, glitter, or small stickers. For a stronger shape, press all creases firmly with your fingernail or a ruler.
Troubleshooting
If your sombrero's brim doesn't stay folded or keeps unfolding, a tiny dot of glue or a small piece of tape placed discreetly on the inside of the brim folds can help secure it permanently. Make sure your initial folds are very precise, as accuracy helps the final shape hold better.
While origami is generally safe, ensure younger children are supervised, especially when making sharp creases, to avoid minor paper cuts.