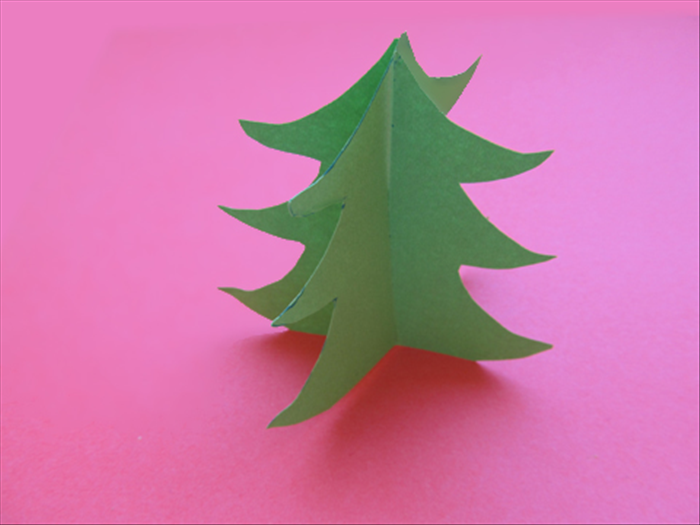
How to make a paper Christmas tree in 3D
This guide will show you how to make a 3D paper Christmas tree decoration.
Easy 11,152 views
What You'll Need
- christmas trees
- paper trees. paper christmas trees
- X-mas tree from paper
Steps
- 1
Step 1
 Materials: 2 squares of green paper 1 square of scrap paper the same size as the green paper Scissors Pencil Ruler or strait edge
 - 2
Step 2
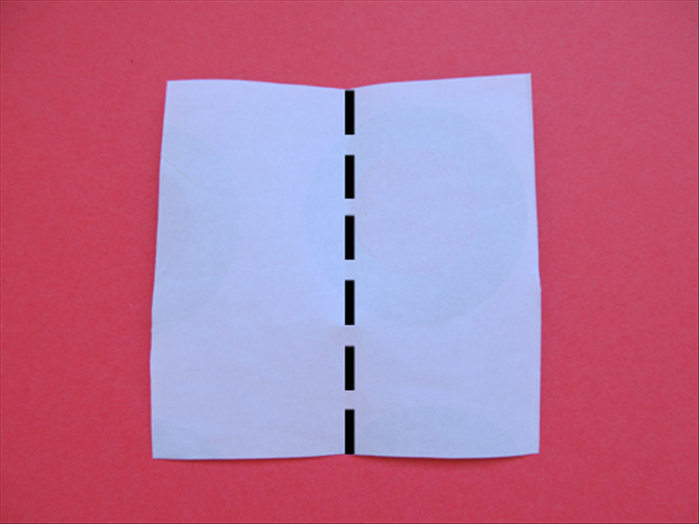 Fold the scrape paper in half vertically
 -
- 3
Step 3
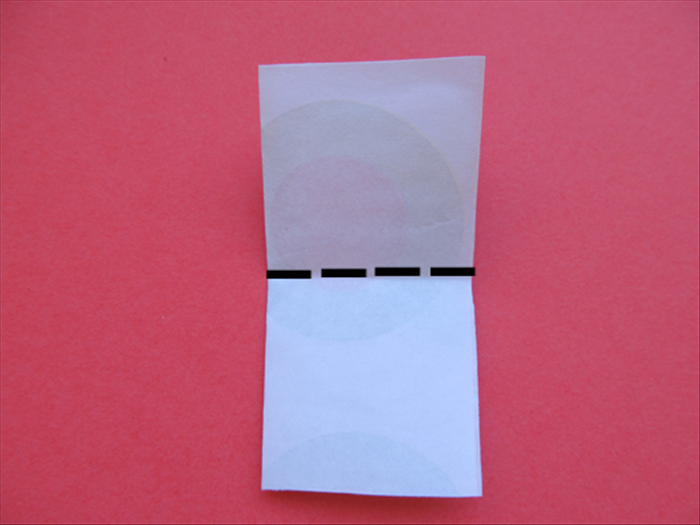 *If you can draw the half Christmas tree shown in step 8 without guide lines skip this step and go straight to step 8 Fold it in half horizontally
 - 4
Step 4
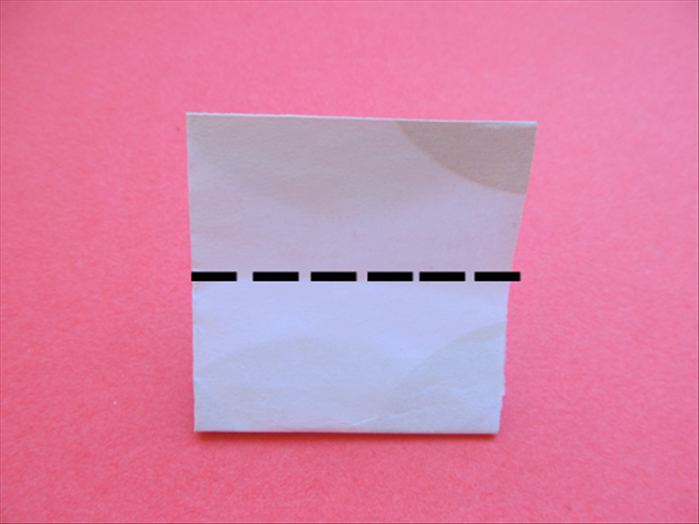 Fold it in half horizontally again. Unfold
 - 5
Step 5
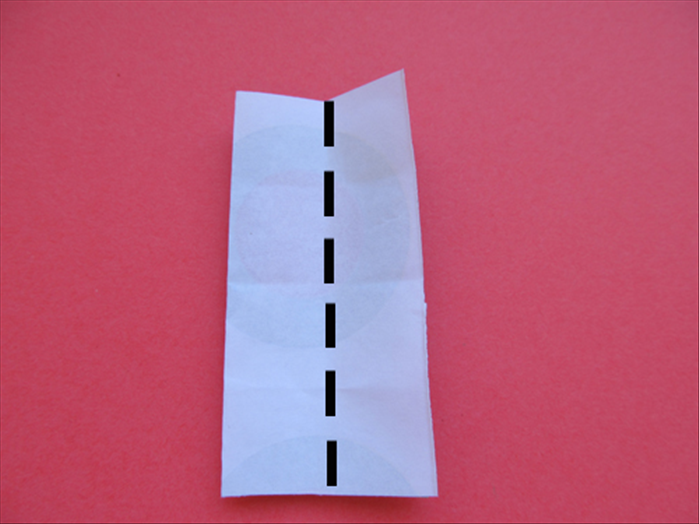 Fold the paper in half vertically Unfold
 - 6
Step 6
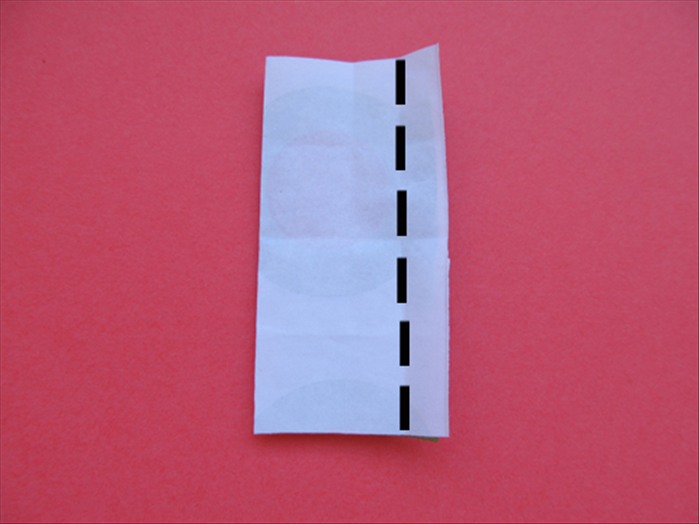 Fold the right edge to the crease you make in the last step unfold
 - 7
Step 7
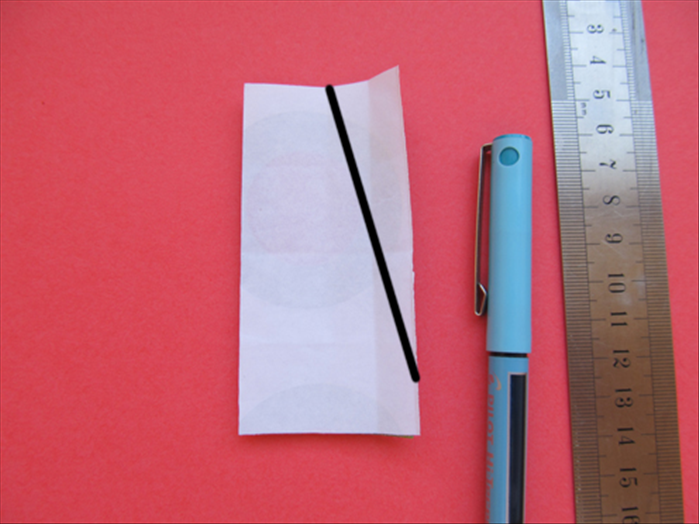 The folded edge should be on the left Make a line from the top of the middle crease Continue the line through the half way point of the crease you made in the last step. It should end slightly above the bottom edge on the right side See the picture for the result
 - 8
Step 8
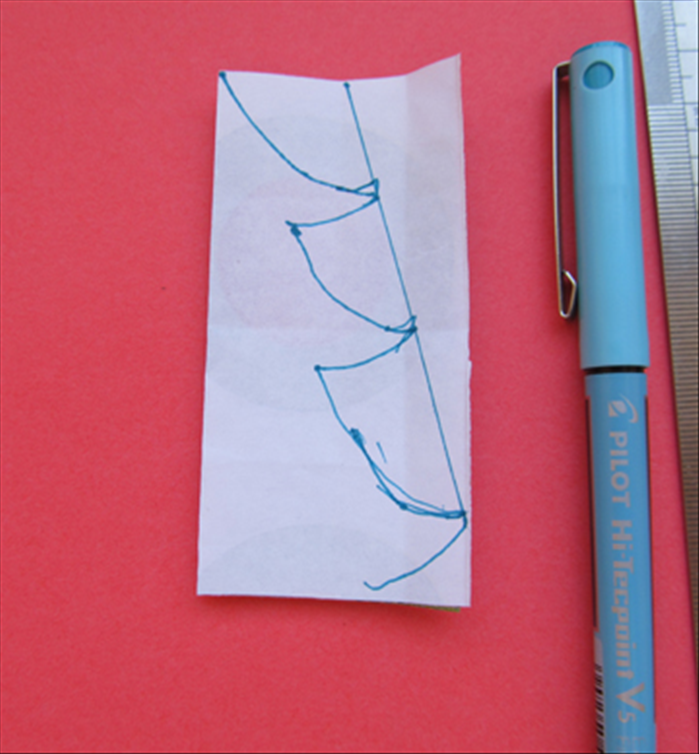 Use the straight line you just made as a guideline to draw a half tree. Notice that the top point begins on the left top corner
 - 9
Step 9
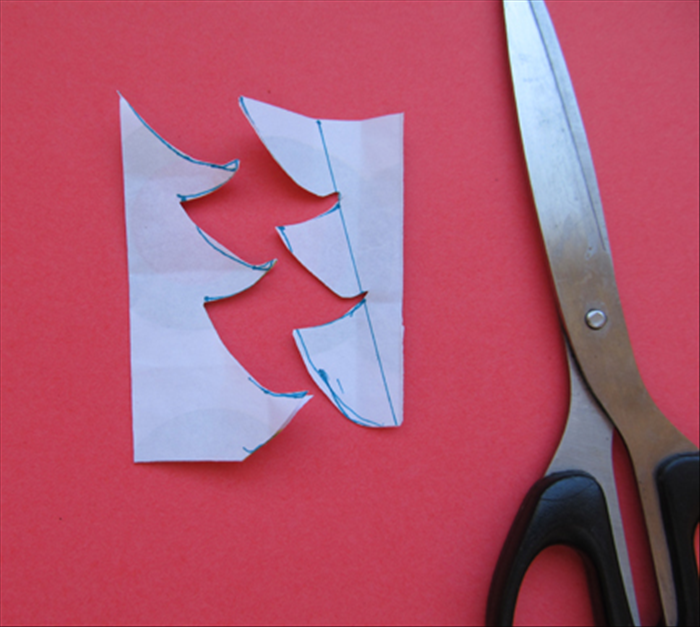 Cut out along the lines you just drew This is your tree template
 - 10
Step 10
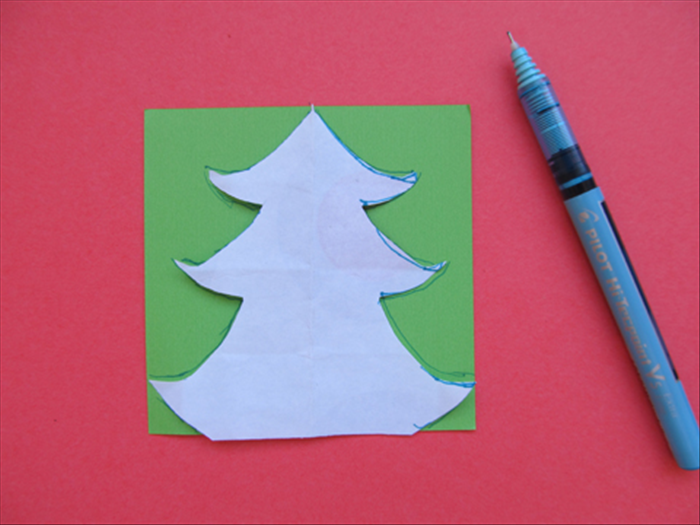 Unfold the template and trace the outline on the 2 green papers Cut out the 2 trees
 - 11
Step 11
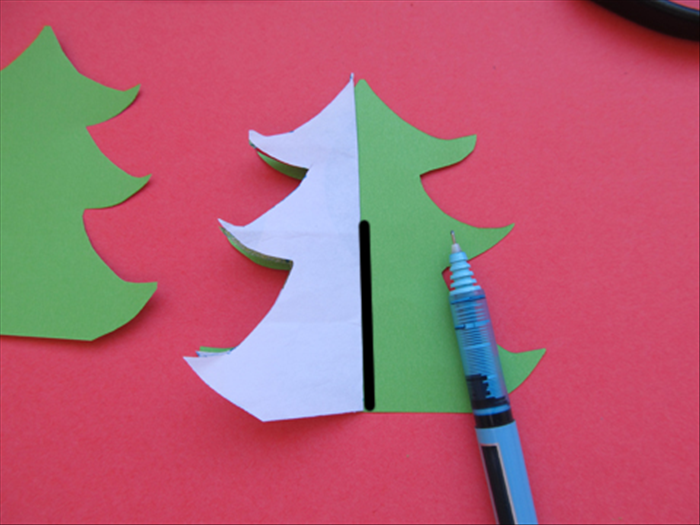 Fold the template in half again Place it on top of one of the green cut out trees Make a straight line along the side of the template from the bottom to a little more than halfway up
 - 12
Step 12
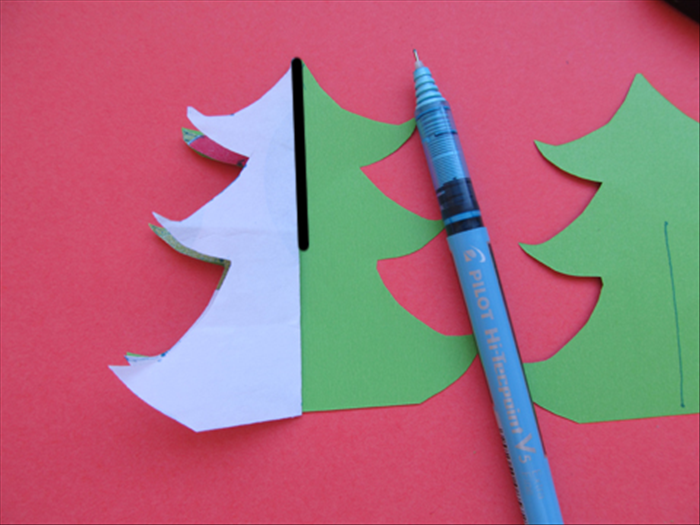 On the second tree use the edge of the template to make a line from the top to a little more than halfway down
 - 13
Step 13
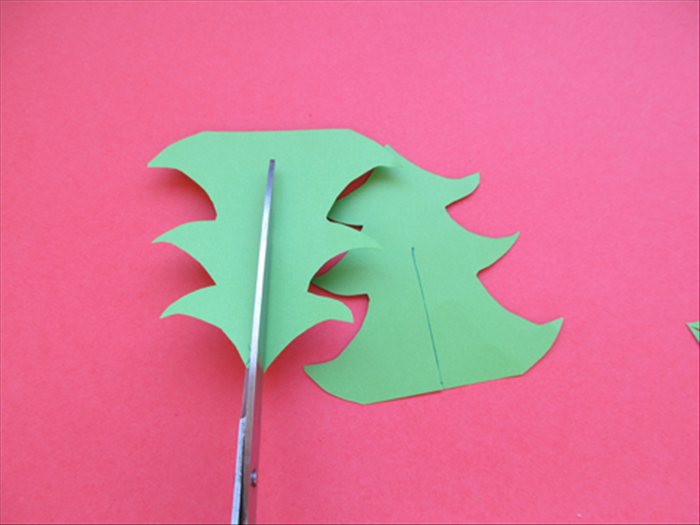 Cut slits along the lines you drew
 - 14
Step 14
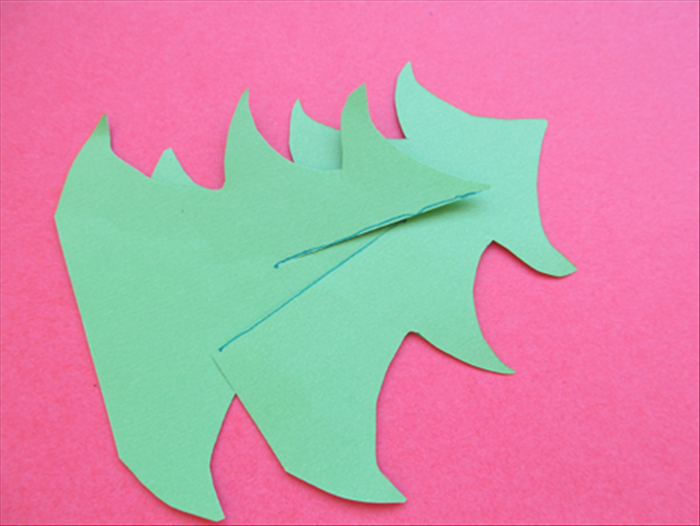 Insert the tree that was slit from the top into the bottom slit of the second tree
 - 15
Step 15
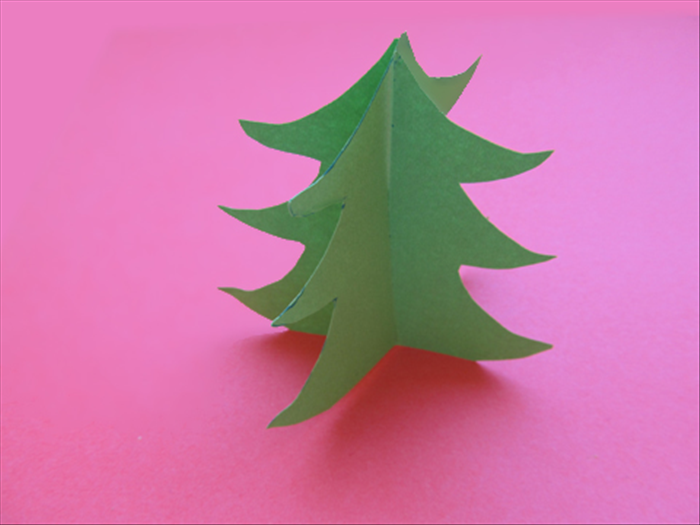 Slide the slits into each other all the way. You standing paper tree is read for Christmas decorating. Merry Christmas!