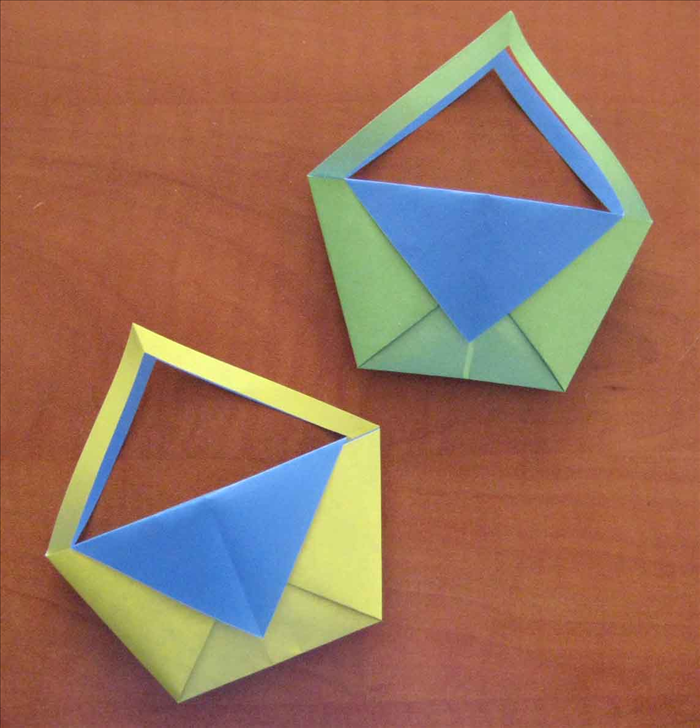
How to make a paper house with 2 squares of paper
This is a quick and easy way to create paper houses without a printer.
What You'll Need
- paper house
- paper crafts
Steps
- 1
Step 1
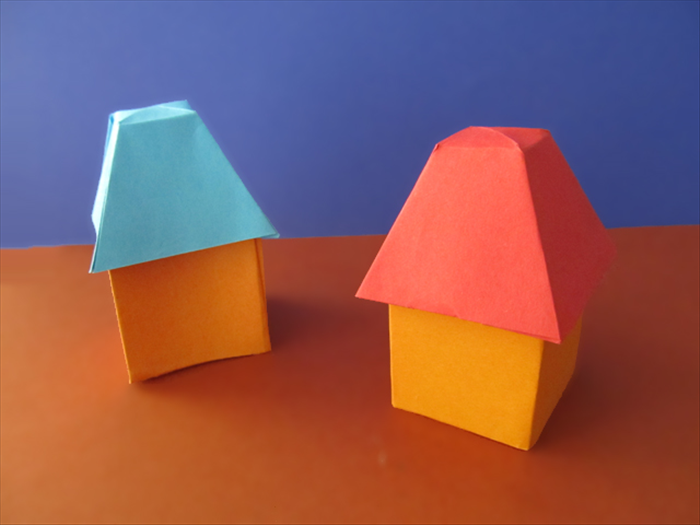
Materials:
2 equal squares of paper
Paper glue
Scissors
- 2
Step 2
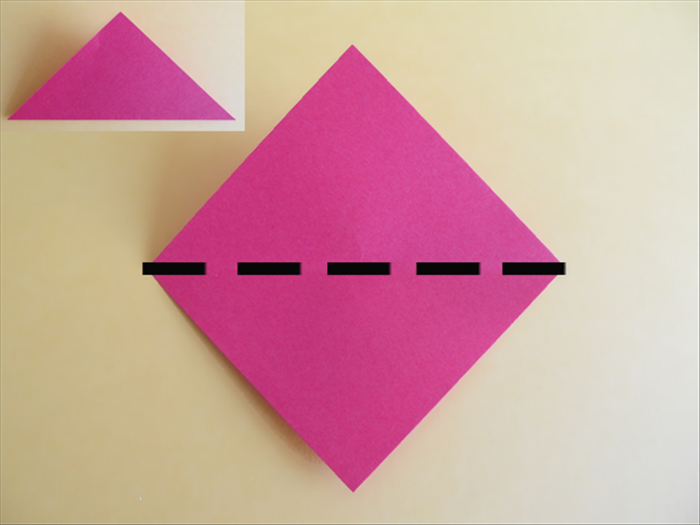
Take the square you want for the roof and fold it in half diagonally. Unfold
-
- 3
Step 3
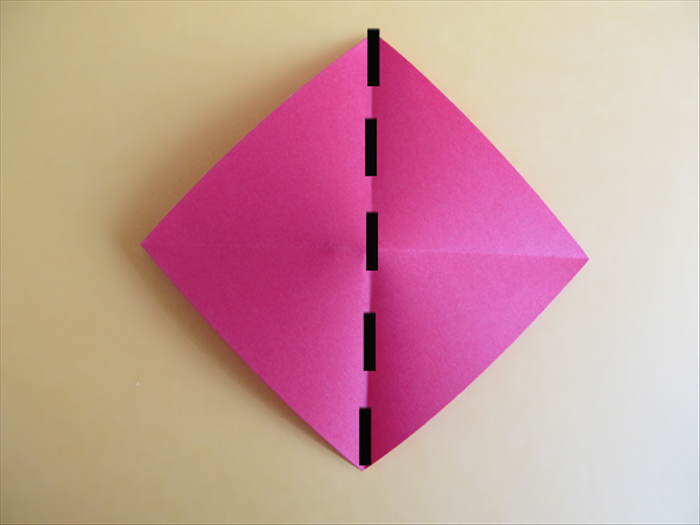
Bring the right point over to the left point to fold it in half diagonally in the opposite direction
- 4
Step 4
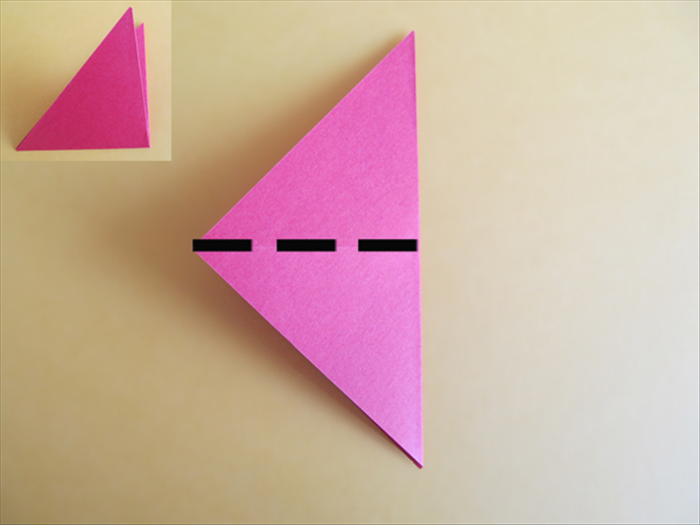
The long edge should be on the right.
Bring the bottom point up and fold it in half along the crease.
- 5
Step 5
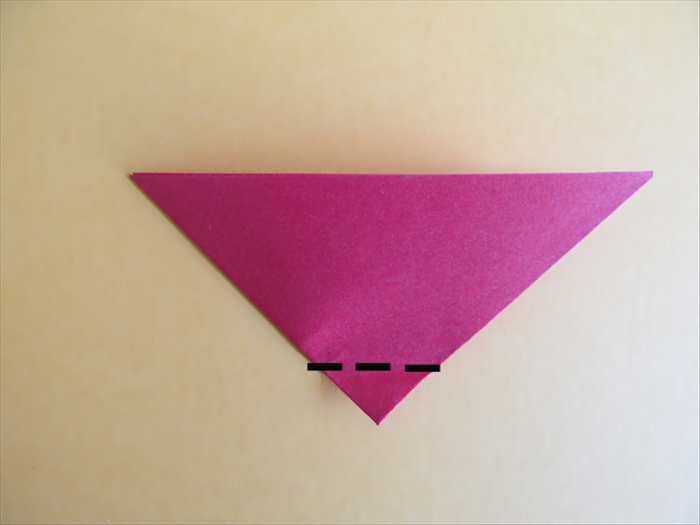
Rotate the paper so that the long end is on the top.
Make a very small fold on the bottom tip.
- 6
Step 6
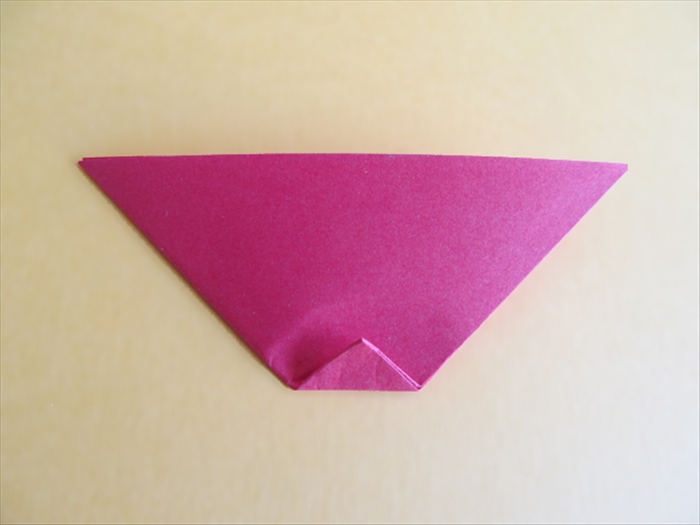
Result.
Make a very sharp crease at the fold.
Unfold all the folds
- 7
Step 7
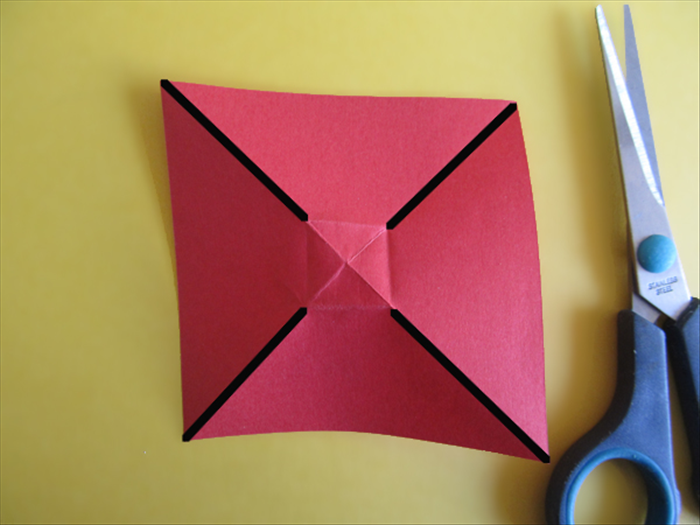
The result will have a square in the center.
Cut along the diagonal creases up to the corner points of the square.
- 8
Step 8
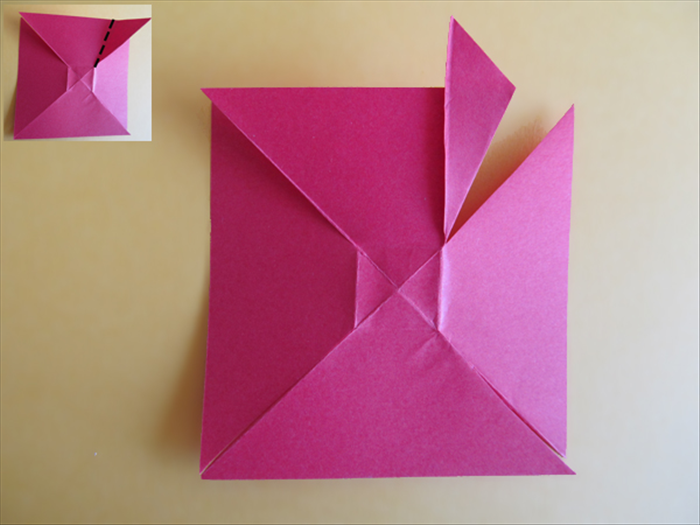
Bring the right edge of the top triangle to align with the side crease of the square.
- 9
Step 9
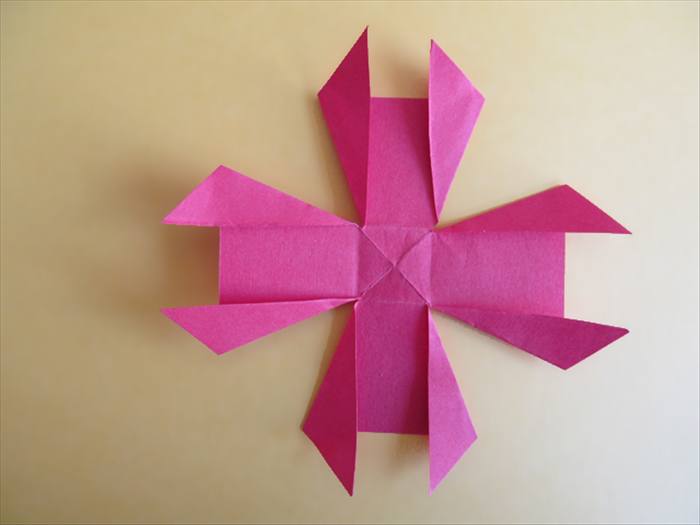
Bring each side up to align with the square.
- 10
Step 10
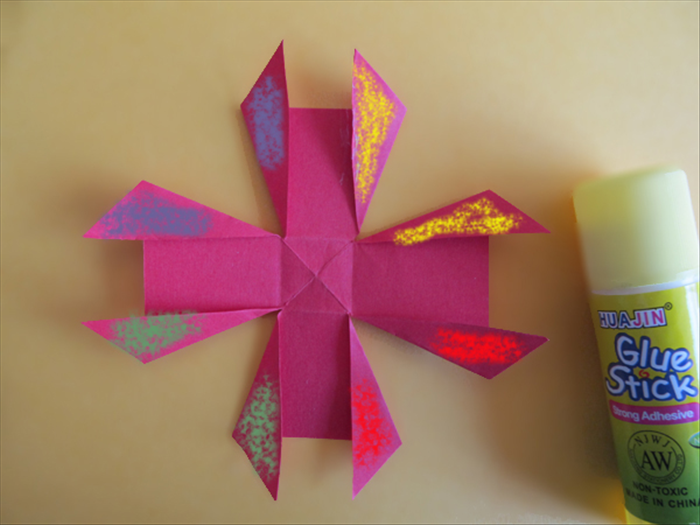
Glue the adjacent folds together.
They are marked with the same color in the picture.
- 11
Step 11
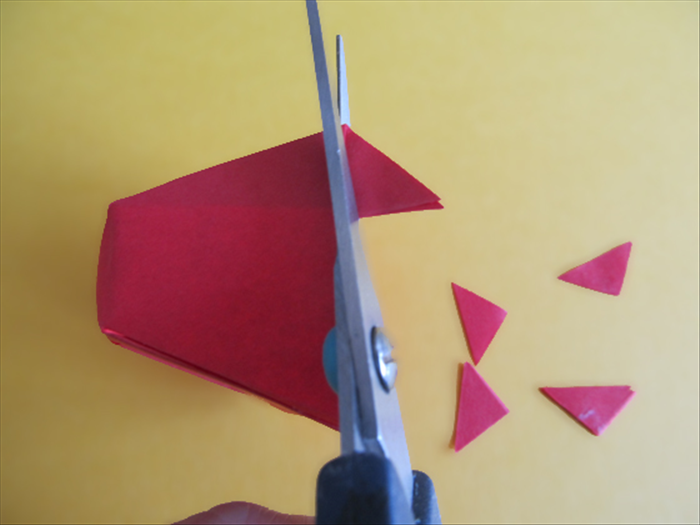
Use the edge as a guide to cut off the tips of triangles sticking out.
- 12
Step 12
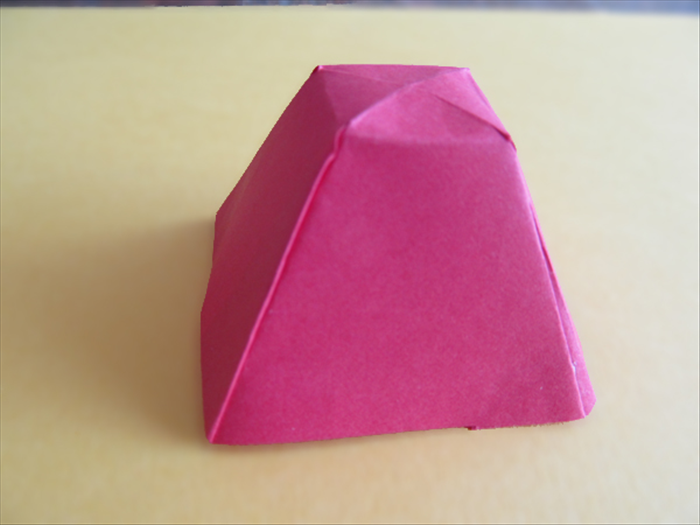
Result
Your roof is finished.
- 13
Step 13
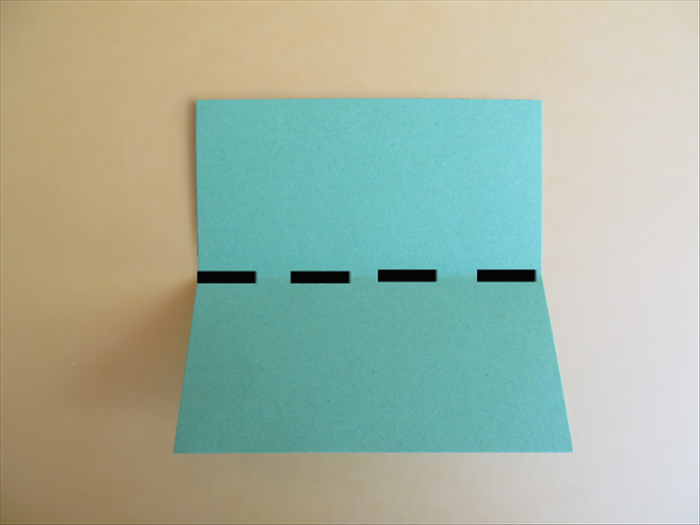
Take the second paper.
Bring the top edge down to fold it in half.
- 14
Step 14
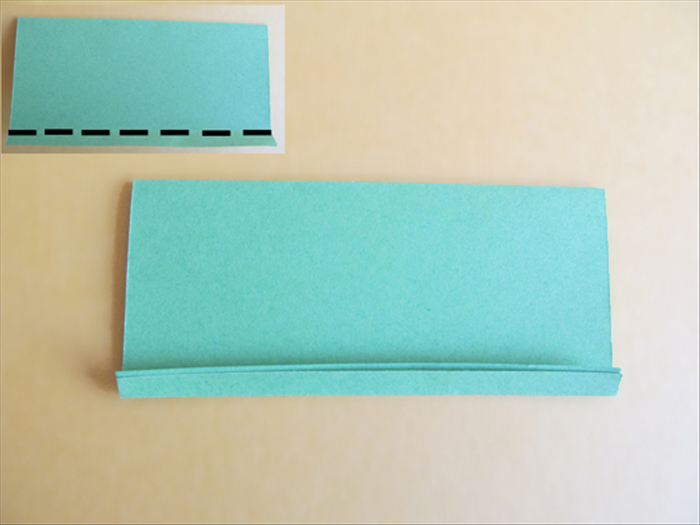
Make a small fold at the bottom.
Unfold all the folds
- 15
Step 15
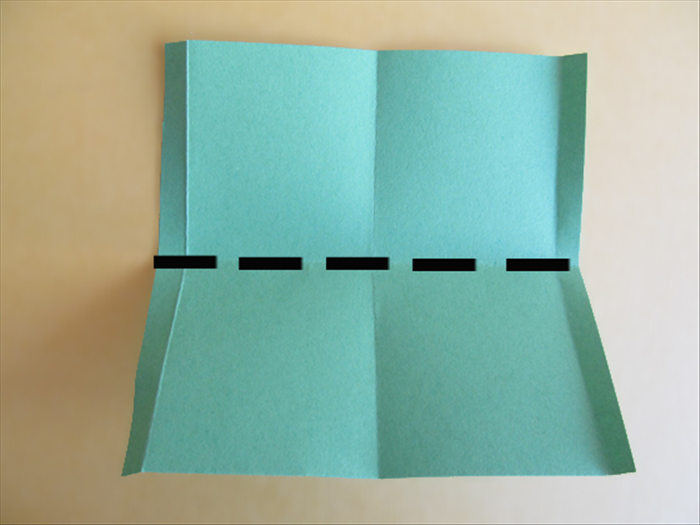
Place it on the table with folded edges on the sides.
Bring down the top edge to fold it in half and use this crease line to cut the paper in half.
- 16
Step 16
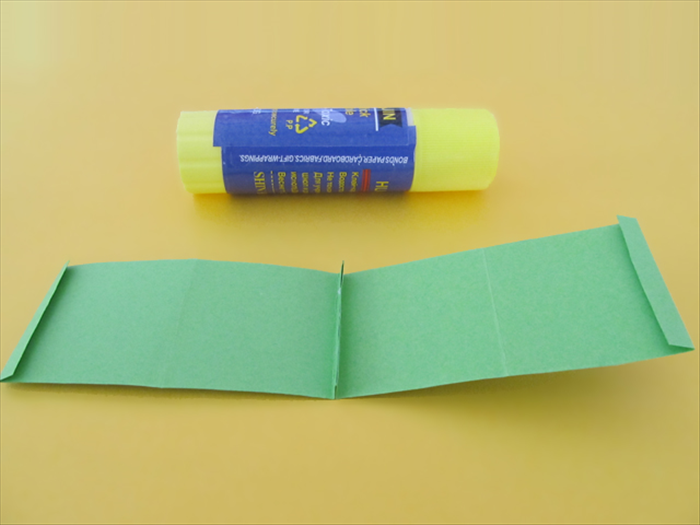
Make sure all the folds are going inward.
Place the 2 cut pieces side by side and glue them together along the folds.
Make sure the folds are aligned.
- 17
Step 17
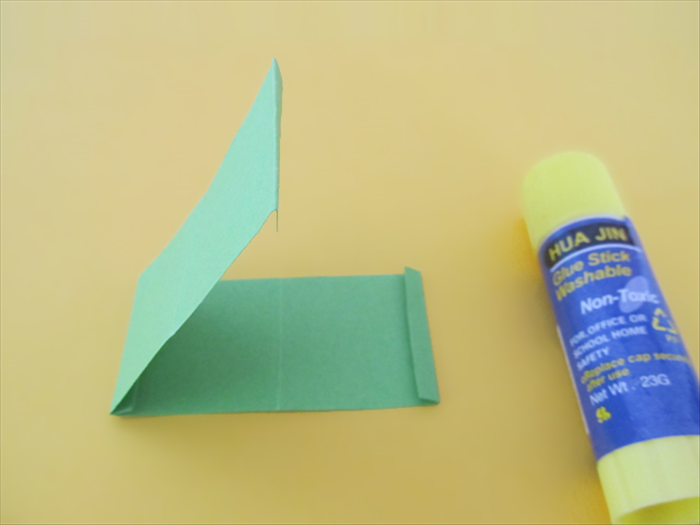
Fold the paper along the glued edge.
Glue the other 2 end folds together.
Make sure they are aligned.
- 18
Step 18
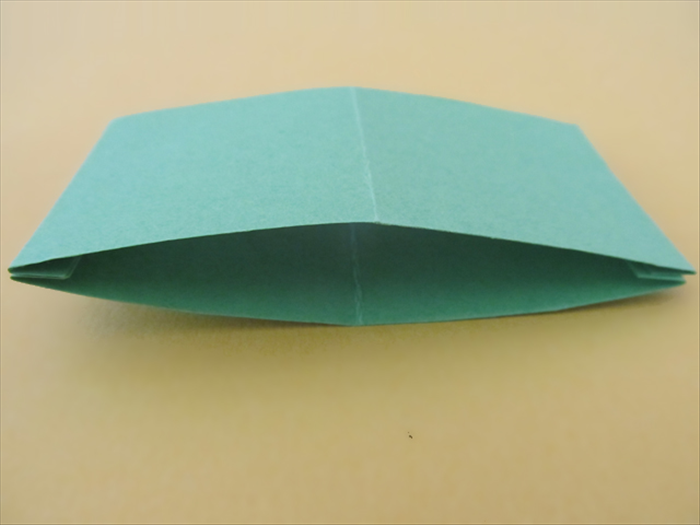
Result.
Lift the center along the crease until you get a square shape.
- 19
Step 19
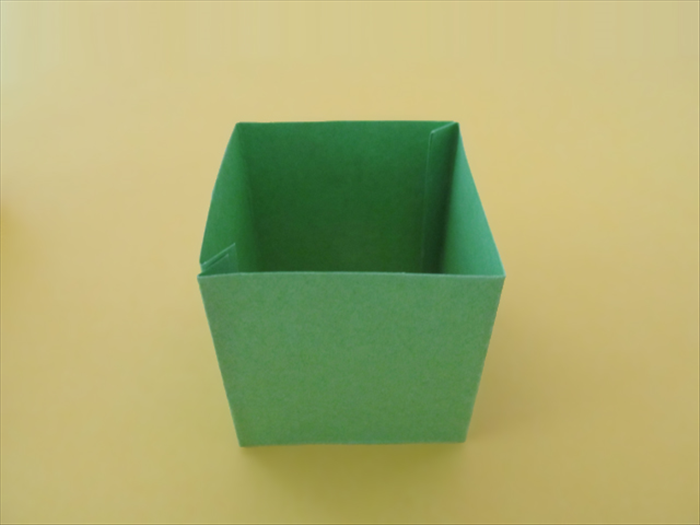
Result
- 20
Step 20
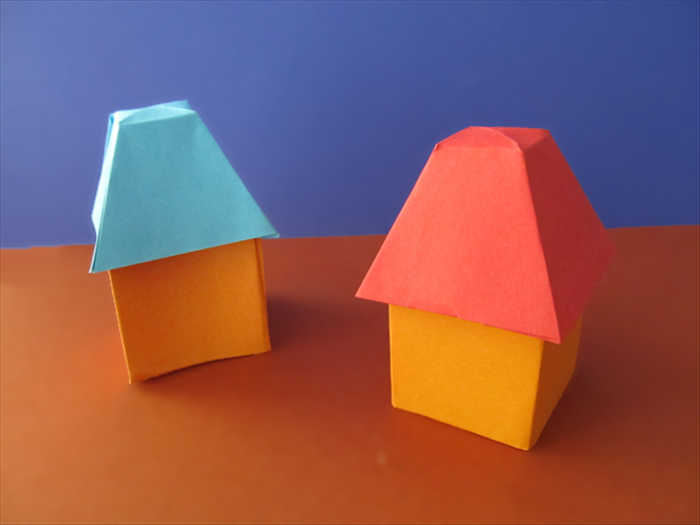
Place the roof on top and your paper house is ready!