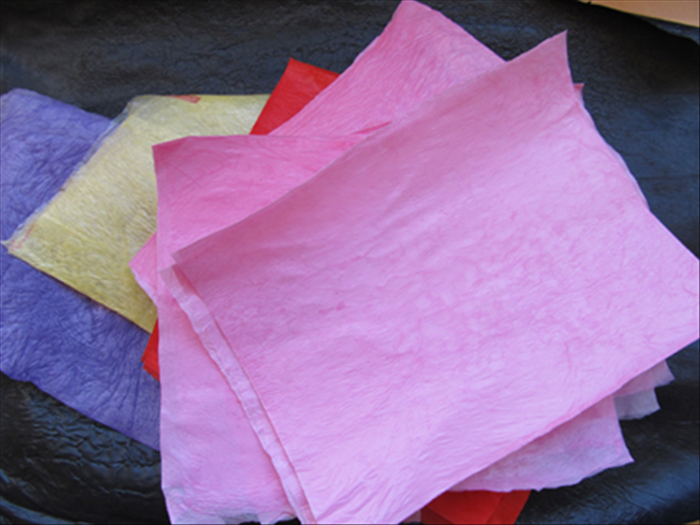
How to make a paper mache decorated box
This easy way to decorate a box with paper mache doesn’t make a big mess and you don’t have to wait a long time for it to dry.
Easy 8,851 views
What You'll Need
- paper mache
- green crafts
- plastic box
Steps
- 1
Step 1
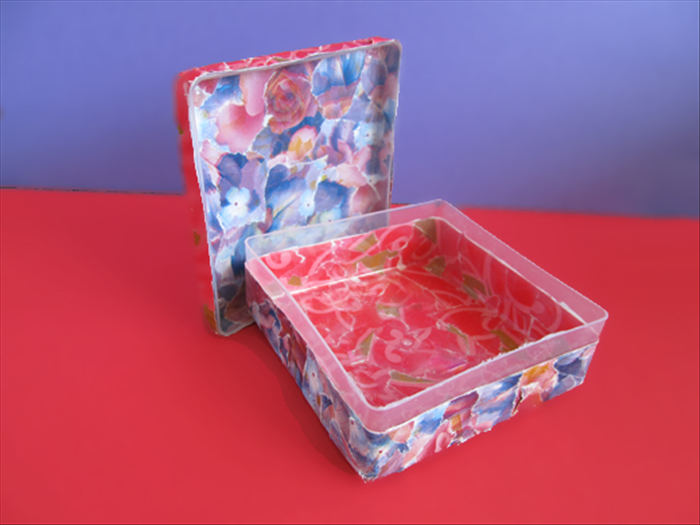 Materials: Empty Q-tip box or similar plastic box with a removable lid Scrap paper, magazines or junk mail Paper glue stick Scissors
 - 2
Step 2
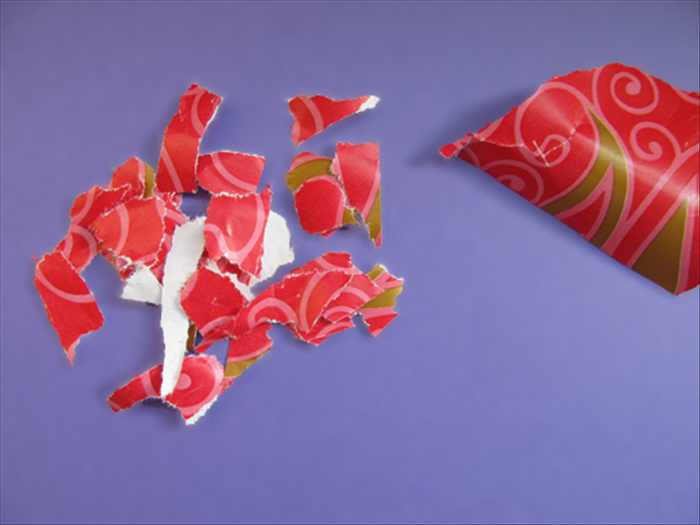 Decide which paper you want to show on the inside of the box. Rip the paper into small pieces
 -
- 3
Step 3
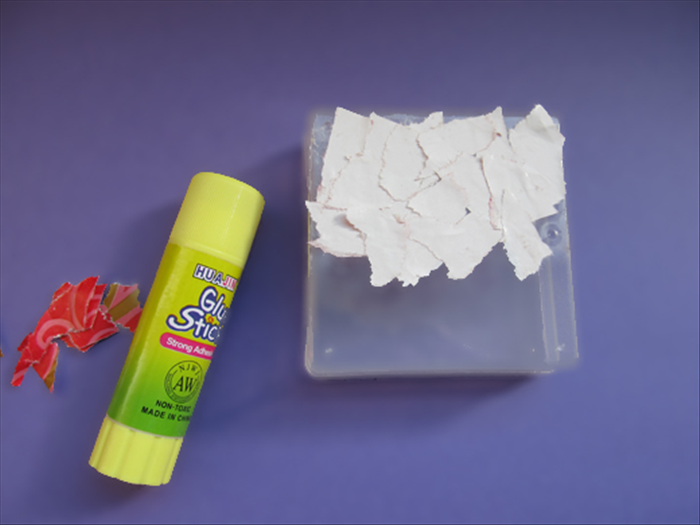 Keep the cover on the box. Flip it over to the bottom side. Glue the pieces of paper face down and overlapping on to the bottom of the box.
 - 4
Step 4
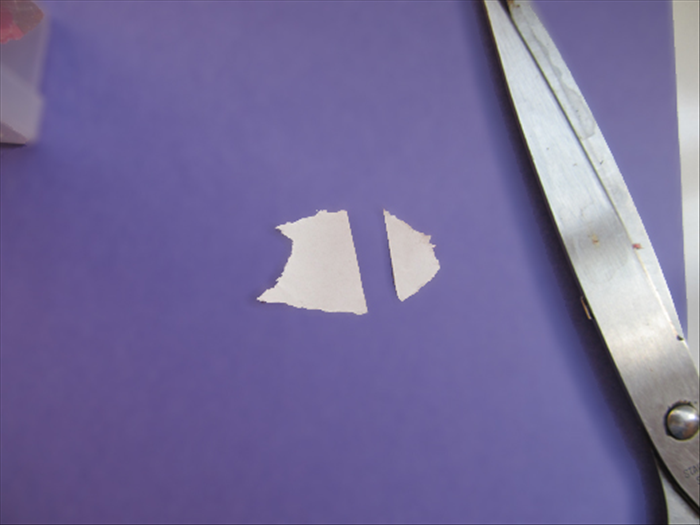 Take some of the ripped paper and cut one straight edge on them.
 - 5
Step 5
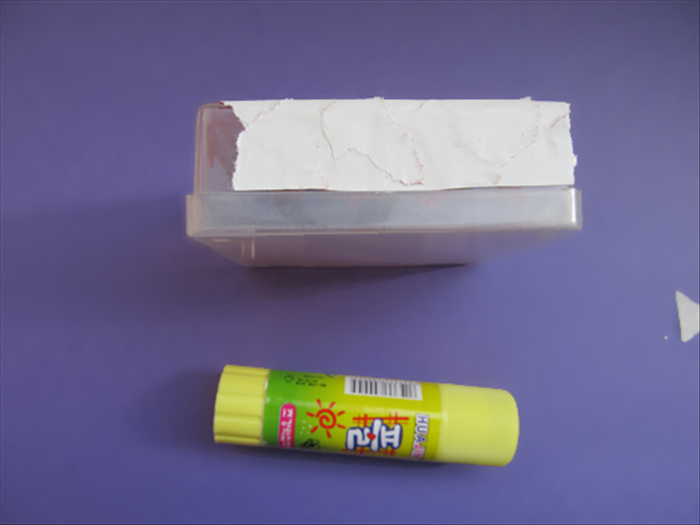 Carefully align the straight edges along the edge of the box lid. Continue overlapping pieces until all of the box bottom and its sides are covered.
 - 6
Step 6
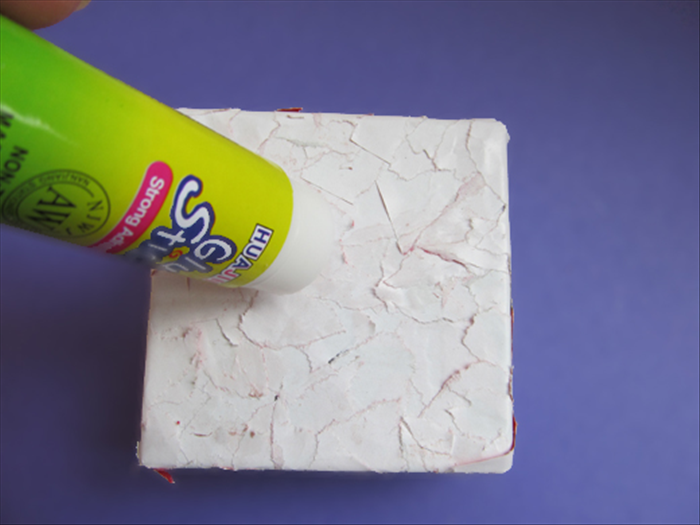 Smear glue all over the paper.
 - 7
Step 7
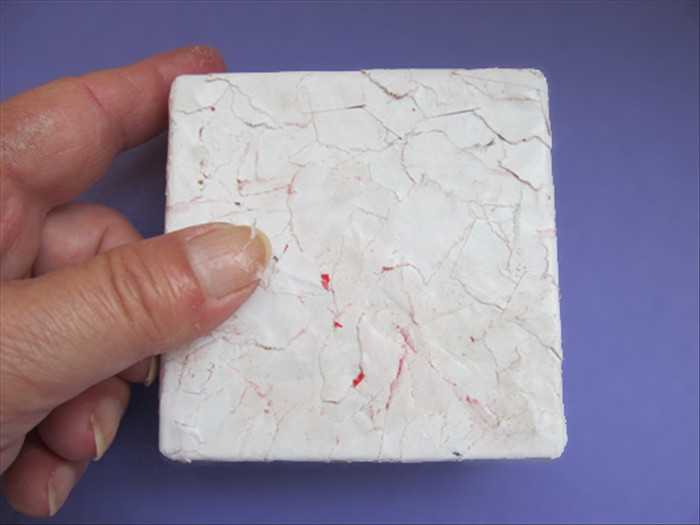 Gently run your finger along the top and sides and corners to smooth the paper.
 - 8
Step 8
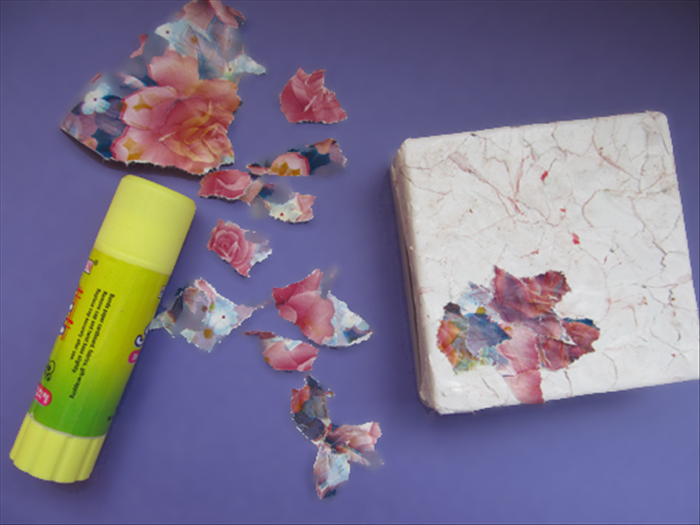 Decide which paper you want to show on the outside of the box. Repeat steps 2-7 but this time the side you want to show glue face up.
 - 9
Step 9
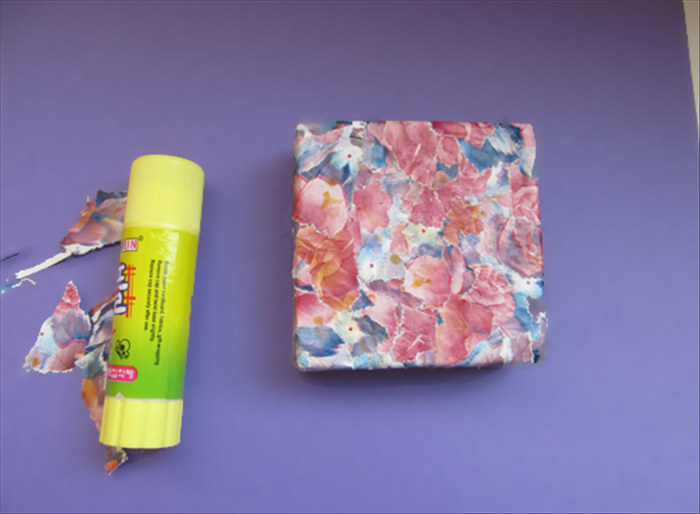 Result
 - 10
Step 10
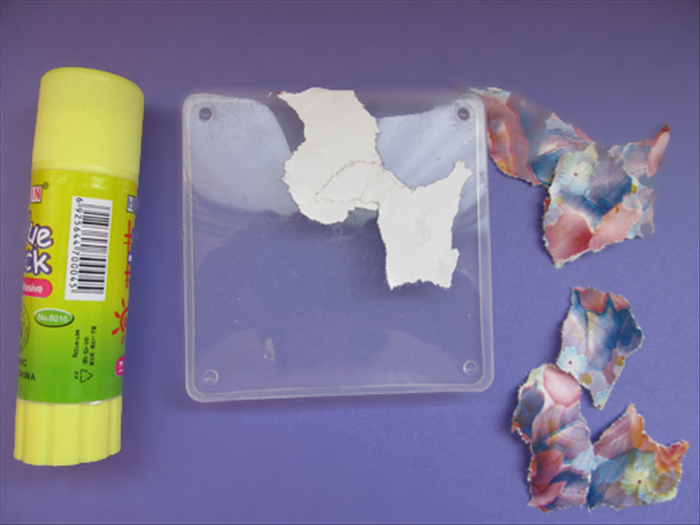 Remove the lid Use the same directions as for the bottom of the box but this time you do not have to cut straight pieces for the edge. You can have the pieces hang over the edge.
 - 11
Step 11
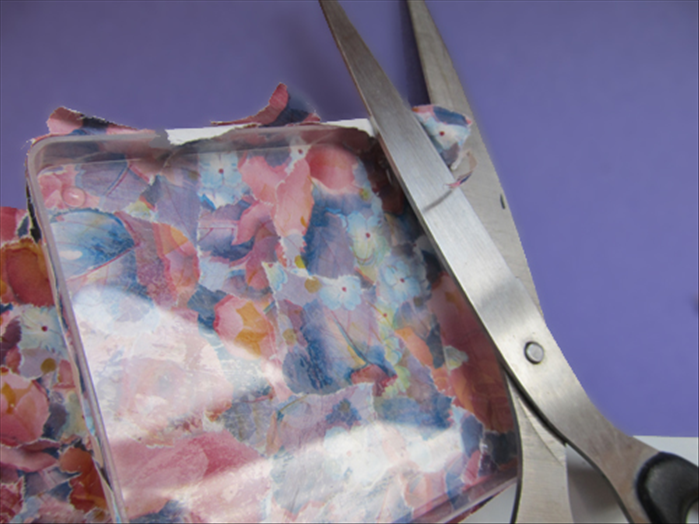 Wait for the glue to dry. Use the edge of the lid as a guide for your scissors to cut the extra paper off.
 - 12
Step 12
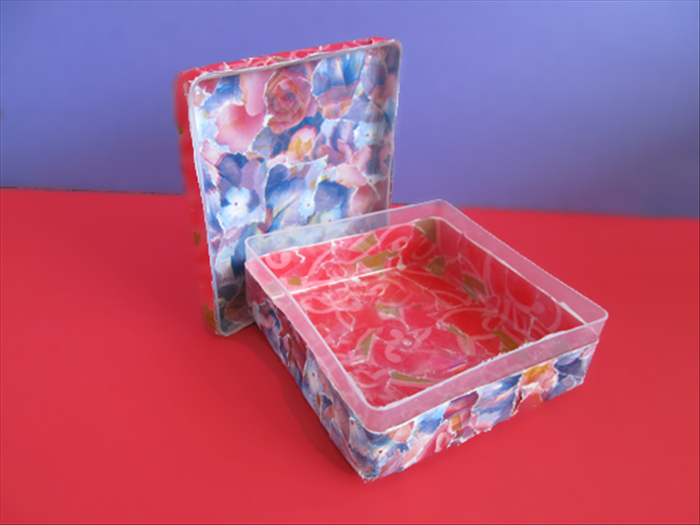 Your new pretty box is ready!