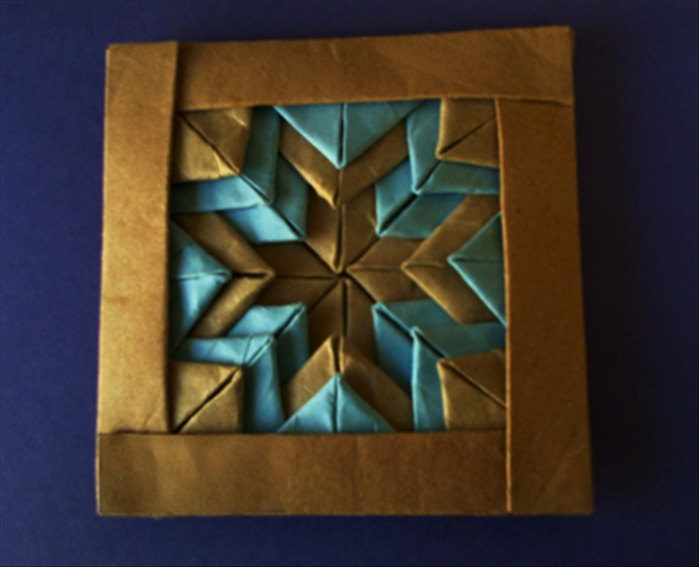
How to make a patchwork design with toilet paper rolls
This guide will show you how to cut and fold toilet paper rolls to create artwork with a patchwork design.
Easy 9,994 views
What You'll Need
- patchwork
- toilet paper rolls
- green crafts
Steps
- 1
Step 1
 Materials: Toilet paper rolls – 6 to 12 colored on one side Toilet paper rolls - 16 to 20 plain 4 1/2 inch square cardboard for the base White glue Scissors Clothes pins
 - 2
Step 2
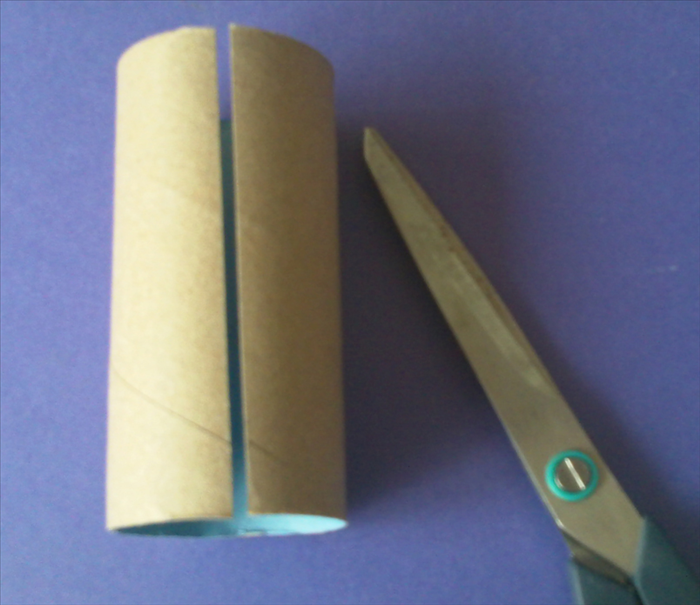 Cut 12 toilet paper rolls in half lengthwise You may find that some of the rolls are damaged or have writing so it is hard to tell exactly how many you will need. Start with 6 rolls with color inside and 8 for the plain
 -
- 3
Step 3
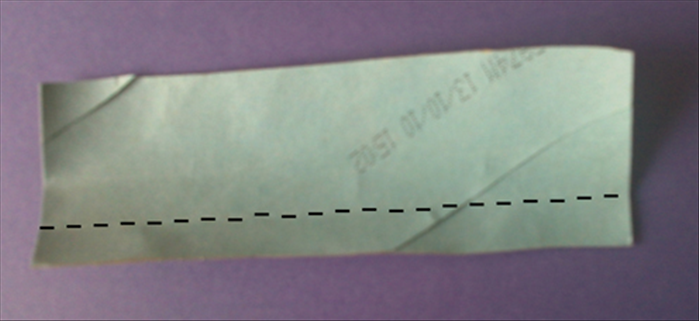 Fold in half lengthwise to mark the center and open Fold the edge to the center crease you just made
 - 4
Step 4
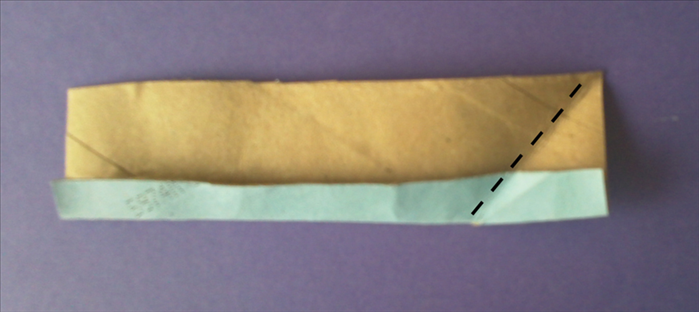 Fold the right bottom point up and align the side with the top edge
 - 5
Step 5
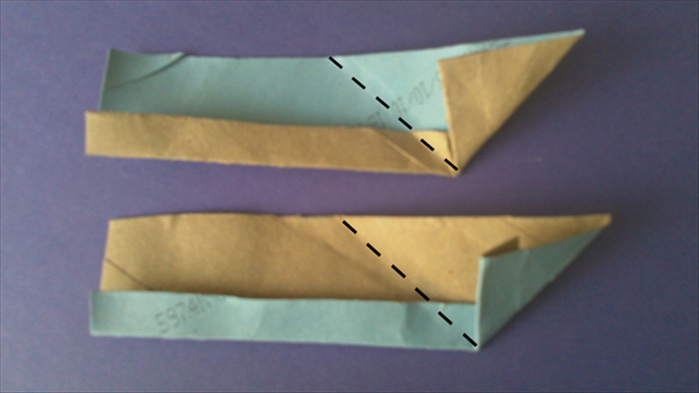 Fold left bottom edge to align with the inner flap you just made The picture shows how it looks on both colors
 - 6
Step 6
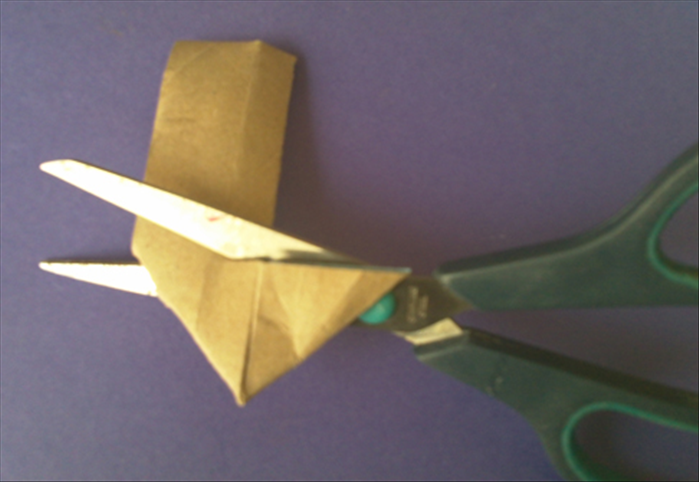 Cut along the straight edge to make a triangle
 - 7
Step 7
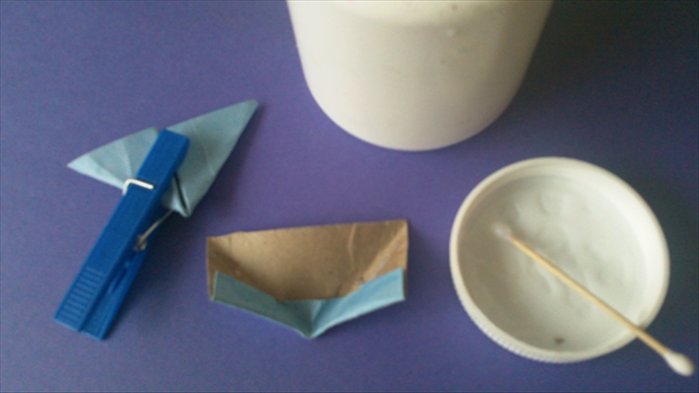 Glue the flaps of the triangles together You need 12 brown triangles And 12 colored triangles
 - 8
Step 8
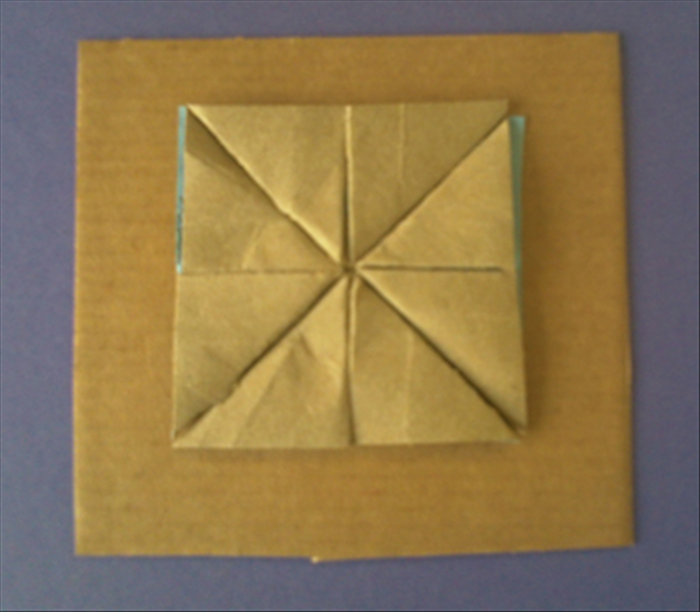 Glue 4 brown triangles on the center of the square cardboard
 - 9
Step 9
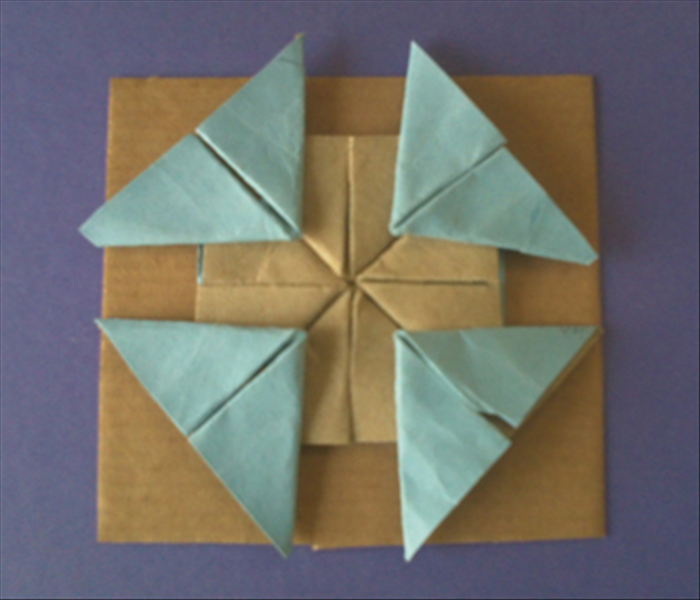 Glue 4 colored triangles on top at the corners. See the picture for placement
 - 10
Step 10
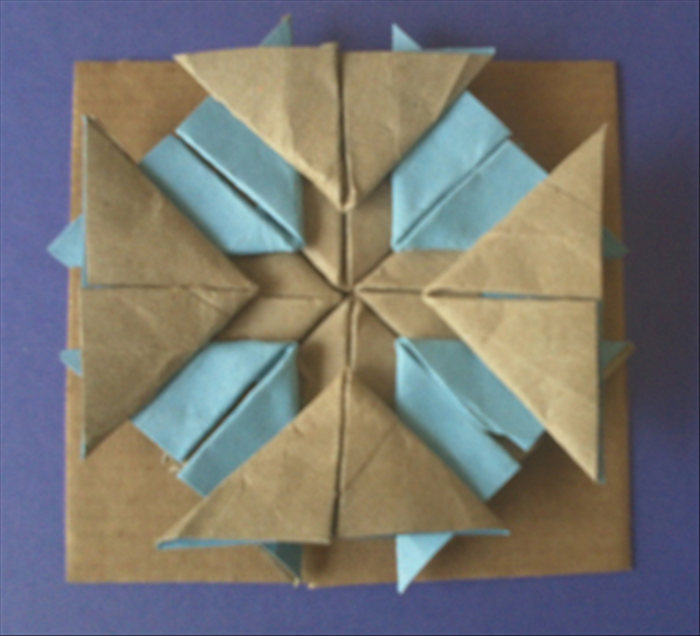 Glue 4 brown triangle on top at the centers. See the picture for placement
 - 11
Step 11
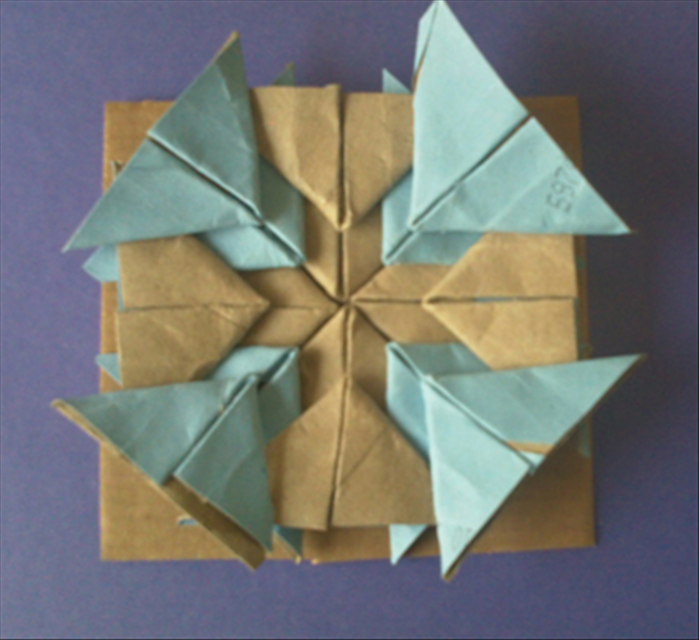 Glue 4 colored triangles on top at corners. See picture for placement
 - 12
Step 12
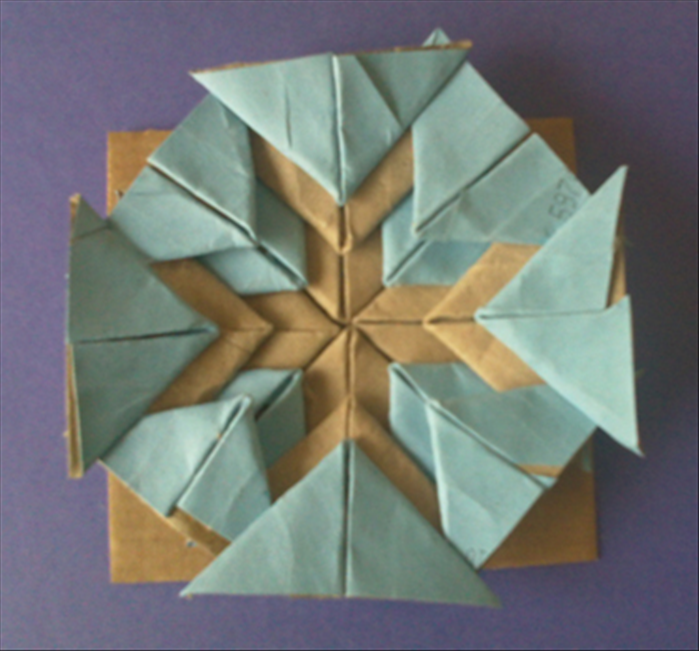 Glue colored triangles on top at centers. See the picture for placement
 - 13
Step 13
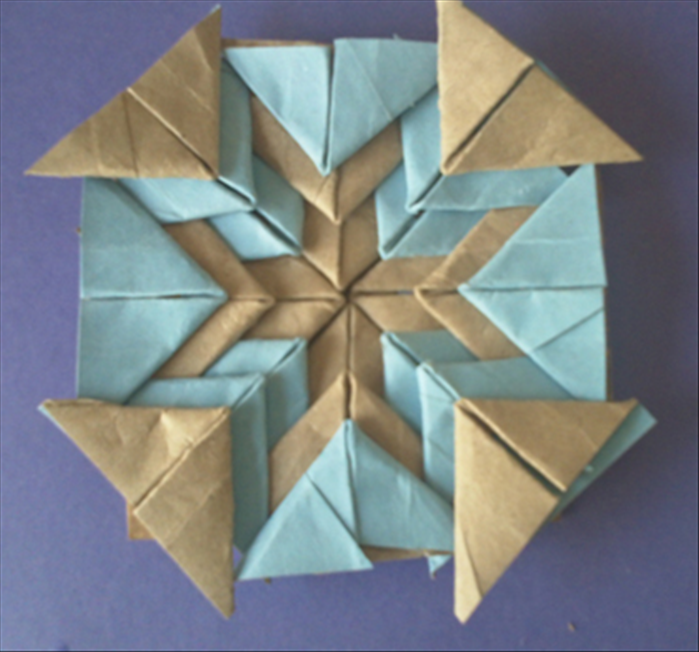 Last one. Glue 4 brown triangle on corners
 - 14
Step 14
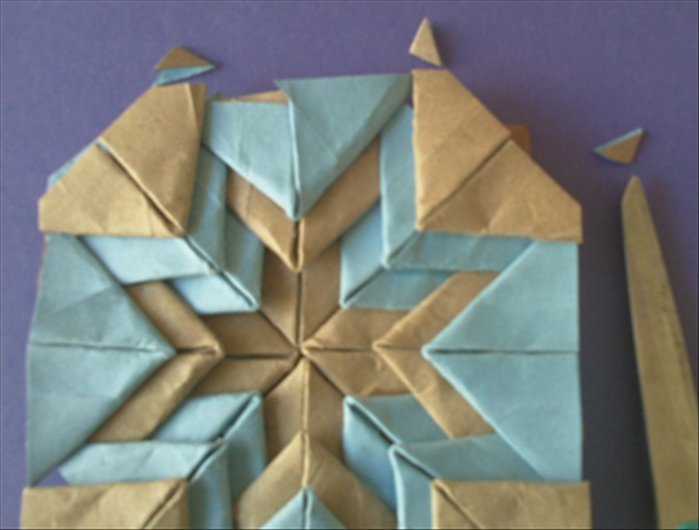 Cut the corners along the edge to make a straight line
 - 15
Step 15
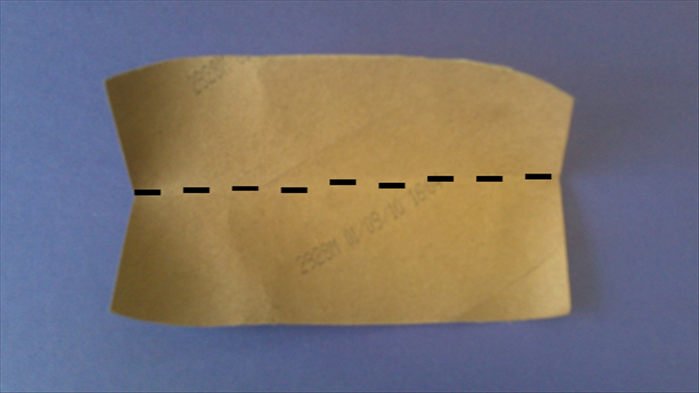 Now to make the frame Cut 4 more toliet paper rolls in half lengthwise Fold them in half lengthwise to crease the center Fold the bottom edge up to the crease
 - 16
Step 16
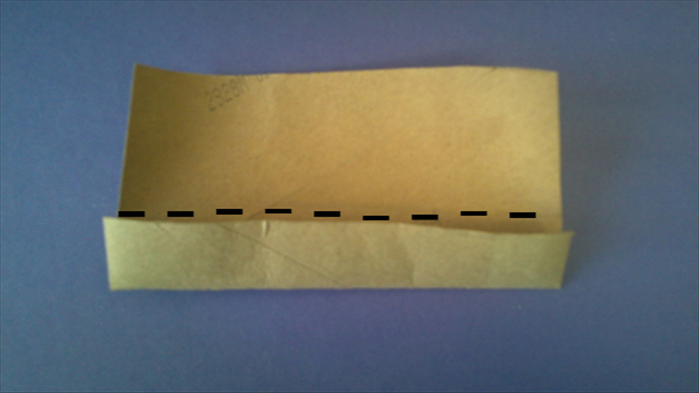 Fold the bottom up at the center crease
 - 17
Step 17
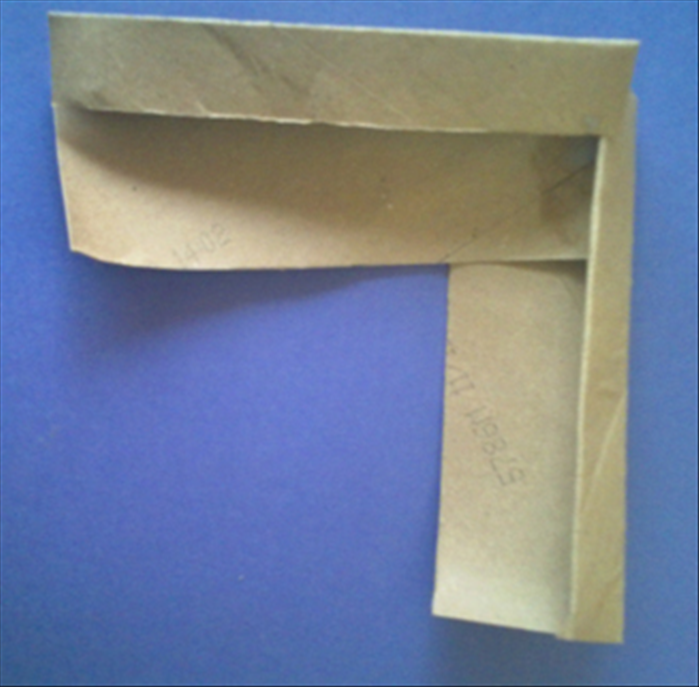 Align the corners and edges of 2 of the pieces you just folded. Glue only the bottom layers together Rotate and glue the bottom layers of the other 2 pieces to make a square *The top flaps should not be glued
 - 18
Step 18
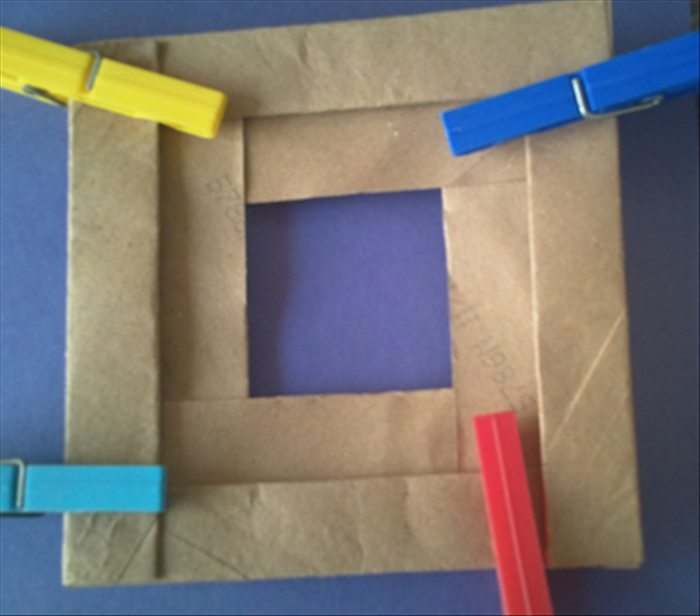 Adjust the pieces so that they are aligned and square. Hold them together with clothespins until the glue is completely dry.
 - 19
Step 19
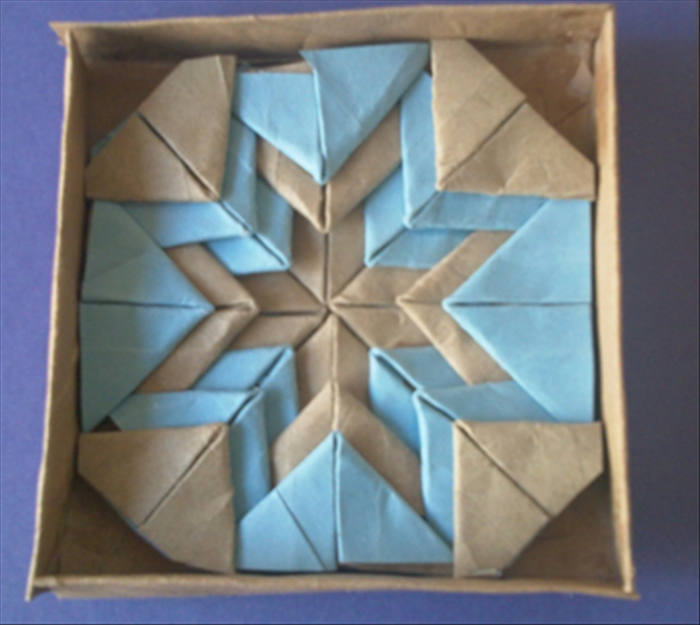 Lift up the top flaps and put the triangle artwork inside
 - 20
Step 20
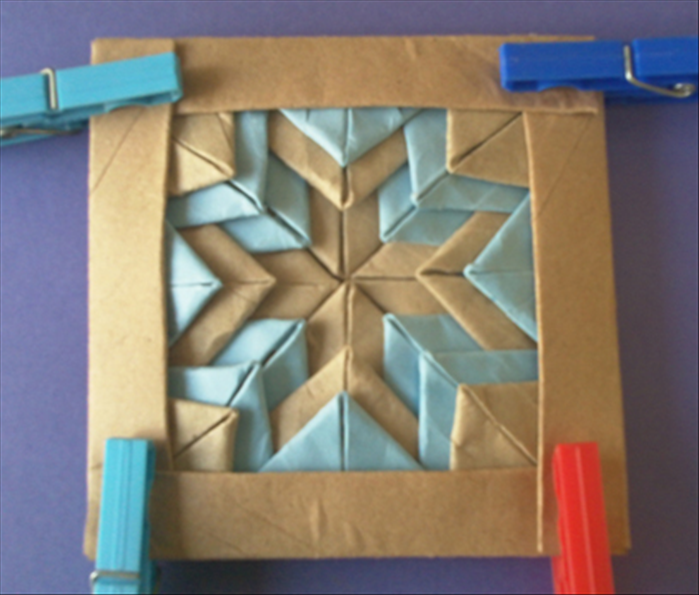 Close the flaps, Make sure the right side of each flap on top Glue down the corners and hold them in place with the clothespins until the glue has dried. Enjoy your patchwork creation!