How to Make a Cardboard Shadow Box
Build an 8×10 inch cardboard box with 1 inch sides to hold small, light objects. Knife, mat, ruler, glue.
What You'll Need
- Cardboard or chipboard sheets
- PVA craft glue
- HB pencils (pack)
- Precision craft knife
- Self-healing cutting mat
- Metal ruler 12 inch
Build the box first; decorate later with what you already have.
A shadow box is a shallow open box you glue onto a back panel so small objects sit in from the front. Default size below is 8×10 inches outside, 1 inch deep. Scale the same ratios if you need another size. Plan 1–2 hours for the box; decorating is separate.
Cut on a mat, blade away from your body. Kids need an adult on the knife.
Pick size
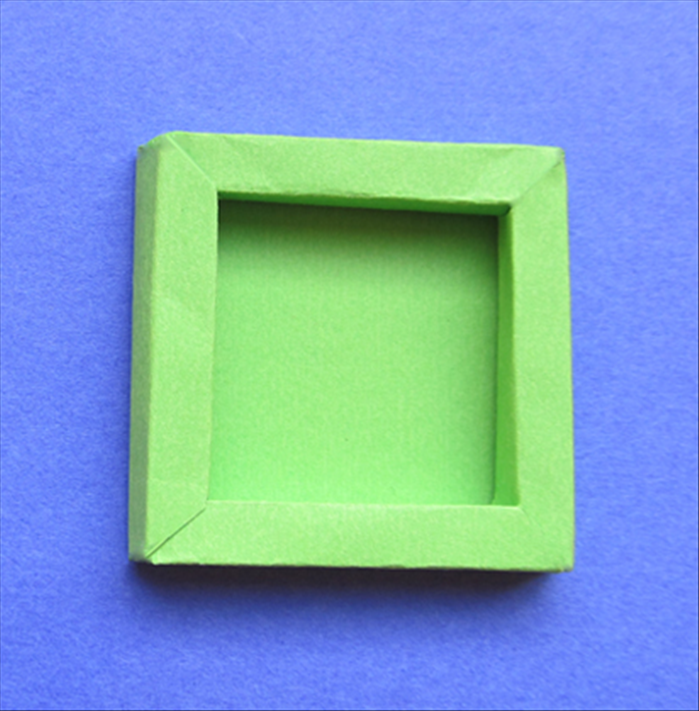
Write outer width, outer height, and depth. Example: 8 × 10 inches, 1 inch deep. Measure the tallest object you will put inside; depth must beat that by a bit.
Cut the pieces
Back panel: one 8×10 inch rectangle.
Walls for a 1 inch depth: two strips 10 × 1 inches (long sides) and two strips 8 × 1 inches (short sides). If the short walls sit inside the long ones, shorten the 8 inch strips by twice the cardboard thickness so the outside stays 8×10.
Glue the walls to the back

Stand the four strips on edge around the back panel and glue the joints. Hold each corner until the PVA grabs. Check square with the ruler before it sets.
Masking tape on the outside holds corners while glue dries. Peel it after.
Let it dry, then load
Leave the empty box until the joints don’t flex. Glue in light objects only (paper, dried flowers, small pins). Don’t fill it with anything that needs a glass shop frame.