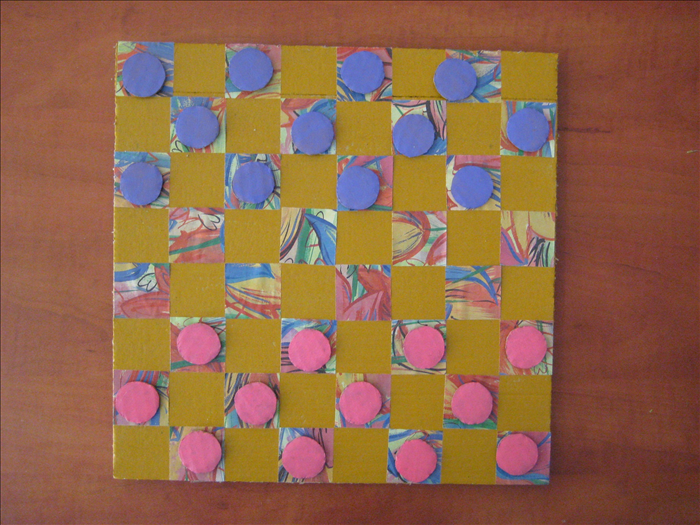
DIY Cardboard Coasters: Upcycle & Protect Your Surfaces
Make eco-friendly coasters or hot pads from recycled cardboard boxes. Simple step-by-step guide.
What You'll Need
- Corrugated cardboard (from shipping boxes, clean and sturdy)
- Strong craft glue (wood glue, PVA, or clear-drying adhesive)
- Decorative covering (fabric scraps, paper, or paint)
- Clear sealant (optional, for water resistance)
- Ruler and pencil
- Scissors or craft knife
- Cutting mat
- Heavy objects (books or weights)
- Paintbrushes (if painting or sealing)
Repurpose old cardboard boxes into functional coasters and hot pads. This project uses basic materials and tools to create protective surfaces for your furniture.
Prepare Cardboard Shapes
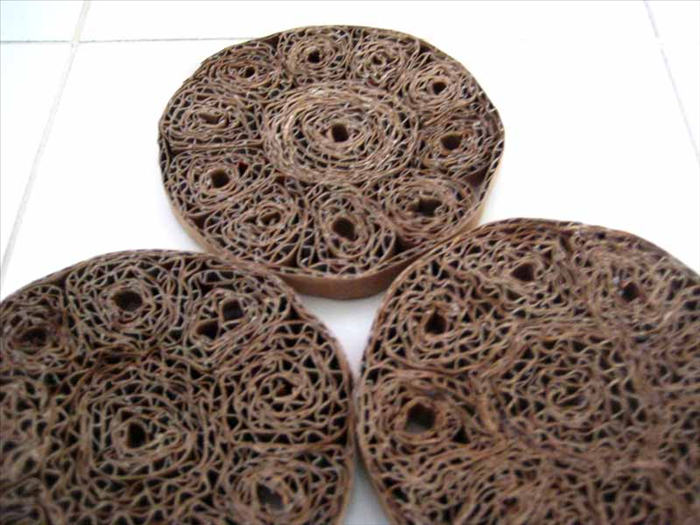
Flatten and clean cardboard, removing tape and labels. Decide size and shape. For coasters, trace a glass or draw circles; for squares, ensure right angles. Cut out shapes with scissors or craft knife on a cutting mat.
Layer and Glue Base
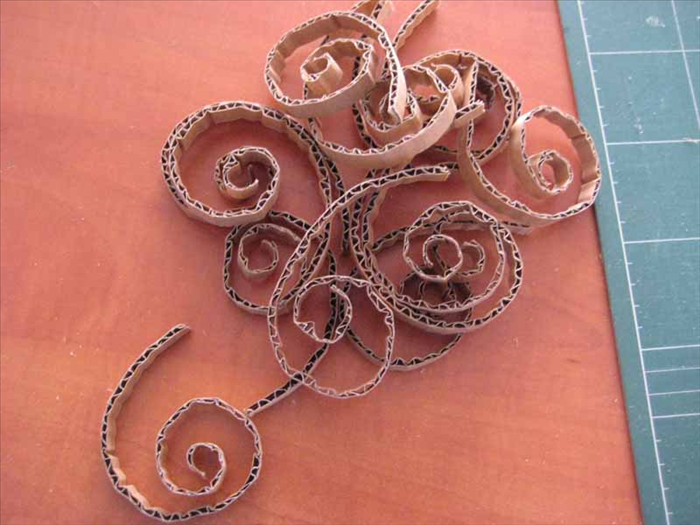
Stack 3-4 cardboard pieces per coaster. Apply glue evenly between layers. Press together firmly. Place under heavy books for at least 1 hour to bond.
Trim Edges
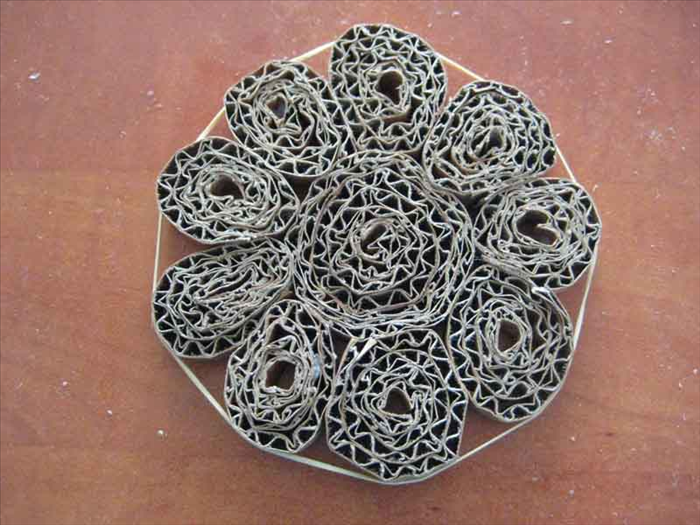
After glue dries, trim any uneven edges with scissors or craft knife to create a clean, uniform shape. Sand lightly if needed.
Decorate Surface
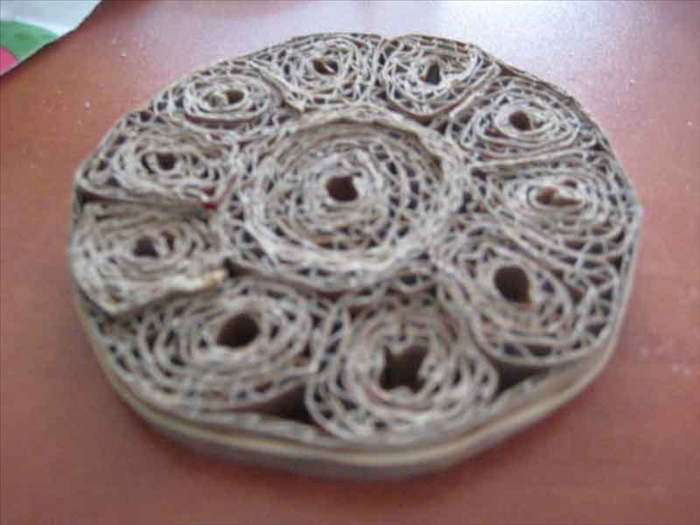
Apply decorative covering: glue fabric or paper onto top surface, or paint directly. Let dry completely. For fabric, wrap edges neatly and glue down.
Seal and Finish
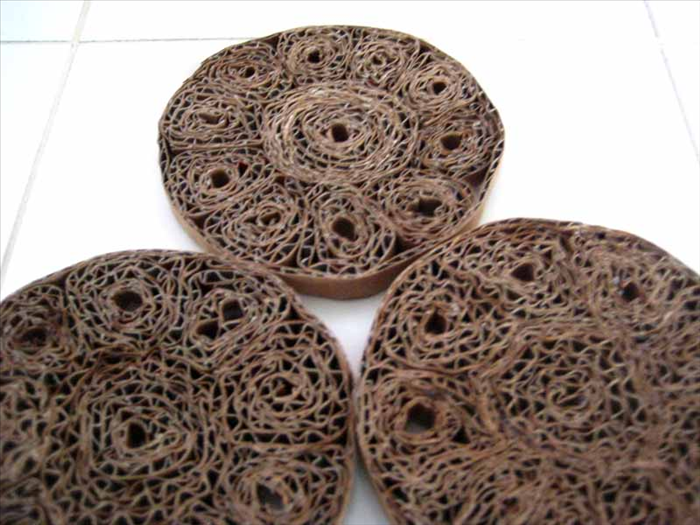
Optional: Apply clear sealant or Mod Podge in thin, even coats. Let dry between coats. This adds water resistance and durability. Allow final coat to cure fully before use.
Uniform Shapes
For perfectly uniform circles, trace around a glass or use a compass. For squares, ensure right angles for a neat stack.
Cutting Safety
Always use sharp tools with caution. Cut on a self-healing mat to protect surfaces and prevent injury.