How to make an origami face changer toy
This guide will show you how easy it is to make a cute face changer toy by drawing on the different flaps of this origami model.
Easy 13,806 views
What You'll Need
- origami toys
- origami face changer
- origami for children
Steps
- 1
Step 1
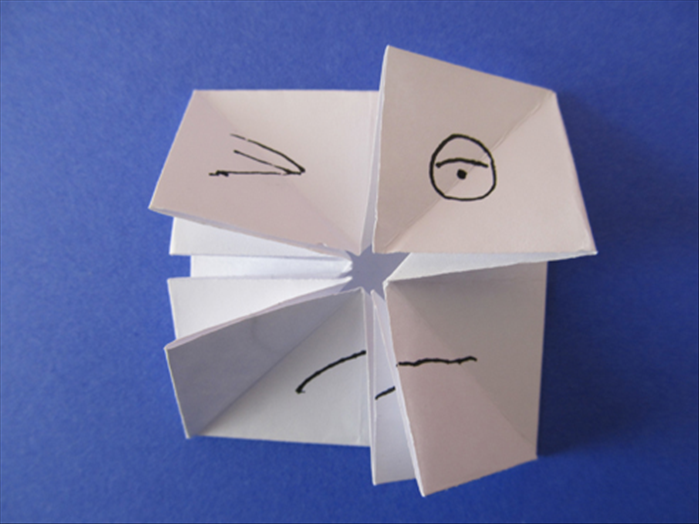 Materials: 1 square of paper Pen
 - 2
Step 2
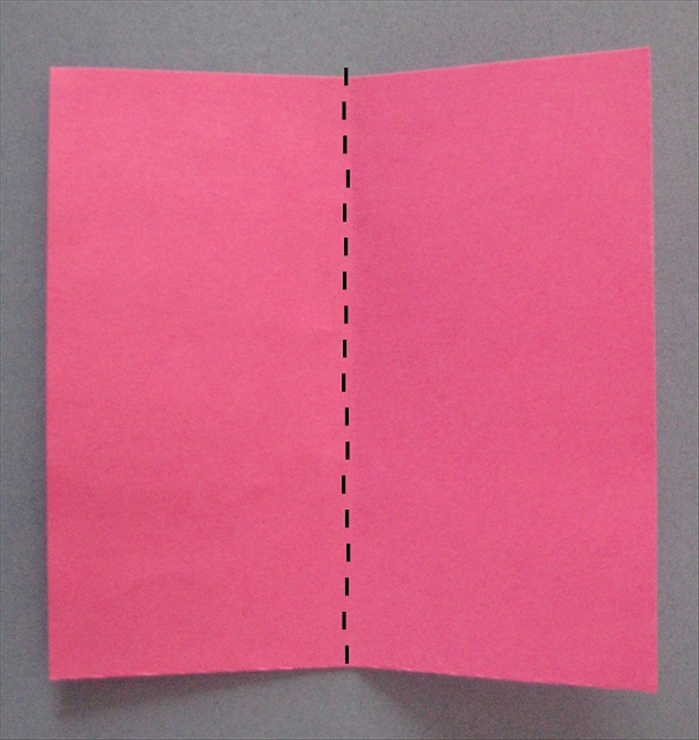 Fold the square paper in half vertically. Unfold
 -
- 3
Step 3
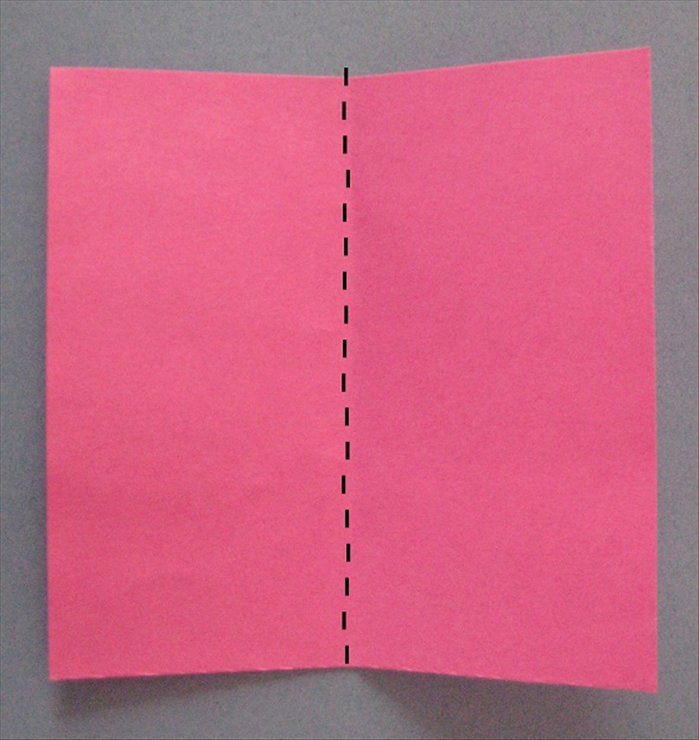 Fold the 2 sides to the center crease you just made
 - 4
Step 4
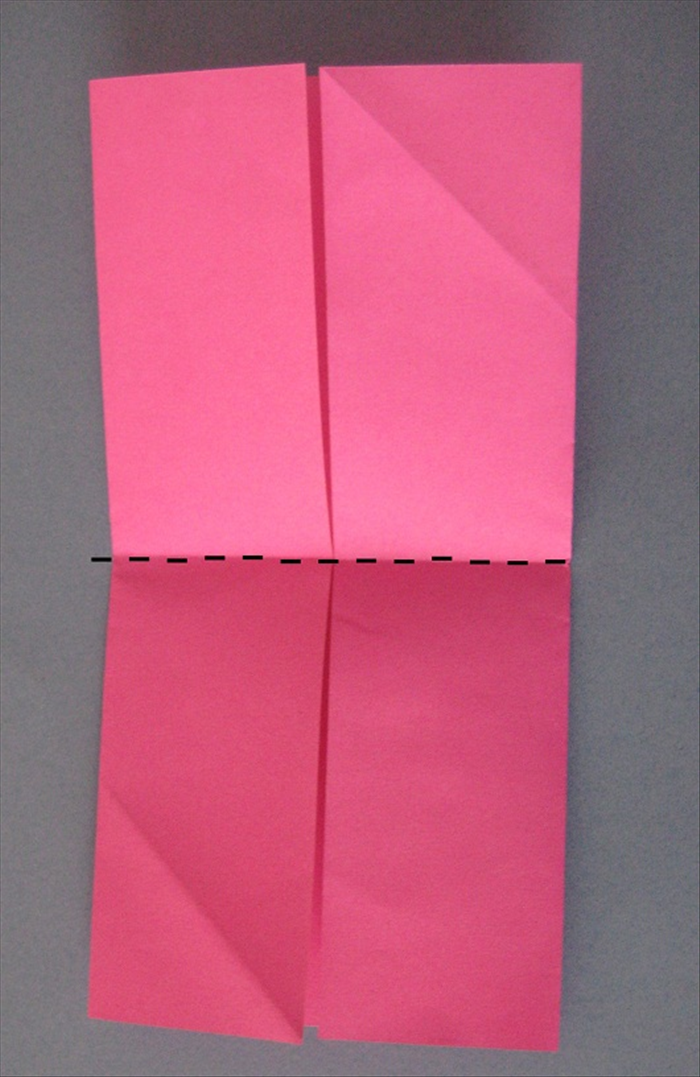 Fold in half horizontally Unfold
 - 5
Step 5
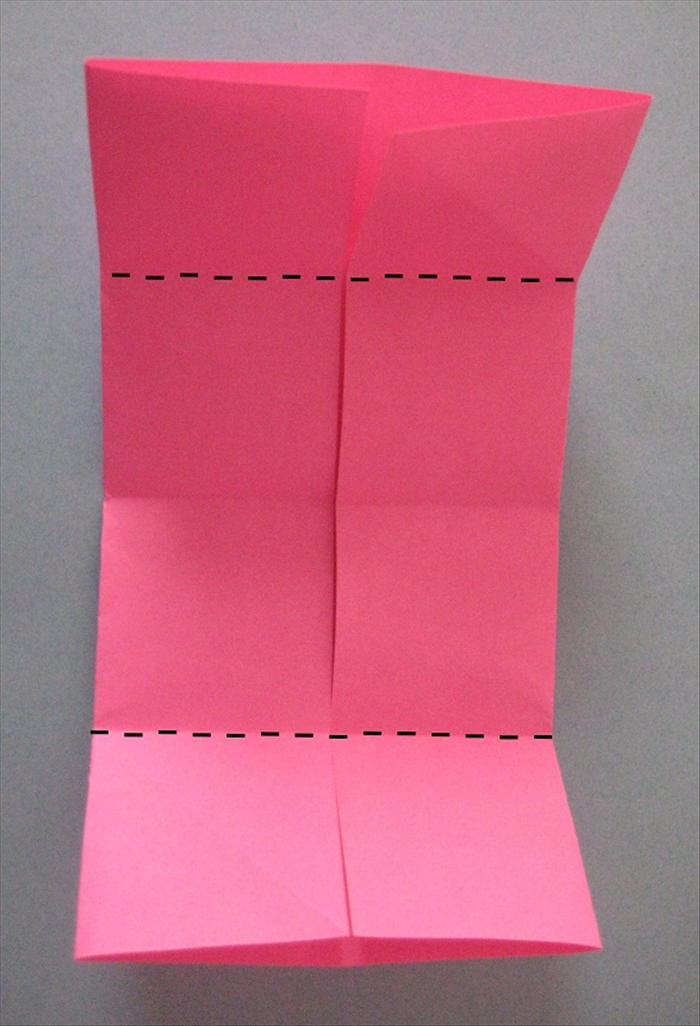 Fold the top and bottom edges to the center crease you just made. Unfold
 - 6
Step 6
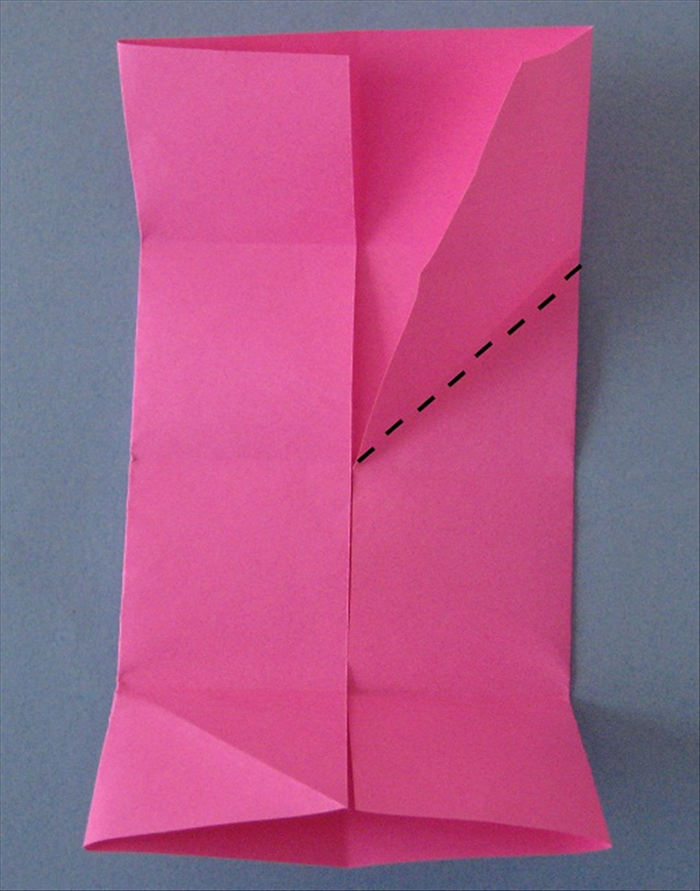 Bring the inner edge of one flap down at an angle so that it aligns with the center crease. Do the same to the other flap.
 - 7
Step 7
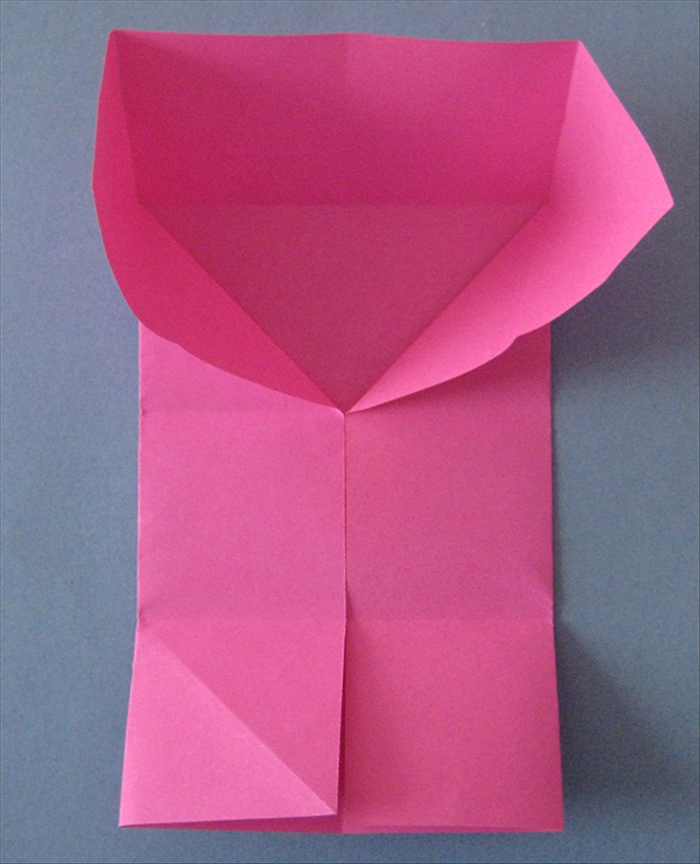 Flatten both sides. It will cause the top edge to come down
 - 8
Step 8
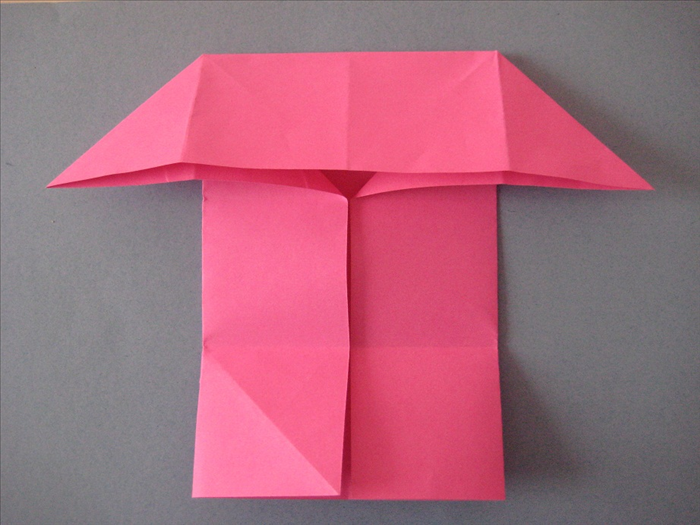 Result Repeat on the bottom
 - 9
Step 9
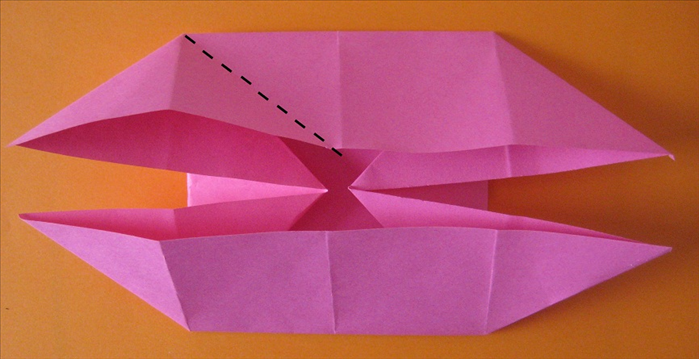 Fold the top left side up at an angle to align its bottom with the center crease
 - 10
Step 10
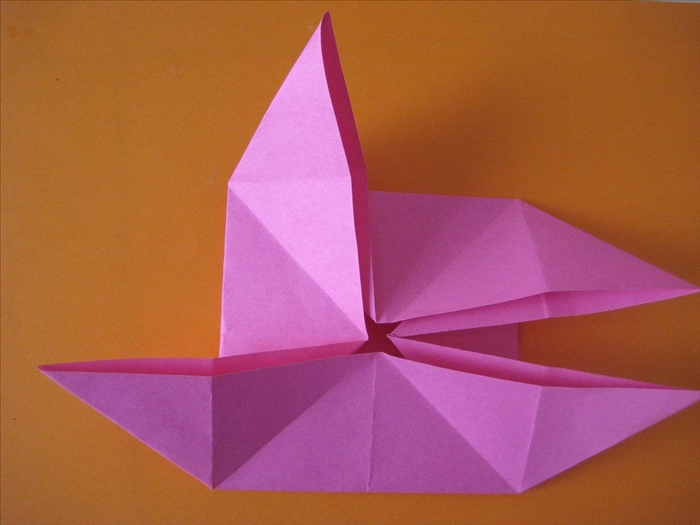 Result
 - 11
Step 11
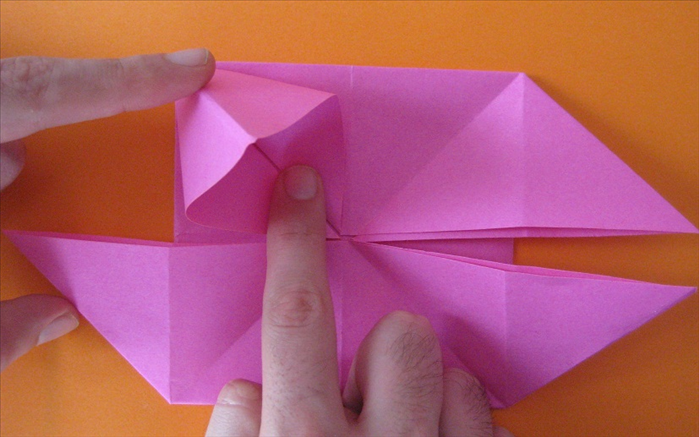 Open the flap you just folded, insert a finger and press down the top Repeat steps 9 to 11 on remaining 3 corners See how it should look in next picture
 - 12
Step 12
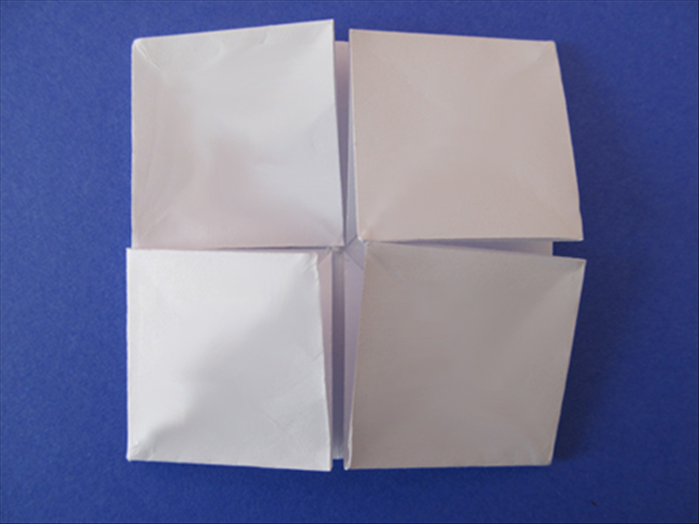 This is how it should look
 - 13
Step 13
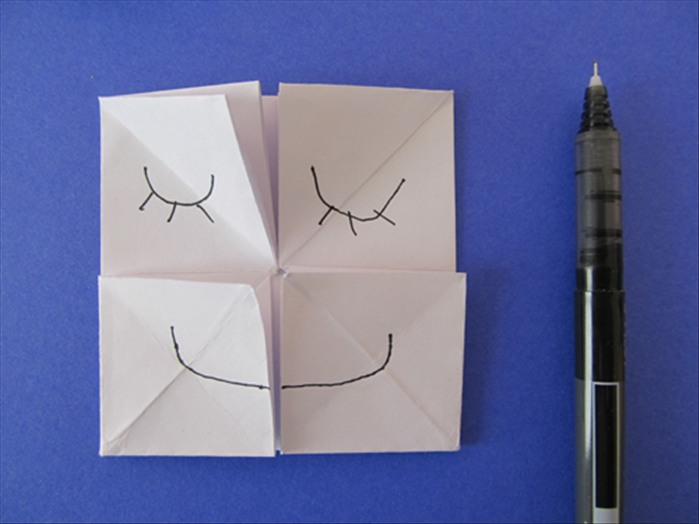 Draw eyes on the top 2 squares Draw a mouth on the bottom 2 squares
 - 14
Step 14
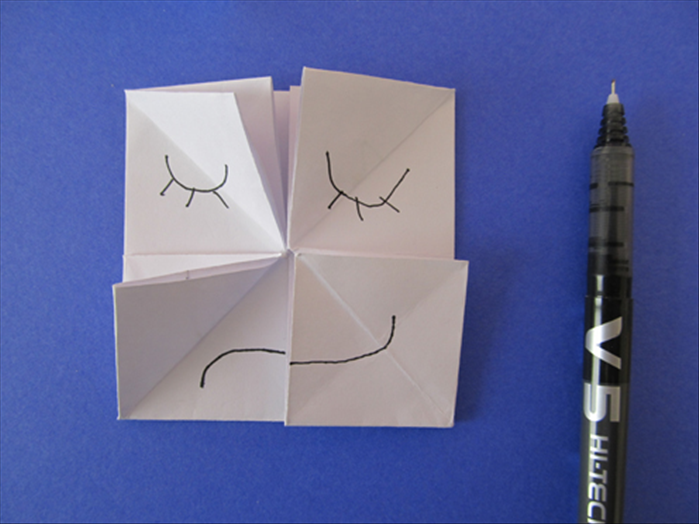 Fold the bottom left flap up. Draw the left side of a different mouth. Pay attention that it starts at the mouth line on the right flap.
 - 15
Step 15
 Lift the right bottom flap and draw the rest of the mouth. Fold down the top 2 flaps and draw eyes.
 - 16
Step 16
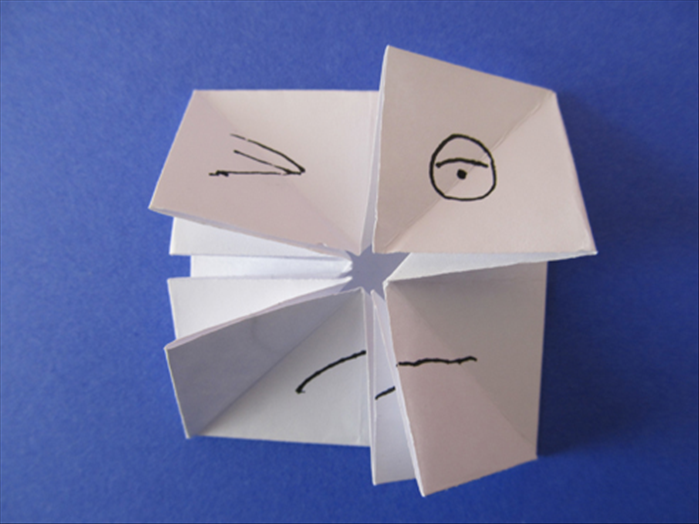 If you lift 2 layers of each flap you will have another place to draw the eyes and mouth. It is best to lift one bottom side at a time to align the mouth When you have drawn on all the layers your face changer toy is ready. Just lift or fold back each layer to see funny combinations Have fun!