DIY Christmas Tree Magnets
Make simple Christmas tree magnets with kids using foam or cardstock, glue, and magnets.
What You'll Need
- Green craft foam or sturdy cardstock
- Brown craft foam or cardstock (for trunk)
- Craft glue
- Small magnets (e.g., adhesive-backed or craft magnets)
- Optional: Glitter, sequins, buttons, or paint for decoration
- Kid-safe scissors
- Pencil or marker
- Optional: Craft brushes (for glue or paint)
Create festive tree magnets for the fridge. Use green foam or cardstock, add a trunk, decorate, and attach a magnet.
Step 1: Prepare Your Work Area
Cover the table with newspaper or a craft mat. Gather all materials and tools. Keep scissors and small items within reach but supervised.
Step 2: Cut Out Tree Shapes

Draw simple Christmas tree outlines on the green foam or cardstock. Cut them out with kid-safe scissors. Also cut a small brown rectangle for each trunk.
Tip
Use cookie cutters as stencils or print a tree template for consistent shapes.
Step 3: Decorate the Trees

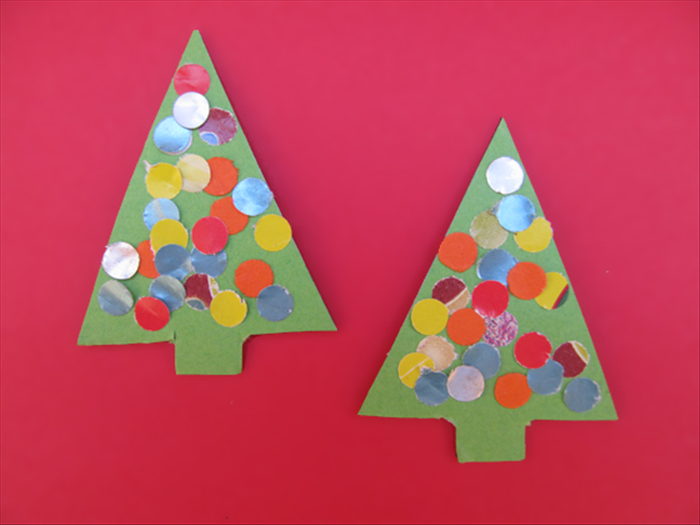
Glue a brown trunk to the bottom of each green tree. Decorate with glue, glitter, sequins, buttons, or paint. Let dry completely.
Tip
Use bottle caps or small toys as stamps with paint for unique patterns.
Step 4: Attach the Magnets
Once the trees are dry, glue a magnet to the back of each tree. Press firmly and let the glue set. Test on the fridge.
Safety
Supervise children with scissors, glue, and small items. Avoid small parts for kids under 3 due to choking risk.