How to make paper animals
These standing paper animals are easy enough for children to make, Enjoy!
What You'll Need
- paper animals
- paper crafts
- children's crafts
- paper zoo
Steps
- 1
Step 1
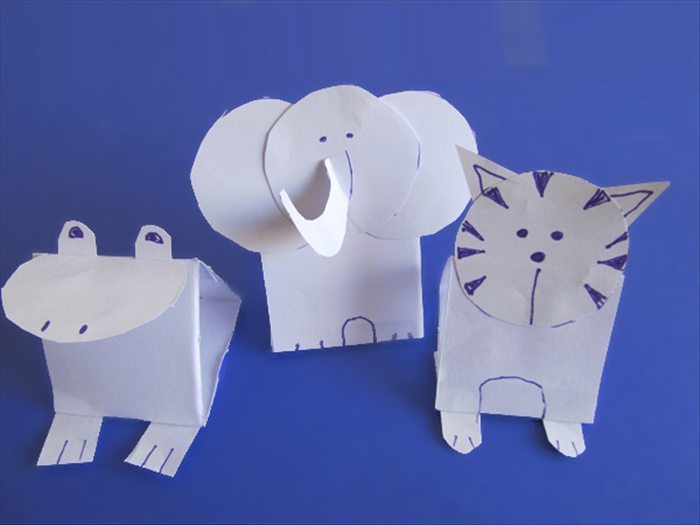
Materials:
Paper
Large bottle cap or similar circular object
Pen or markers
Scissors
- 2
Step 2
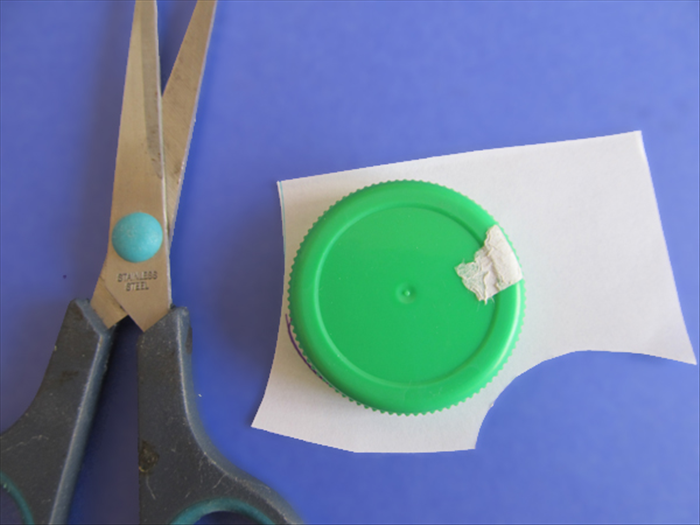
Trace the outline of the circular object and cut it out.
Here a large bottle cap was used.
-
- 3
Step 3
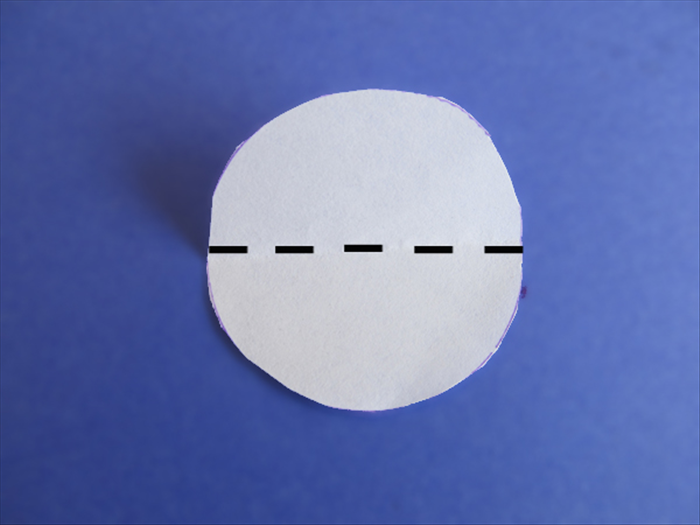
Fold the circle in half
- 4
Step 4
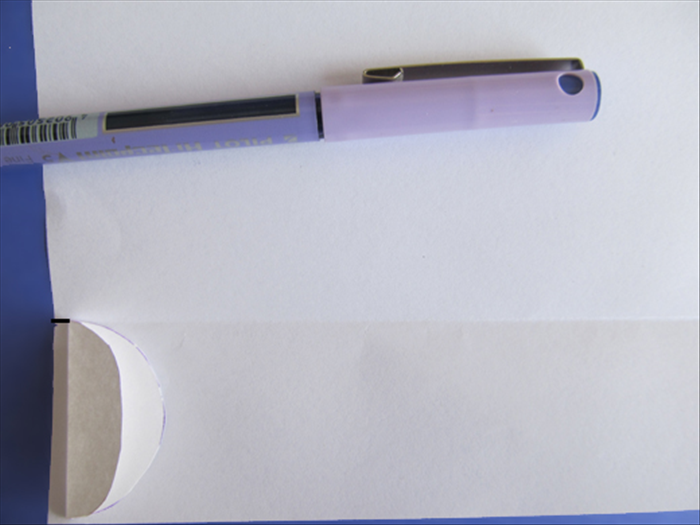
Align the folded edge to the paper
Mark the top of the folded edge.
Use the mark to fold the paper
Cut the paper along the fold. This will give you a paper strip.
- 5
Step 5
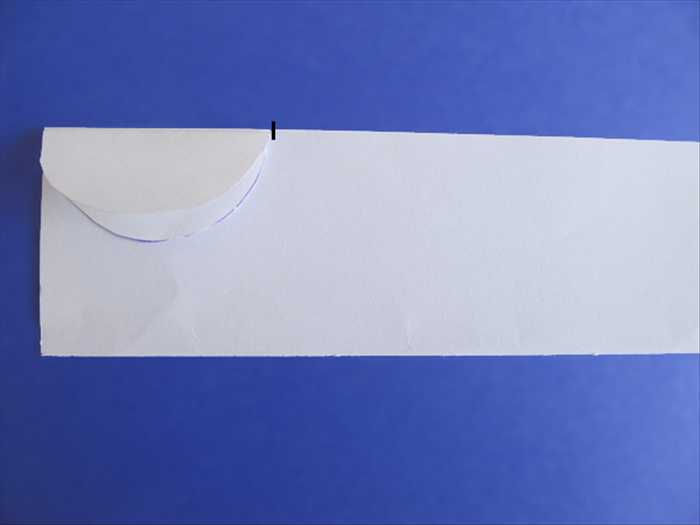
Align the folded circle to the top left edge of the paper strip.
Mark the right edge of the folded circle.
- 6
Step 6
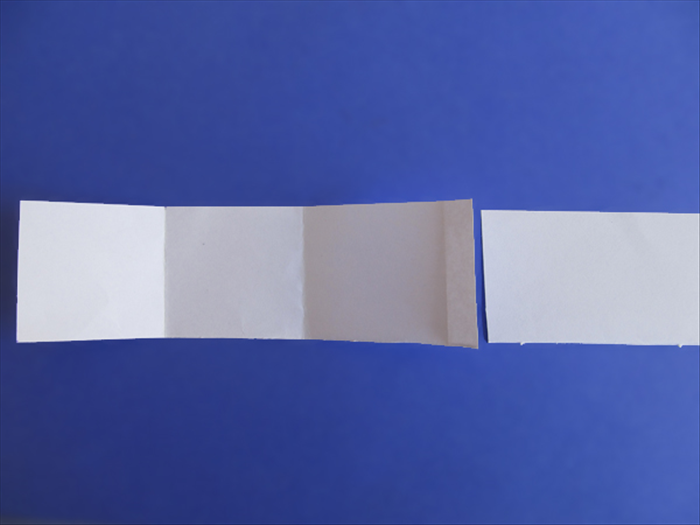
Use the mark to fold the paper 3 times.
Cut the strip about 1 / 2 inch to the right of the last crease. This extra area will be the tab for gluing.
- 7
Step 7
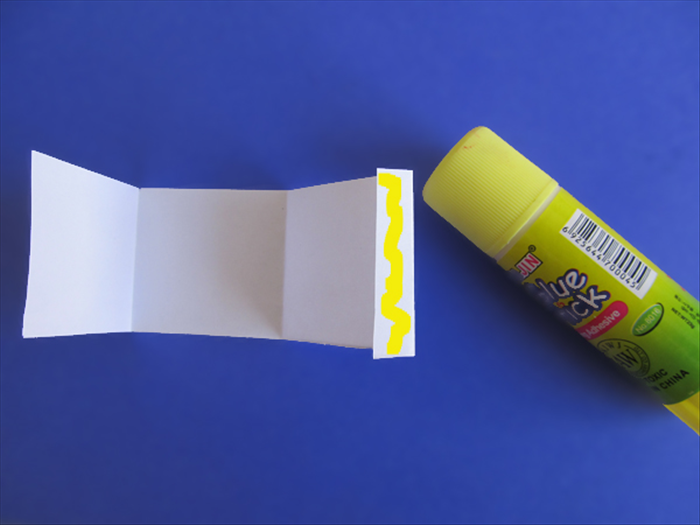
Fold the tab and put glue on it.
- 8
Step 8
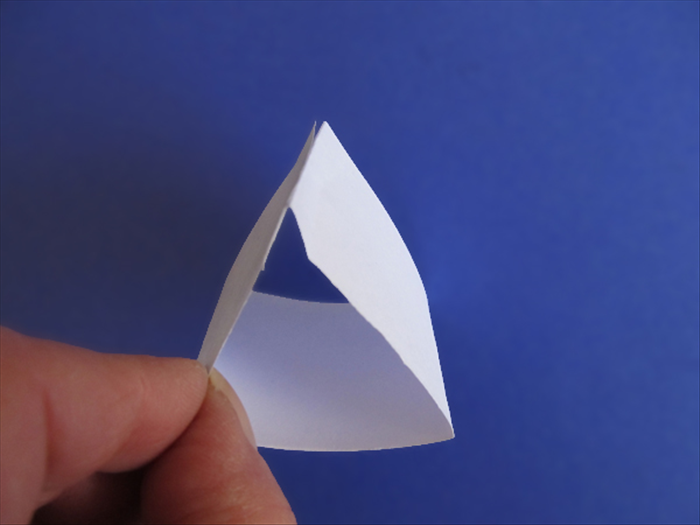
Bring the glued tab up and over to align with the edge of the other end of the strip.
This will be the base for your paper animals.
- 9
Step 9
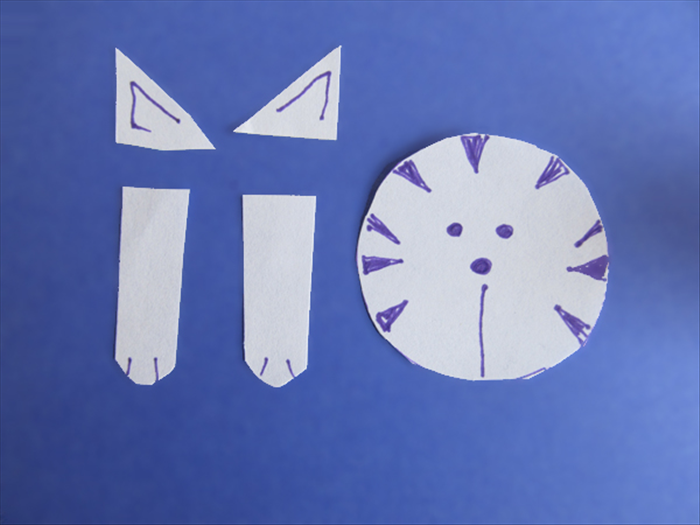
Here is an example of parts for a cat.
Use the same circular object to cut out the circle for the head.
- 10
Step 10
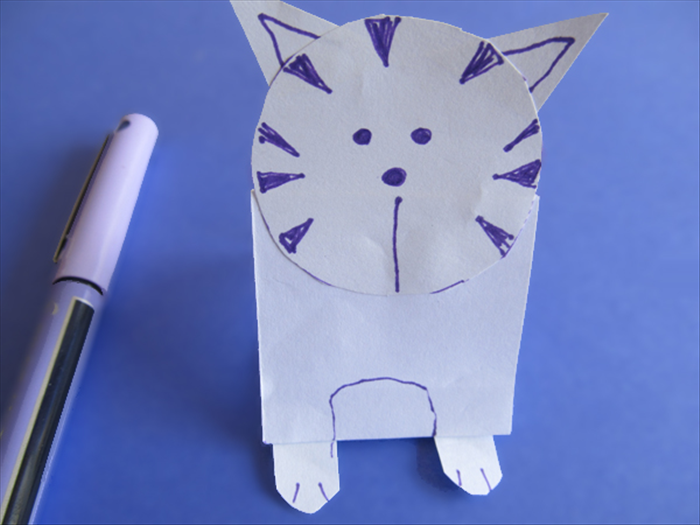
Glue the head half way down to the top of the triangle base.
Glue the ears to the back of the head.
Glue the paws to the bottom of the base.
Draw a little line up from the inside of the paws and connect them with a slight arc.
- 11
Step 11
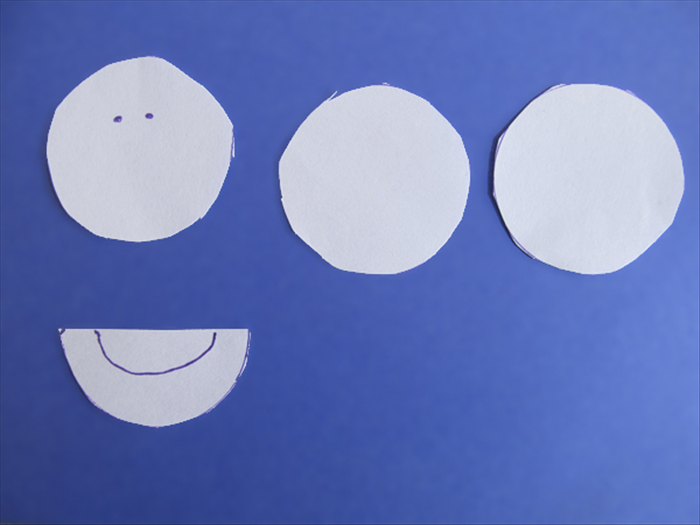
Here is an example of elephant parts.
Trace the same circular 4 times.
Cut 1 circle in half and draw an arc. Cut along the line. This will be the elephant trunk.
Draw the eyes on one circle
- 12
Step 12
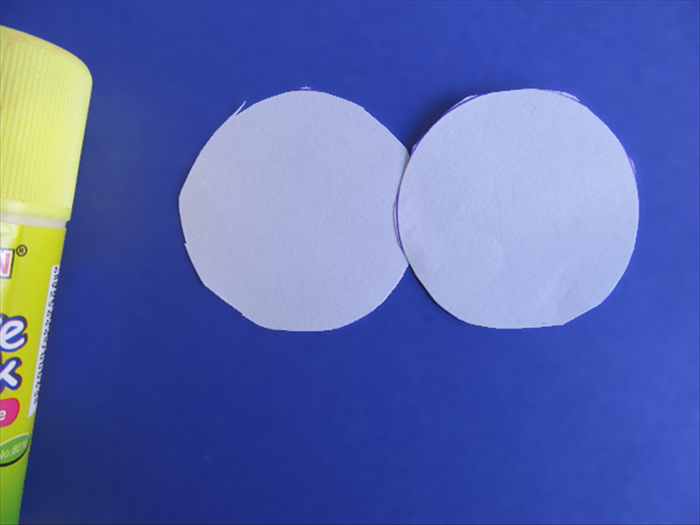
Slightly overlap and glue the other 2 circles together.
- 13
Step 13
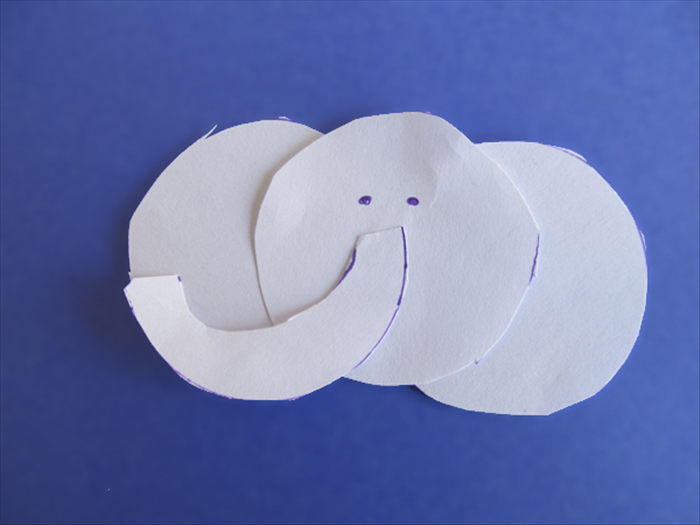
Glue the circle with the eyes slightly above the center.
Glue the trunk.
- 14
Step 14
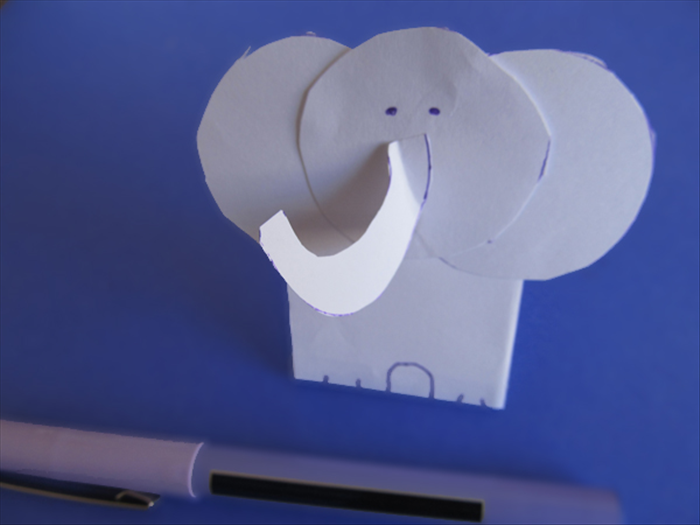
Fold the trunk to the left.
Draw the feet as shown in the picture.
- 15
Step 15
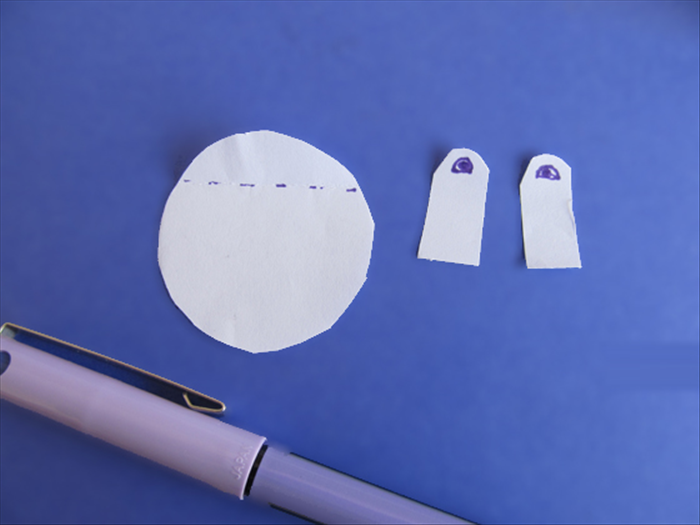
Here is an example of frog parts.
Use the same circular object to cut out 1 circle.
Cut 2 small strips, round out one edge on each and draw the eyes.
Fold the circle about 1 / 4 way from the top.
- 16
Step 16
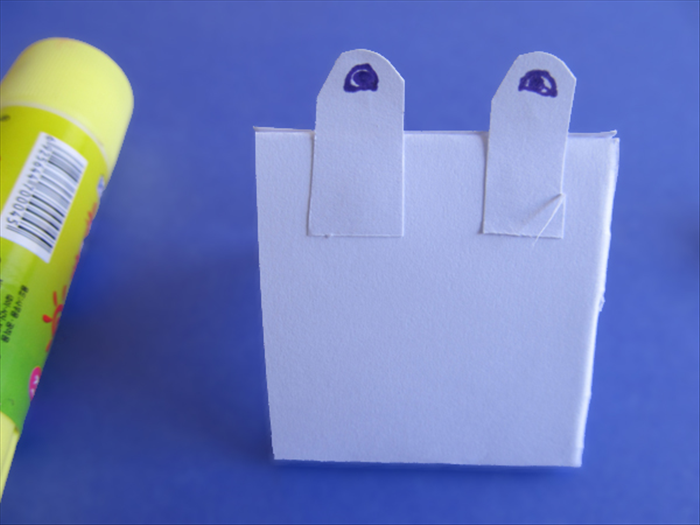
Glue the eyes to the top of the triangle base.
- 17
Step 17
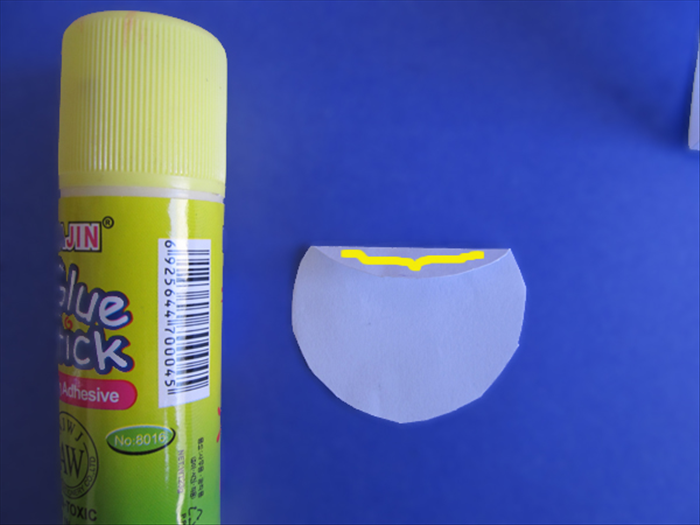
Put glue on the folded part of the circle.
- 18
Step 18
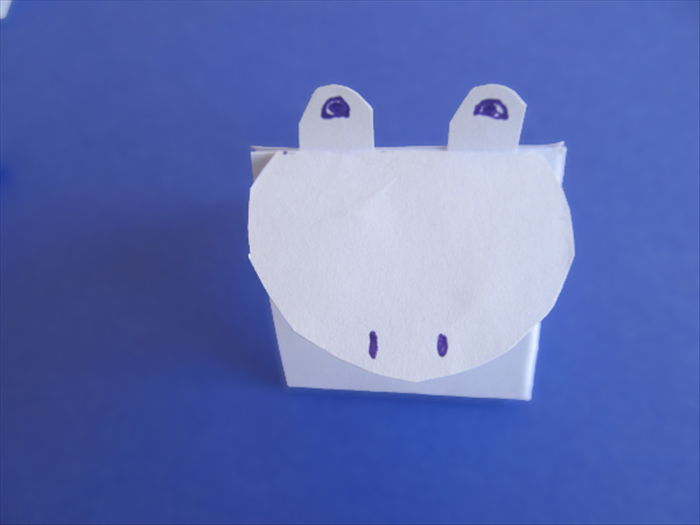
Align the folded edge to the top of the triangle base.
Draw the nostrils.
- 19
Step 19
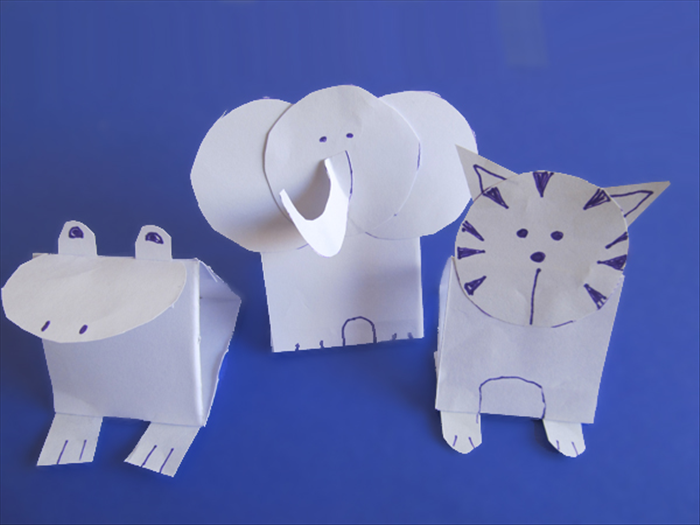
Glue 2 small strips of paper to the bottom of the frog and draw 2 small lines for the feet.
These are just some examples of animals you can make with the triangle base.
Use the same circular object to cut out circles for heads that fit perfectly at the top of the triangle base.
Have fun making all sorts of animals with this method!