How to Create Text in a Circle in Photoshop: A Comprehensive Guide
Learn to curve text in Photoshop for stunning logos, graphics, and designs. This guide covers creating circular text paths and styling.
What You'll Need
- photoshop text in a circle
- photoshop circular text
- curved text photoshop
- type on a path photoshop
- photoshop text tools
- how to curve text in photoshop
- make text follow a path photoshop
- easy way to put text in a circle photoshop
- photoshop circular text path tutorial
- how to type text in a circle in photoshop
Creating text that perfectly curves around a circle is a fundamental design technique in Adobe Photoshop, ideal for crafting unique logos, seals, badges, and other creative graphics. Whether you're a beginner or looking to refresh your skills, this comprehensive guide will walk you through every step of making text in a circle, ensuring your designs stand out. We'll cover everything from setting up your document to drawing precise circular paths and finely tuning your text for a professional finish. Get ready to elevate your Photoshop game!
Preparation: Setting Up Your Document
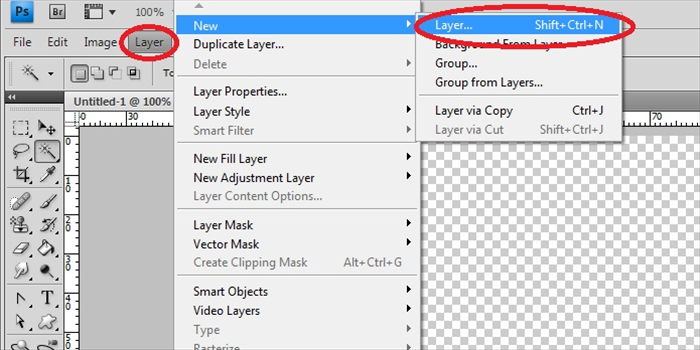
Start by opening Adobe Photoshop. Go to 'File' > 'New' (or press Ctrl+N / Cmd+N) to create a new document. In the 'New Document' dialog box, set your desired dimensions (e.g., 1000px by 1000px for a square canvas) and a resolution of 72-300 Pixels/Inch, depending on your output (web or print). Choose a white or transparent background, or any color that suits your project. Click 'Create' to open your new canvas.
Drawing the Circular Path
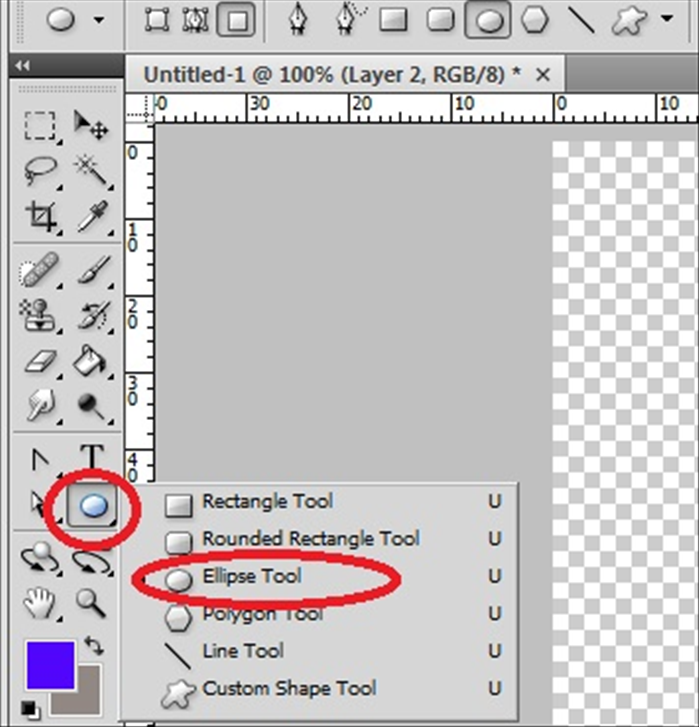
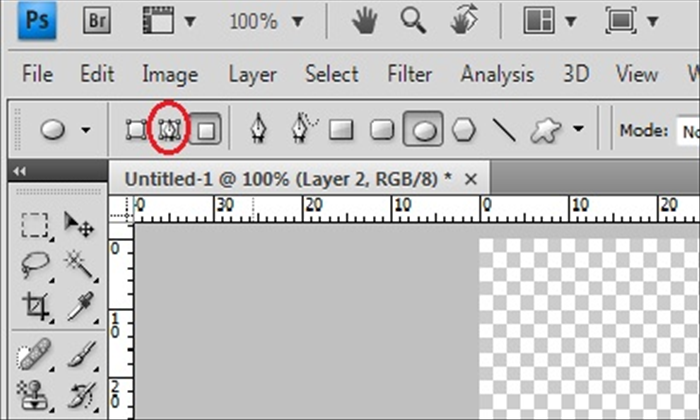
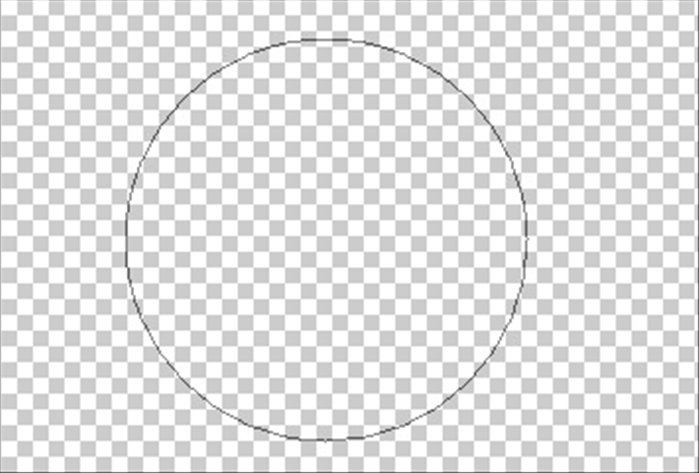
Next, you need to create a circular path that your text will follow. Select the 'Ellipse Tool' from the Tools panel (it might be nested under the Rectangle Tool). In the Options bar at the top, make sure the tool mode is set to 'Path' (the icon looks like a pen outline). Click and drag on your canvas while holding down the 'Shift' key to draw a perfect circle. If you hold 'Alt/Option' as well, it will draw from the center. Position and resize your circular path using the 'Path Selection Tool' (the black arrow) or 'Direct Selection Tool' (the white arrow) to get it exactly where you want your text to appear.
Consider creating your path on a separate layer (or using a vector mask) to keep your document organized and allow for easier adjustments later without affecting other design elements.
Typing Text Along the Path
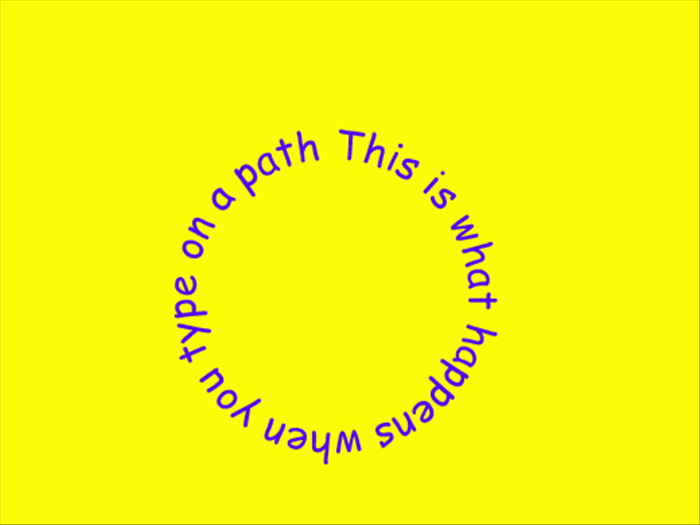
Now it's time to add your text to the path. Select the 'Horizontal Type Tool' (the 'T' icon) from the Tools panel. Move your cursor over the circular path you just created. You'll notice the cursor changes to an I-beam with a small wavy line through it, indicating it's ready to type on a path. Click anywhere on the path, and a blinking insertion point will appear. Start typing your desired text. As you type, the text will automatically conform to the curve of the circle.
Adjusting and Formatting Text on the Path
After typing, you'll likely want to adjust your text's position and appearance. With the 'Path Selection Tool' (black arrow) still active, click and drag the I-beam cursor that appears on your text path. This allows you to move the text along the path. To flip the text from the outside of the circle to the inside (or vice versa), drag the I-beam across the path's edge. Use the 'Character Panel' (Window > Character) to change the font, size, color, and tracking (spacing between letters). The 'Paragraph Panel' (Window > Paragraph) lets you adjust text alignment (left, center, right) to fine-tune its look on the curve.
Always keep your text as a live type layer for maximum flexibility. Rasterizing text will make it impossible to edit the font, content, or path properties later.
Refining Your Circular Text Design
Once your text is perfectly positioned and formatted, you can finalize your design. The circular path itself is non-printing, but you can hide it by selecting the 'Path Selection Tool' and clicking anywhere off the path, or by deleting the path if you no longer need it (though keeping it offers more editing freedom). Enhance your circular text by applying layer styles, such as a 'Drop Shadow', 'Stroke', or 'Gradient Overlay', from the Layer Styles dialog box (double-click the text layer). Finally, integrate your circular text into your broader design and export your final image in your preferred format (e.g., JPEG, PNG, or GIF).
Mastering circular text in Photoshop opens up a world of creative possibilities for your digital projects. With these detailed steps, you can confidently create professional-looking curved text effects for logos, web graphics, print materials, and more. Experiment with different fonts, colors, and path shapes to achieve truly unique results. Happy designing!