How to Take a Screenshot on Windows 10 & 11 (Easy Guide)
Learn multiple easy ways to take a screenshot on Windows, including using the Snipping Tool, Print Screen, and keyboard shortcuts. Perfect for tech support or creating guides.
What You'll Need
- screenshot windows 10
- screenshot windows 11
- print screen windows
- snipping tool windows
- screen capture windows
- how to snip a screen
- take a picture of screen
- save screenshot windows
- how to take a screenshot on a windows laptop
- screenshot specific area windows
- how to take screenshot without print screen button
- where do screenshots go windows
- windows screenshot
- computer screen capture
Capturing what's on your computer screen, often called taking a screenshot or screen capture, is a fundamental skill for any Windows user. Whether you need to troubleshoot a technical issue, create a step-by-step tutorial, save an important detail, or simply share something interesting, Windows offers several built-in tools to help you get the job done quickly and efficiently. This guide will walk you through the easiest and most common methods available on Windows 10 and Windows 11.
Capture Full Screen with the Print Screen (PrtSc) Key

The Print Screen key is the oldest and simplest way to capture your entire desktop. When you press this key, a picture of your current screen is copied to your clipboard, ready to be pasted into an image editor, document, or chat application.
1. Locate the PrtSc Key: Find the 'PrtSc', 'Print Screen', or 'PrtScn' key on your keyboard. It's usually located in the upper-right section, often near the 'F12' key or 'Scroll Lock'.
2. Press PrtSc: Simply press the 'PrtSc' key once. Your screen won't flash or dim, but the entire screen content is now on your clipboard. If your PrtSc key requires pressing the 'Fn' (Function) key simultaneously, do so.
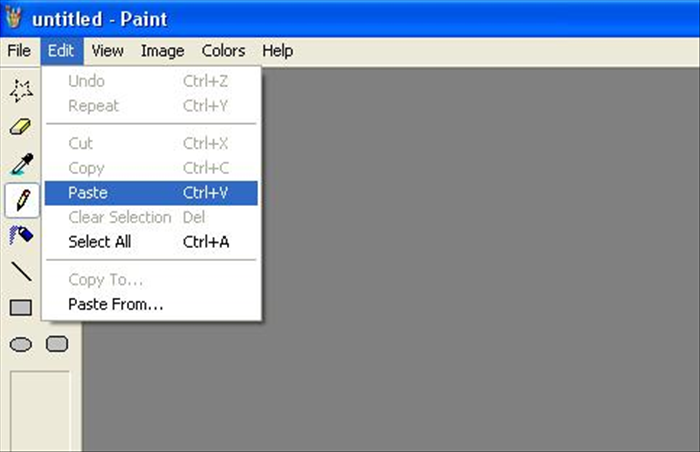
3. Paste the Image: Open an application where you want to use the screenshot (e.g., Paint, Photos, Word, an email client). Press 'Ctrl + V' to paste the image. From there, you can save, edit, or share it.
Capture Active Window with Alt + Print Screen
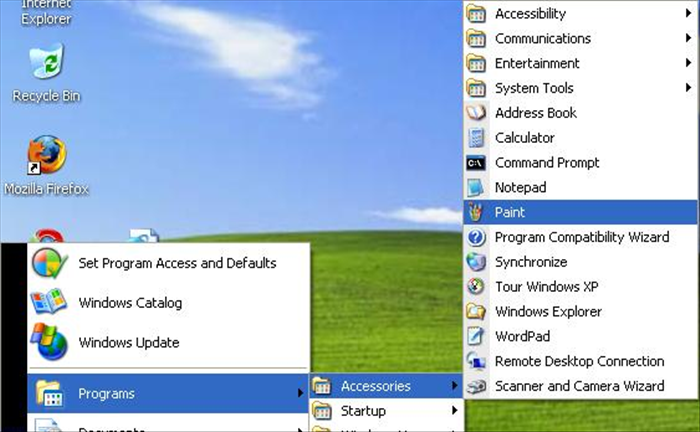

If you only want a screenshot of the currently active window (the one you're currently working in), rather than your entire desktop, this shortcut is perfect. It saves you the trouble of cropping out other open windows.
1. Activate the Desired Window: Click on the window you wish to capture to make sure it is the active window.
2. Press Alt + PrtSc: Hold down the 'Alt' key and then press the 'PrtSc' key. This will copy only the content of the active window to your clipboard.
3. Paste and Use: Just like with the full-screen capture, paste the image into your chosen application using 'Ctrl + V' for further saving, editing, or sharing.
Automatic Full Screen Save with Windows Key + PrtSc

For quickly saving a full-screen screenshot directly to a file without needing to paste it first, Windows offers a convenient shortcut that automatically saves your capture to a dedicated folder.
1. Press Windows Key + PrtSc: Hold down the 'Windows key' (the one with the Windows logo) and simultaneously press the 'PrtSc' key. Your screen will briefly dim to confirm the capture.
2. Find Your Screenshot: The screenshot is automatically saved as a PNG image file. To find it, navigate to your 'Pictures' folder, then open the 'Screenshots' subfolder. Each screenshot will be named sequentially (e.g., Screenshot (1).png).
Using the Snipping Tool for Custom Captures

The classic Snipping Tool offers more flexibility than the PrtSc key, allowing you to capture specific areas, windows, or the entire screen with annotation options. It's available on both Windows 10 and 11.
1. Open Snipping Tool: Type "Snipping Tool" into the Windows search bar (usually next to the Start button) and select it from the results.
2. Start a New Snip: Click the 'New' button to begin. Your screen will become slightly frosted.
3. Choose Snip Type: By default, it's set to Rectangular Snip. You can click the arrow next to 'New' to choose from:
- Free-form Snip: Draw any shape around the area you want to capture.
- Rectangular Snip: Drag a rectangle around the desired area.
- Window Snip: Click on any open window to capture it.
- Full-screen Snip: Captures your entire screen (similar to PrtSc).
4. Capture and Edit: Once captured, the image will open in the Snipping Tool window. Here you can use the pen, highlighter, and eraser tools for basic annotation. You can then save it as a JPG, PNG, GIF, or HTML file, or copy it to your clipboard.
Capturing with Snip & Sketch (Windows Key + Shift + S)
Snip & Sketch (now integrated into the Snipping Tool on Windows 11) is the modern evolution of the Snipping Tool, offering quick access and powerful editing features. It's especially useful for precise captures and immediate markup.
1. Activate Snip & Sketch: Press the 'Windows Key + Shift + S' simultaneously. Your screen will dim, and a small toolbar will appear at the top of your screen.
2. Select Snip Type: The toolbar offers four options from left to right:
- Rectangular Snip: Drag to draw a rectangle.
- Free-form Snip: Draw an irregular shape.
- Window Snip: Click an open window to capture it.
- Fullscreen Snip: Capture your entire screen.
3. Capture Your Area: Use your mouse to select the desired area, click the window, or simply capture the full screen.
4. Edit and Save: After the capture, a notification will appear in the bottom-right corner. Click it to open the screenshot in the Snip & Sketch editor (or the Snipping Tool on Windows 11). Here, you can crop, annotate with pens and highlights, measure, and then save the image or copy it to your clipboard.
For quick access to the Snipping Tool or Snip & Sketch, you can pin them to your taskbar or Start menu for future use.
Saving, Editing, and Sharing Your Screenshots
Once you've captured your screenshot, the next steps are usually to save it, make any necessary edits, and then share it. The process depends on the method you used to capture.
### Saving
- From Clipboard (PrtSc, Alt + PrtSc): Open an image editor like Microsoft Paint, the Photos app, or any other software that handles images. Press 'Ctrl + V' to paste your screenshot, then use the application's 'File > Save As' option to save it in your preferred format (PNG, JPG are common).
- Automatically Saved (Windows Key + PrtSc): These are already saved as PNG files in your 'Pictures > Screenshots' folder, ready to use.
- Snipping Tool / Snip & Sketch: These tools provide a 'Save' icon (a floppy disk) within their interface. Click it to choose a location and file type.
### Editing
Most basic editing can be done using Windows' built-in tools:
- Crop: Remove unwanted parts of the image.
- Annotate: Use pens, highlighters, or text tools to draw attention to specific areas (available in Snipping Tool/Snip & Sketch, and the Photos app).
- Resize: Adjust the dimensions of the image if needed.
### Sharing
- Paste Directly: If the screenshot is on your clipboard, you can often paste it directly into emails, chat applications (like Teams or Slack), or documents (Word, PowerPoint).
- Attach File: If saved as a file, attach it to an email, upload it to cloud storage (OneDrive, Google Drive), or share it via a messaging app that supports file uploads.
- Upload to Web: For web-based platforms or forums, use their upload features to include your screenshot.
Mastering these screenshot methods will greatly enhance your ability to communicate visually, whether for technical support, creating tutorials, or simply sharing moments from your digital world.