How to Clean & Care for Artist Paint Brushes: Extend Their Life
Learn the best techniques to clean and care for your artist paint brushes, whether they're for oil, acrylic, or watercolor. Proper maintenance extends brush life, preserves their quality, and ensures they perform beautifully for years to come.
Artist paint brushes are an investment, and proper care is crucial to ensuring they last for many years and continue to perform at their best. Neglecting your brushes can lead to stiff bristles, damaged shapes, and a frustrating painting experience. This comprehensive guide will walk you through the best techniques for cleaning and maintaining your brushes, no matter if you're working with oils, acrylics, or watercolors.
### Why Proper Brush Care Matters
Consistent and correct cleaning not only prolongs the life of your expensive brushes but also maintains their shape, flexibility, and effectiveness. A well-cared-for brush will hold paint better, apply strokes smoothly, and allow for finer detail work, enhancing your artistic output.
Step 1: Immediate Action – Remove Excess Paint
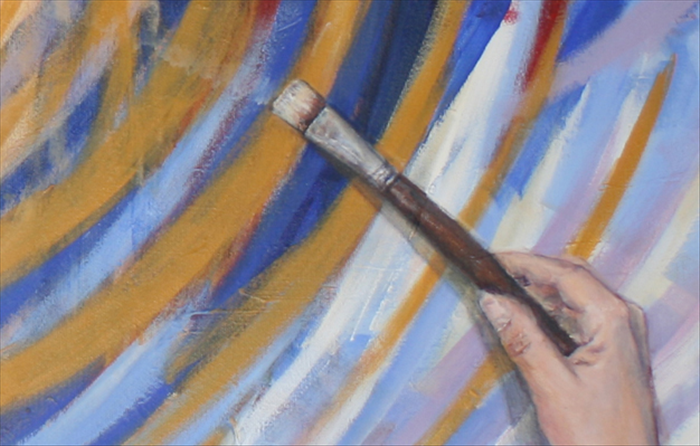
The first and most important step, regardless of paint type, is to remove as much excess paint as possible from your brush immediately after use. Gently wipe the bristles against a paper towel or a clean cloth. Never let paint dry on your brush, especially near the ferrule (the metal part holding the bristles).
### Cleaning Specific Paint Types
Step 2a: Cleaning Acrylic Paint Brushes
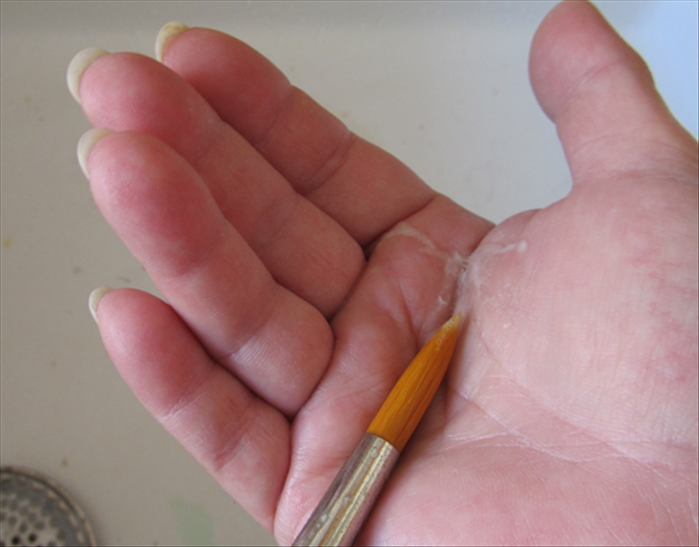
Acrylic paint dries quickly and can be particularly stubborn once dry. As soon as you finish painting, rinse your brush thoroughly under warm running water. Work a small amount of mild soap or brush cleaner into the bristles, gently lathering against the palm of your hand or a silicone brush cleaning mat. Continue rinsing and lathering until all traces of paint are gone and the water runs clear. Pay close attention to the base of the bristles near the ferrule, as paint often accumulates there.
For brushes with dried acrylic paint, you might try soaking them briefly in a specialized brush cleaner designed for dried acrylics, or sparingly use a tiny bit of denatured alcohol (test on an old brush first). Be gentle and patient.
Step 2b: Cleaning Oil Paint Brushes
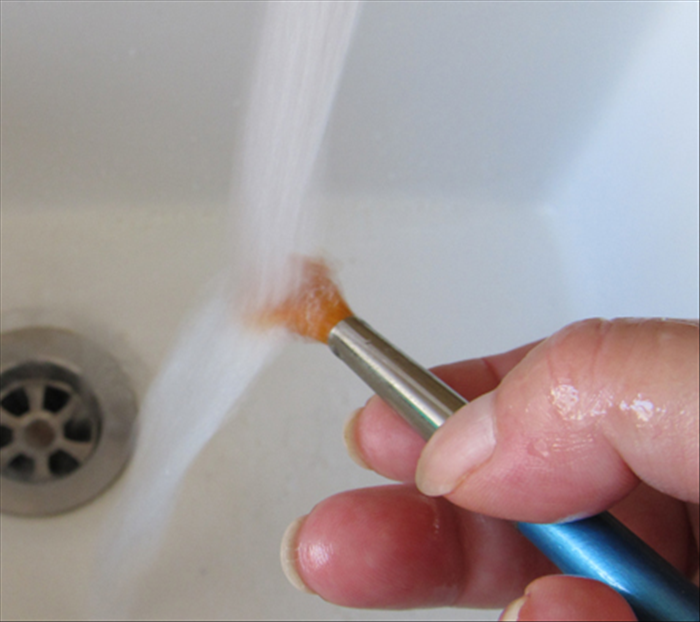
Oil paints require a solvent for initial cleaning. First, wipe off as much excess paint as possible with a rag or paper towel. Next, swirl the brush gently in a jar containing odorless mineral spirits, turpenoid, or a dedicated artist's brush cleaner. Press the bristles against the bottom of the jar to help release paint. Repeat this process with fresh solvent if necessary, until most of the oil paint is removed. Finally, wash the brush with mild soap and warm water, lathering and rinsing until the water runs clear and no oily residue remains.
Always use solvents like mineral spirits in a well-ventilated area to avoid inhaling fumes. Dispose of used solvents and rags properly according to local regulations. Never pour solvents down the drain.
Step 2c: Cleaning Watercolor Brushes
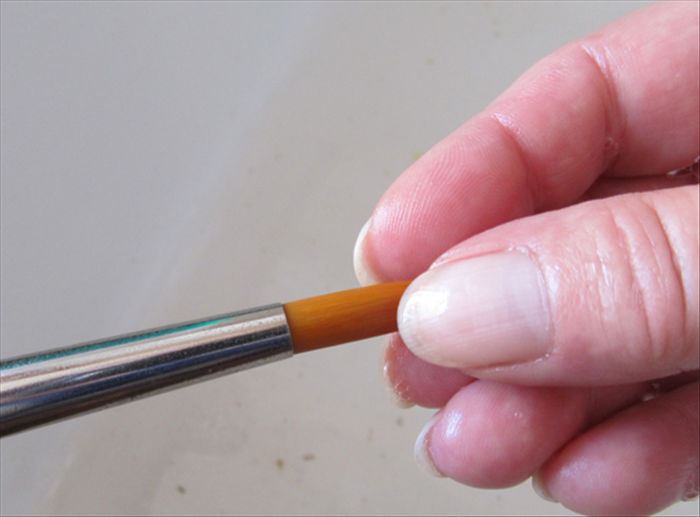
Watercolor paints are water-soluble, making them the easiest to clean. Simply rinse your brush under cool or lukewarm running water, or swirl it gently in a clean water basin. If your brush is heavily pigmented, you can use a tiny amount of mild soap, lather very gently, and then rinse thoroughly until the water runs completely clear and no suds remain. Watercolors generally don't require aggressive scrubbing.
### Rinsing, Reshaping & Conditioning
Step 3: Thorough Rinsing
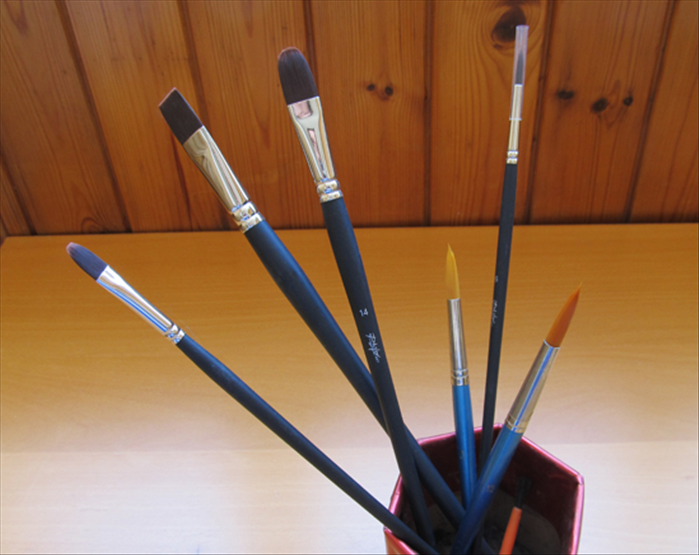
After cleaning with soap, ensure you rinse your brushes thoroughly to remove all soap residue. Leftover soap can dry in the bristles, making them stiff and impacting future paint application.
Step 4: Reshaping Bristles
Once clean, gently reshape the bristles with your fingers to their original pointed or chiseled form. This helps maintain the brush's integrity and prevents splaying.
For natural hair brushes or if bristles feel stiff after drying, apply a tiny amount of brush conditioner (or even a drop of hair conditioner). Leave it for a few minutes, then rinse it out and reshape. This helps restore flexibility and softness.
### Drying and Storage for Longevity
Step 5: Proper Drying Techniques
Proper drying is just as important as cleaning. Lay your brushes flat on a clean, absorbent cloth or paper towel, allowing air to circulate around them. Alternatively, use a brush drying rack that holds them bristles-down. This prevents water from seeping into the ferrule and loosening the glue.
Never store brushes upright while they are still wet, as water can collect in the ferrule, weaken the glue, and cause the bristles to splay or fall out. Avoid using direct heat sources like hair dryers or placing them in direct sunlight, as this can damage and warp the bristles.
Step 6: Smart Storage Solutions
Once your brushes are completely dry, store them in a way that protects their bristles. You can lay them flat in a drawer, store them bristles-up in a jar or brush holder, or keep them in a roll-up brush case. The key is to ensure the bristles are not bent, crushed, or exposed to dust.
Keep your stored brushes away from extreme temperature changes, humidity, and direct sunlight to prevent degradation of handles and bristles.
By following these simple yet effective steps, you can significantly extend the life of your artist paint brushes, preserve their quality, and ensure they are always ready for your next creative project. Happy painting!