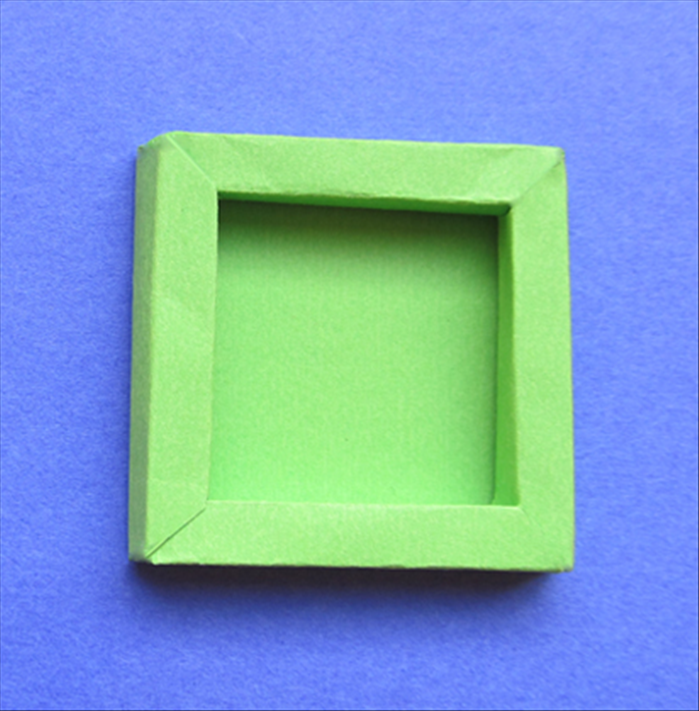
How to Make a Kirigami Cherry Blossom (Sakura) Step-by-Step
Learn to fold paper into 5 equal parts and cut a beautiful kirigami cherry blossom (Sakura) or a basic kirigami flower with this easy DIY guide for beginners.
Unlock the delicate beauty of Japanese paper art with this comprehensive guide on how to make a kirigami cherry blossom (Sakura) or a basic five-petal flower. Kirigami, a captivating craft where paper is cut rather than just folded, allows you to create stunning floral designs from a single sheet. This easy DIY kirigami tutorial is perfect for beginners, teaching you the precise paper folding techniques to achieve five equal parts, a crucial step for symmetrical flowers. Get ready to transform simple paper into exquisite kirigami sakura that will add an elegant touch to any project or decor!
Step 1: Fold Your Paper into Five Equal Parts
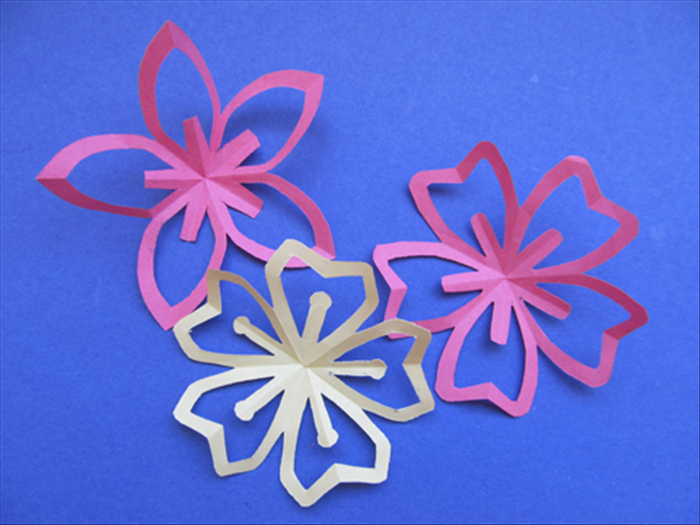
Achieving a perfect five-petal kirigami flower starts with precise paper folding. This method ensures your flower will have beautiful symmetry. Follow these instructions carefully to fold your paper into five equal sections.
1. Start with a Square: Place your square paper in front of you, with one corner pointing towards you (diamond orientation).
2. Find the Center Point: Fold the paper in half diagonally, then unfold. This crease marks the center. Rotate the paper 90 degrees and repeat, folding diagonally and unfolding. You now have an 'X' crease in the center.
3. Create a Guide Line: Fold the bottom point up to meet the top point, creating a horizontal crease across the middle. Unfold.
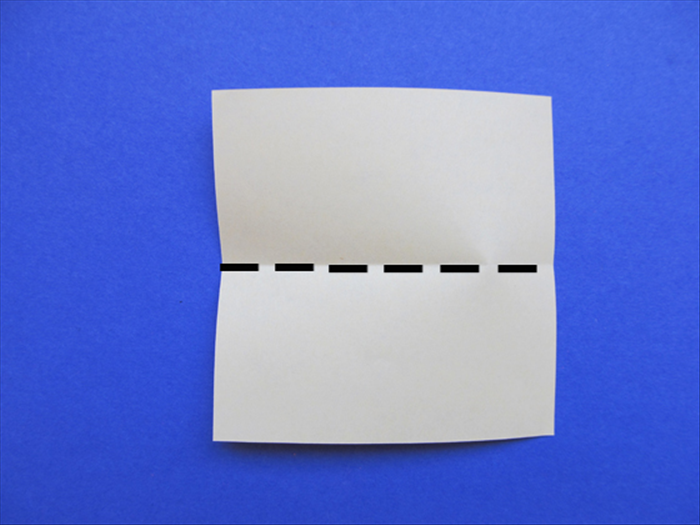
4. Fold the Bottom Corner Up: Take the bottom corner and fold it up so its tip touches the horizontal crease you just made. The crease for this fold should be roughly 1/3 of the way up from the bottom point.
5. Identify the 'Petal Point': The top point of this last fold is where your petals will originate. This is a critical reference point for the next steps.
6. First Side Fold: Take the bottom right edge of your paper. Align this edge with the vertical center crease (one of the original diagonal creases). Press down to make a crisp fold. The fold should start from the 'petal point' you identified in the previous step.
7. Second Side Fold: Repeat the process for the bottom left edge. Align this edge with the same vertical center crease, folding from the 'petal point'. Your paper should now resemble a narrow, pointed cone with multiple layers.
8. Fold in Half: Fold the entire narrow cone in half lengthwise, bringing the two long edges together. This will create a thick, symmetrical five-layered cone shape, ready for cutting.
For accuracy, make sure your creases are sharp. Using a ruler or a bone folder can help create crisp lines, which are essential for symmetrical kirigami designs.
Step 2: Cut a Basic 5-Petal Kirigami Flower
With your paper perfectly folded, you're ready to cut a simple yet elegant five-petal flower. This is an easy kirigami flower for beginners to master before moving on to more complex designs.
1. Prepare for Cutting: Hold your folded paper with the pointed, layered end facing away from you, and the open, creased side towards you. The top edge is where you'll draw your petal outline.
2. Draw Half a Petal Outline (Optional): Using a pencil, lightly draw the outline of half a petal on the top folded edge. The base of this half-petal should be at the open, creased side, and the tip towards the layered point. This guide helps ensure a consistent shape. You can also freehand cut this, but drawing helps for your first attempt at a DIY paper cherry blossom tutorial.
3. Make the Cut: Carefully cut along your drawn line (or freehand the shape) from the open side towards the layered point. Ensure you cut through all layers of paper evenly. For a clean finish, avoid jagged cuts.
4. Unfold and Reveal: Gently unfold your paper to reveal your beautiful, symmetrical five-petal kirigami flower! Flatten it carefully.
Step 3: Cut the Kirigami Sakura (Cherry Blossom)
Now that you've mastered the basic flower, let's learn how to cut the iconic kirigami Sakura (cherry blossom), known for its distinctive notched petals. This step takes your japanese paper cutting flower skills to the next level.
1. Refold Your Paper: Start again with a new piece of square paper and repeat the folding process from Step 1 to create the five-layered cone.
2. Draw the Sakura Petal Shape: On the top folded edge, lightly draw the outline of half a Sakura petal. The key difference here is to draw a slight notch or indentation near the top of where the petal would curve. Imagine a heart shape, but only half of one, with a small dip at the top. This will create the characteristic cherry blossom shape when unfolded.
3. Execute Precise Cuts: Carefully cut along your drawn Sakura petal line, ensuring you capture the delicate notch. Cut smoothly through all layers of paper. Precision is key for an authentic sakura paper craft.
4. Unfold with Care: Slowly and gently unfold your paper to reveal your exquisite kirigami cherry blossom. You'll see the distinct five petals, each with its characteristic notch. Flatten it gently.
To add a natural curl to your petals, gently roll them around a pencil or a thin dowel after unfolding. This gives your kirigami sakura a more lifelike, three-dimensional look.
When using a craft knife, always cut on a protected surface like a cutting mat and keep your fingers clear of the blade. Adult supervision is recommended for children.
You've now successfully learned how to make kirigami cherry blossom step by step, from folding paper for a 5-petal kirigami flower to cutting both a basic flower and the beautiful Sakura. These easy kirigami sakura cutting guide techniques open up a world of creative possibilities. Use your paper cherry blossoms for cards, scrapbooking, decorations, or simply enjoy the meditative process of this ancient art form. Keep practicing, and soon you'll be creating entire gardens of paper flowers!