How to Draw a Perfect 6-Petal Flower: Easy DIY Guide
Learn how to draw a beautiful 6-petal flower step-by-step with this easy DIY tutorial. Create perfect flowers without a compass or special tools for crafts and decorations.
Unleash your inner artist and learn how to draw a stunning 6-petal flower effortlessly! This easy-to-follow DIY guide will show you how to create perfect floral designs for any project, whether you're decorating cards, adding flair to your artwork, or making charming paper crafts. You don't need a compass or any special tools—just a pencil, paper, and a desire to create something beautiful. Let's get started and master the art of drawing a beautiful 6-petal flower step by step!
Drawing the Center Guide
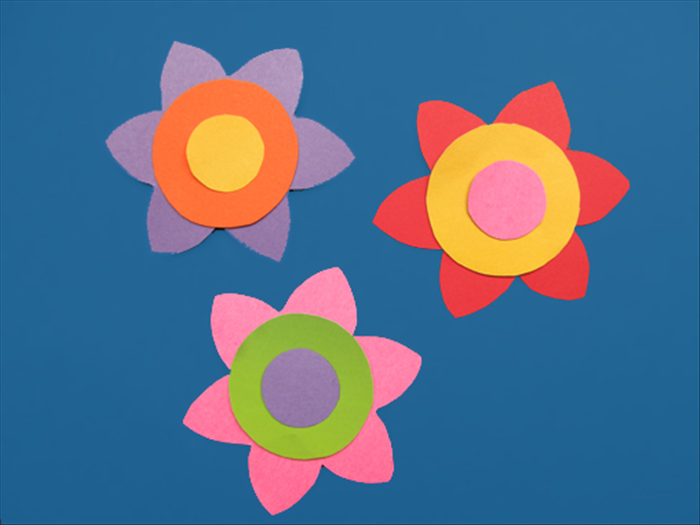
Start by lightly sketching a central circle on your paper. This doesn't need to be perfectly round; a freehand circle is perfectly fine. This circle will serve as the core of your flower and will help you position your petals evenly. Keep your lines very light, as these are just guide marks that you'll erase later. If you want a perfectly round circle without a compass, you can trace a small coin or a bottle cap!
Marking Petal Divisions
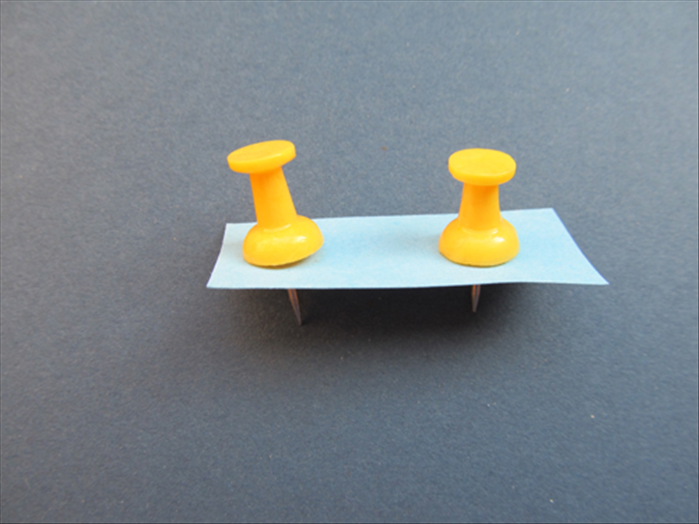
To ensure your flower has six evenly spaced petals, you need to mark six equidistant points around the circumference of your central circle. Imagine a clock face, marking points at 12, 2, 4, 6, 8, and 10 o'clock. You can do this by eye for a more organic look, or for greater accuracy, lightly sketch a small equilateral triangle pointing up and another pointing down inside the circle, using their vertices as your six points.
Sketching the First Petal
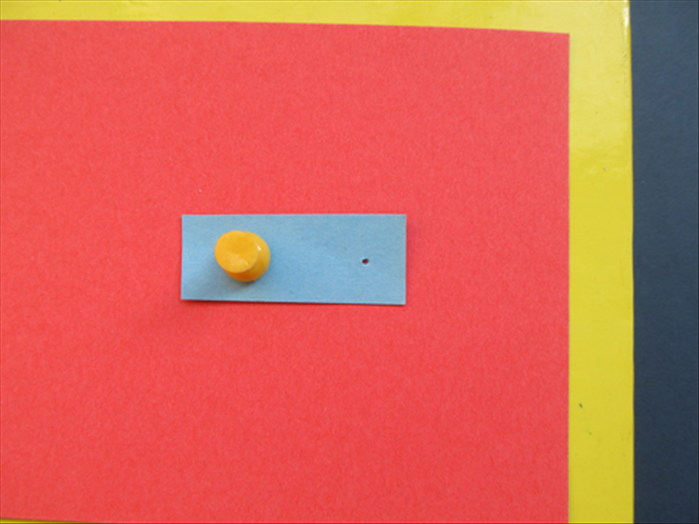
From the very center of your initial circle, draw a gentle, graceful curve outwards towards one of your six marks. Then, from that mark, curve back inwards to meet the center point again. This forms the shape of your first petal. Remember to keep your pencil strokes light initially, allowing for adjustments. This step is crucial for defining the elegant shape of your 6 petal flower.
Completing the Petals
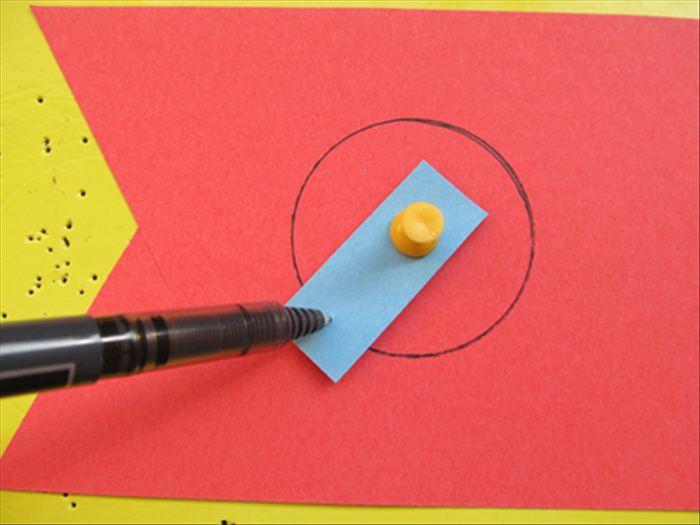
Now, repeat the process from the previous step for the remaining five marks. Work your way around the central circle, creating five more identical petal shapes. Each petal should originate from the center of the flower, extend to one of your division marks, and then curve back to the center. Take your time to make each petal as symmetrical as possible to achieve a truly perfect 6-petal flower.
Refining Your Flower
Once all six petals are lightly sketched, it's time to refine your drawing. Carefully go over the lines of your petals that you want to keep, making them darker and more defined. Pay attention to the curves and the overall flow of the flower. After you've finalized your petal outlines, use your eraser to gently remove all the initial light guide lines, including the central circle and the division marks. This will leave you with a clean, crisp drawing of your beautiful 6-petal flower.
Creative Variations & Uses
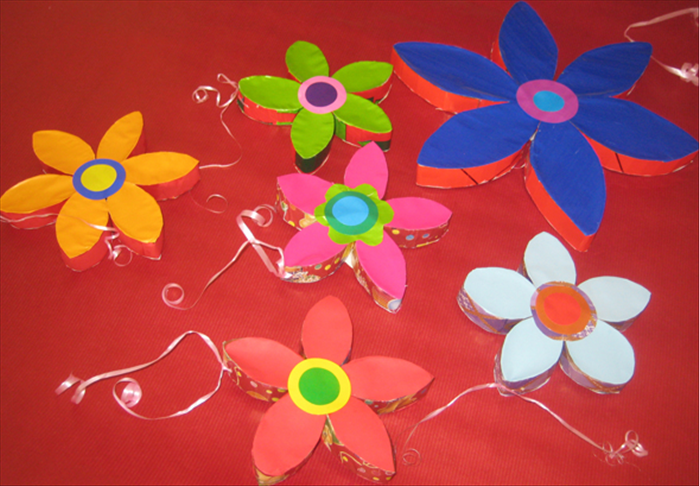
Your beautifully drawn 6-petal flower is just the beginning! Experiment with different sizes: draw tiny flowers for unique greeting card embellishments, or create large, bold flowers on poster board for eye-catching DIY party decorations. Don't be afraid to add color using crayons, colored pencils, or even watercolors to bring your flower to life. You can also cut out your drawings to make stunning DIY paper flowers for bouquets, garlands, or scrapbooking projects. The possibilities for crafting with these easy flower drawings are endless!
Congratulations, you've successfully learned how to draw a perfect 6-petal flower! This simple technique opens up a world of creative opportunities for artists and crafters of all skill levels. Keep practicing, explore different styles, and most importantly, have fun with your flower drawing journey. Share your beautiful creations with friends and family, or incorporate them into your next DIY masterpiece!