How to Make a Chinese Conical Hat from Cardstock
Cut a cardstock semicircle, glue it into a cone, add a brim ring and a chin strap. Glue, knife or scissors. About 1–2 hours plus dry time.
What You'll Need
- Large cardstock or poster board sheet
- PVA craft glue or hot glue
- String or ribbon for chin strap (18–24 inches)
- Craft utility knife or heavy scissors
- Self-healing cutting mat
- Metal ruler 18 inch
- HB pencils (pack)
Cardstock, glue, and string. Skip paint and costume extras.
You cut a semicircle, overlap the straight edges into a cone, then glue on a flat brim ring and a chin string. Child-wearable default: semicircle radius 14 inches (35 cm). Adult: 16–18 inches (40–45 cm). Poster board or heavy cardstock. Plan 1–2 hours plus glue dry time.
Cut on a mat, blade away from your hands. Kids need an adult on the knife. If you use hot glue, watch the tip.
Cut the semicircle
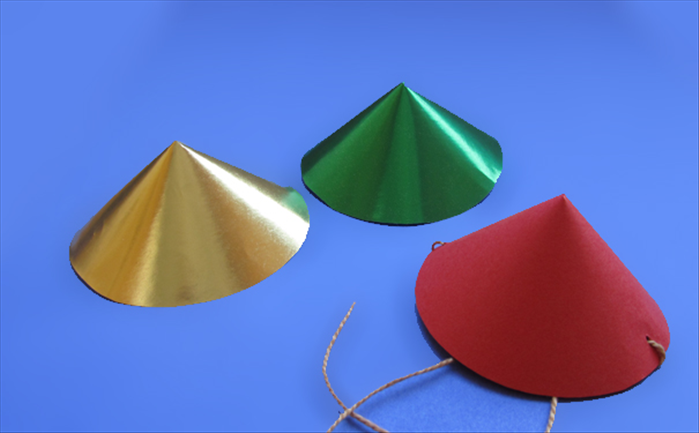
On the cardstock, mark a semicircle. Radius 14 inches (35 cm) for a child; 16–18 inches (40–45 cm) for an adult. Cut on the curve. A larger radius makes a wider, flatter hat; a smaller radius makes a taller cone.
Glue the cone
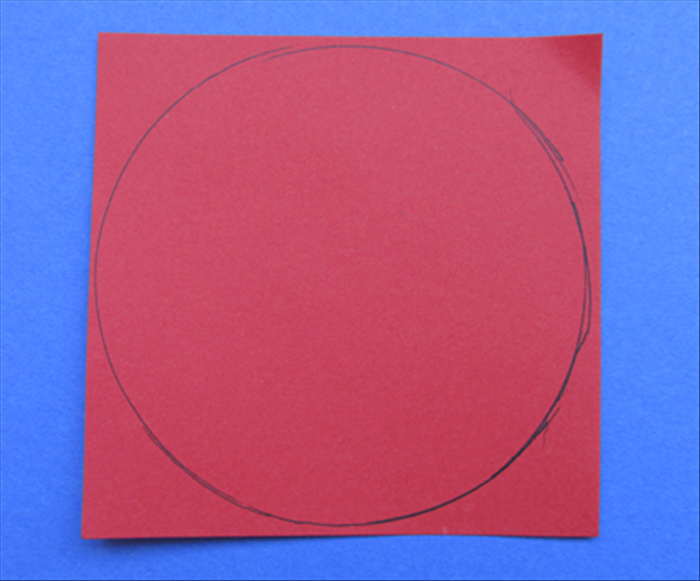
Overlap the two straight edges 3–4 inches (8–10 cm). More overlap = taller, narrower cone. Run PVA or hot glue along the seam, press, and hold until it grabs. Let that joint set before you add the brim.
Cut the brim ring
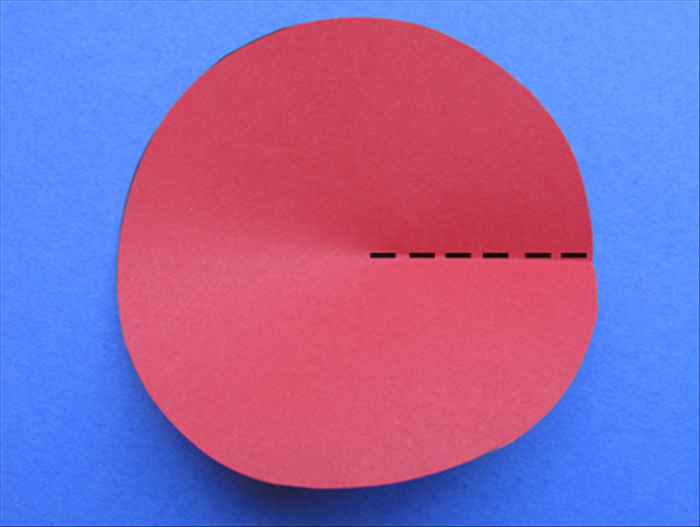
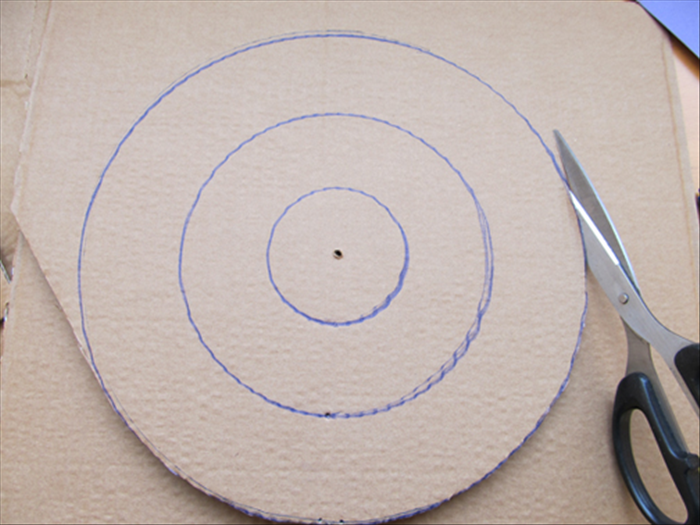
On leftover cardstock, draw two concentric circles. Inner hole = the open base of your cone (trace the cone opening). Outer circle = that hole plus 2–3 inches (5–8 cm) all around. Cut out the ring.
Glue cone to brim

Set the cone on the ring so the opening matches the inner hole. Glue all the way around the seam. Leave it until the joint doesn’t flex.
Add the chin strap

Punch or poke two holes on opposite sides of the brim, even with the cone. Thread 18–24 inches (45–60 cm) of string from outside in. Knot on the inside. Try it on and retie for length.