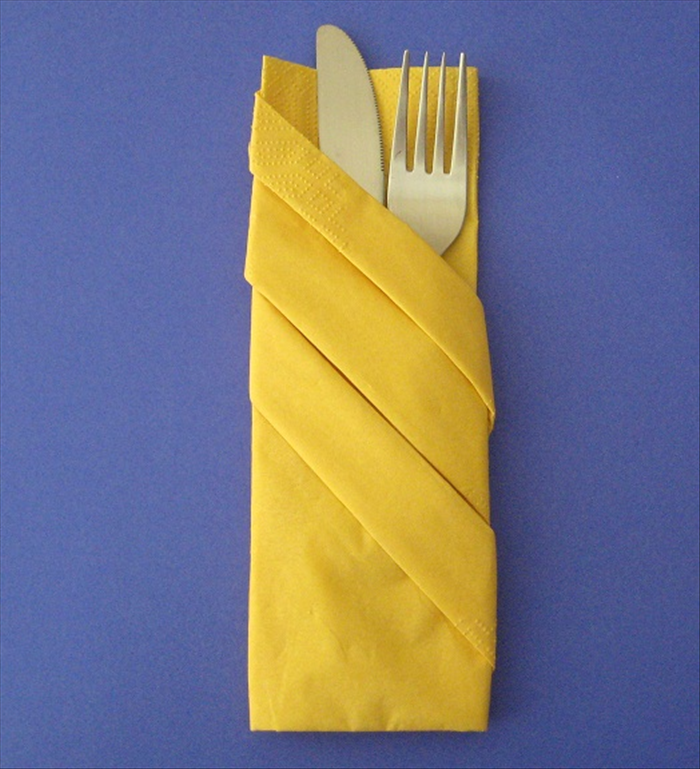
How to make a paper bow napkin ring or paper bow for a present
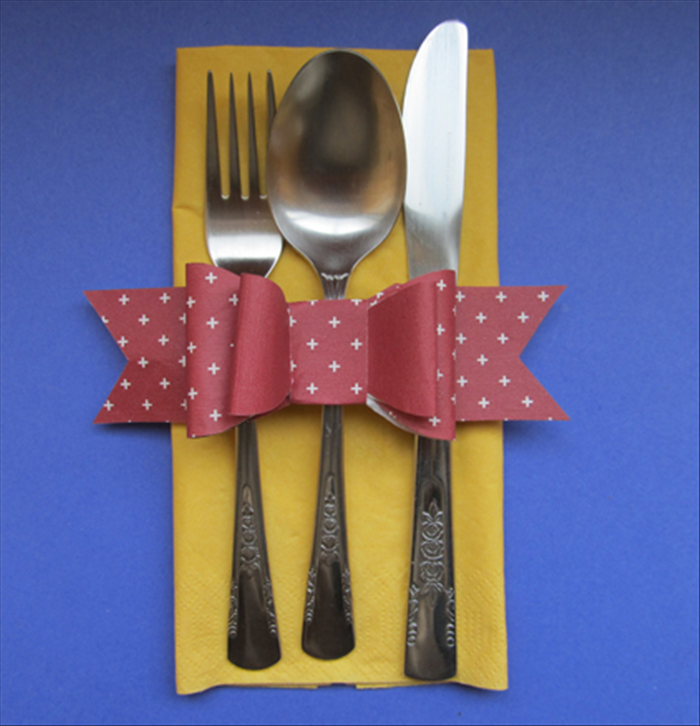
This guide will show you how to cut paper to form a bow without needing a printer. It can be used as a napkin ring to add a special touch to your holiday table or to decorate a present.
Easy 10,164 views
What You'll Need
- napkin ring
- bow
Steps
- 1
Step 1
 Materials: Stiff paper or thin cardboard for the template Decorative paper for the bow Paper glue Scissors Ruler Pen
 - 2
Step 2
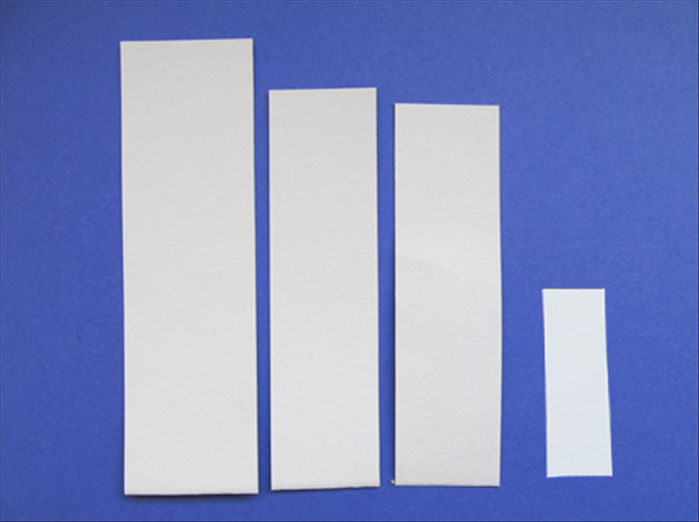 Cut a strip of the stiff paper or thin cardboard 1 ¾ inches X 6 ¾ inches 1 3/8 inches X 1 5/8 inches 1 ½ inches x 5 ¾ inches ¾ inch x 2 ¾ inches
 -
- 3
Step 3
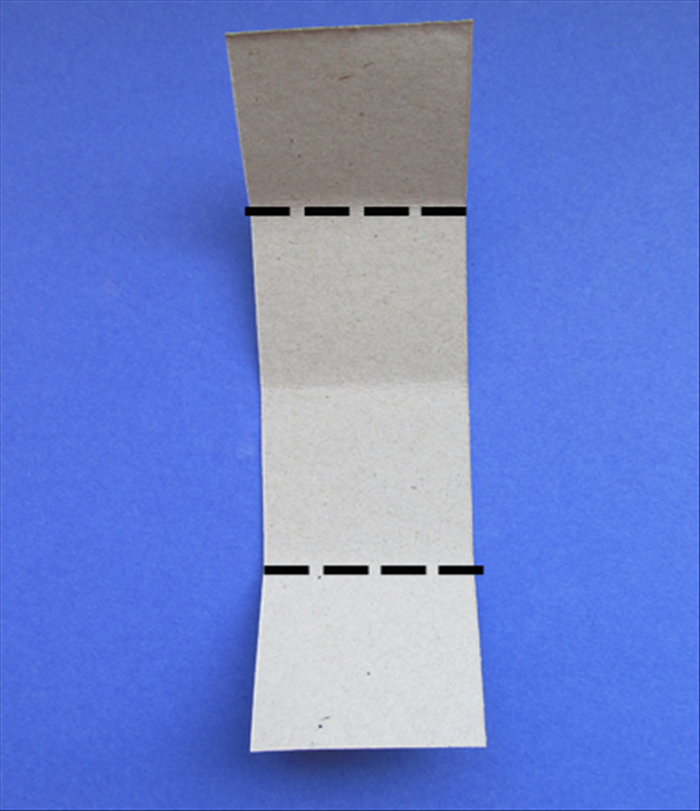 Take the largest strip and fold the bottom to the top to fold it in half. Crease and unfold. Fold the top edge and the bottom edge to the center crease you just made
 - 4
Step 4
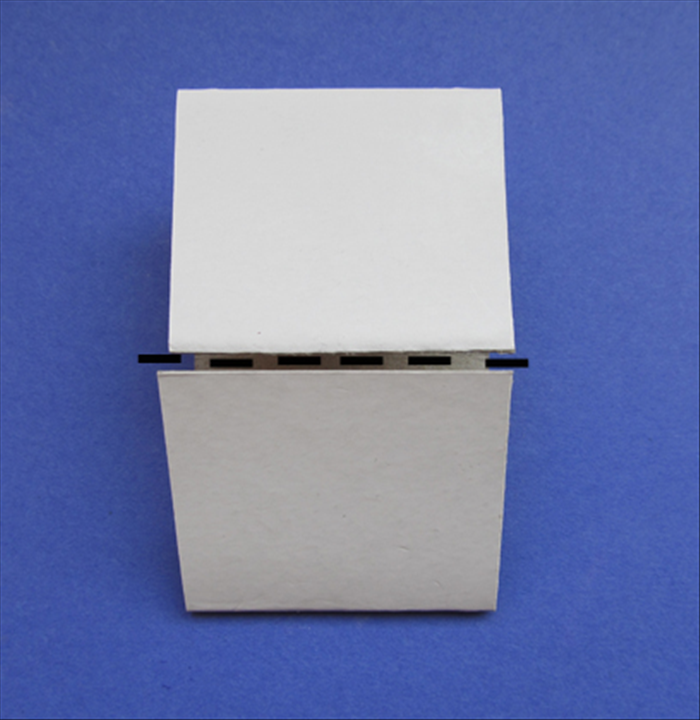 Result Fold the top edge down to the bottom edge to fold it in half again
 - 5
Step 5
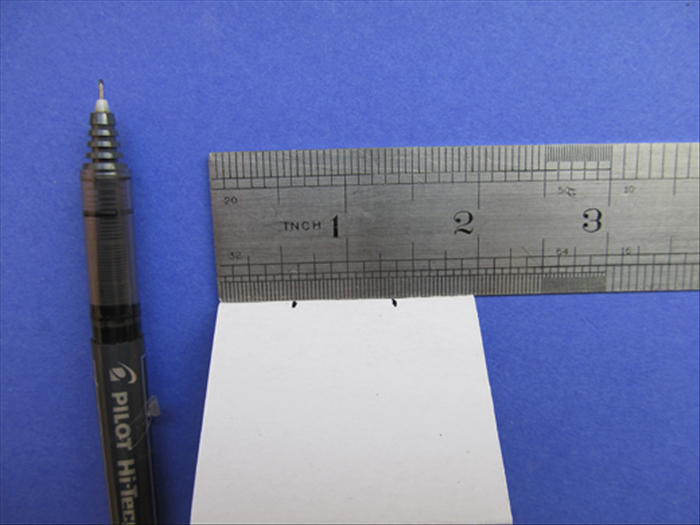 The folded edge you just made should be on the top. Mark ¾ of an inch from each side at the top
 - 6
Step 6
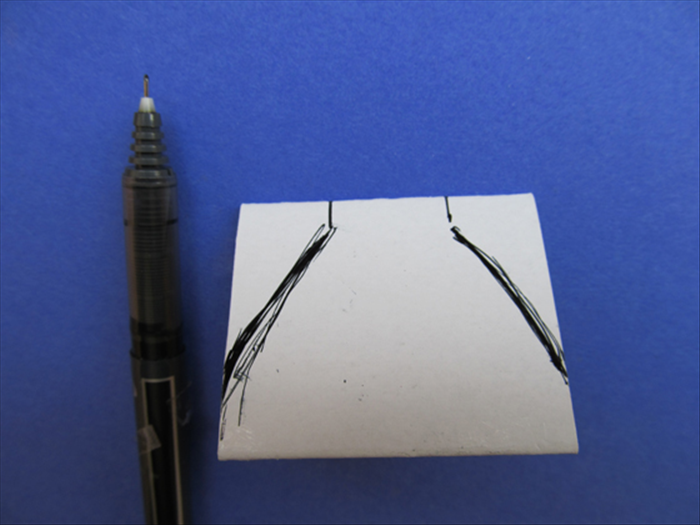 Make the marks at the top ¼ inch long. Draw a slight curve from the bottom of the marks to the bottom points See the picture
 - 7
Step 7
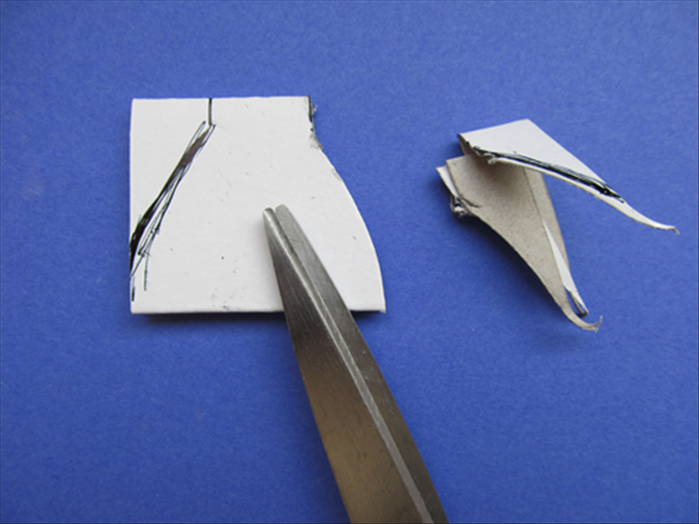 Choose the side that looks nicer and cut along the line
 - 8
Step 8
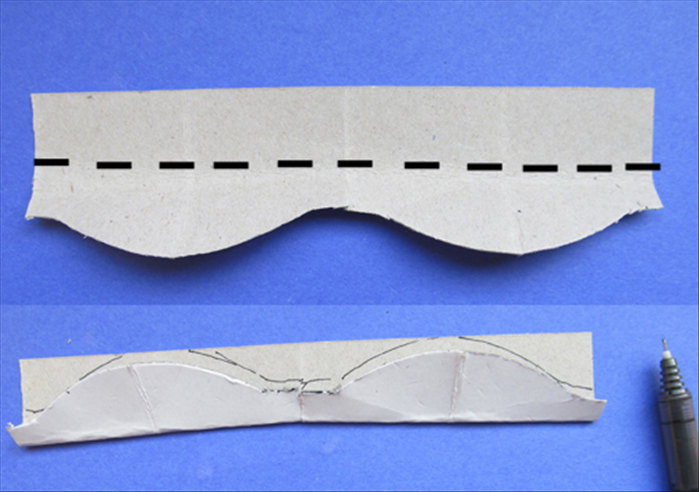 Unfold the strip you just cut Fold it in half lengthwise and trace the curved edge
 - 9
Step 9
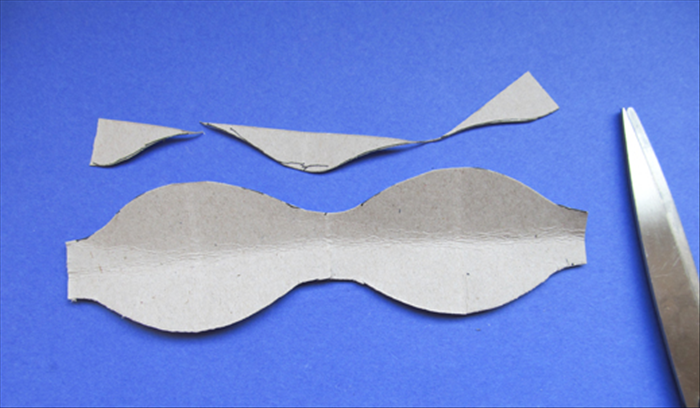 Cut along the line you just made. This is the template for the bottom loops of the bow Repeat steps 3 to 9 for the 1 3/8 inches X 1 5/8 inches strip
 - 10
Step 10
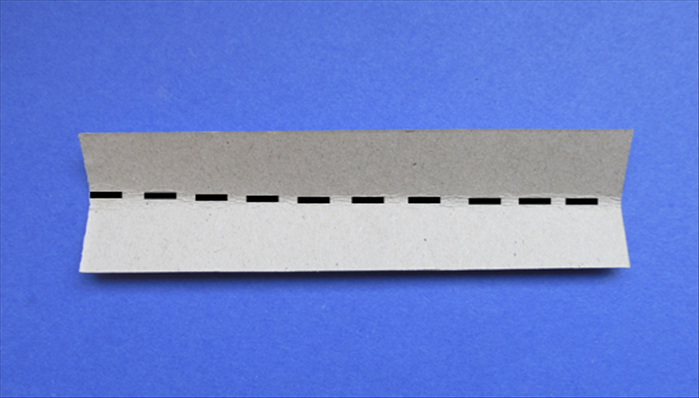 Take the 1 ½ inches x 5 ¾ inches strip and fold it in half lengthwise
 - 11
Step 11
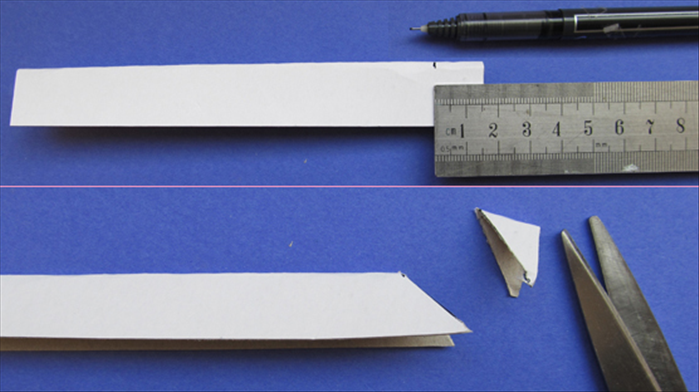 Mark ½ inch from the end of the folded edge Cut from the bottom point to the mark
 - 12
Step 12
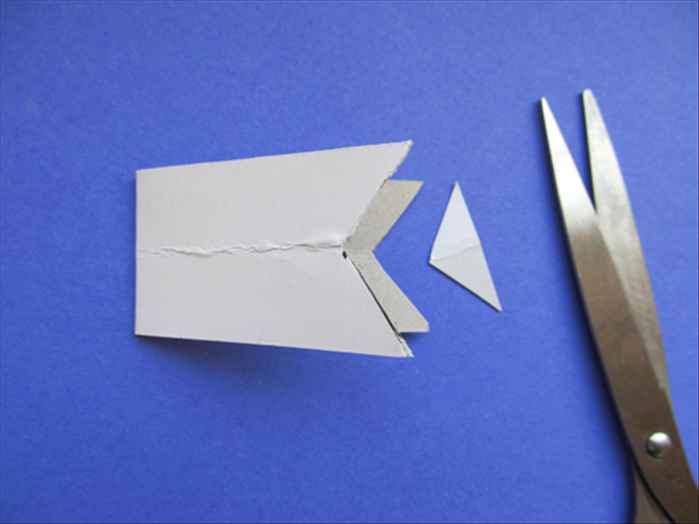 Fold the strip in half and use the cut edge as a guide to cut the other side the same
 - 13
Step 13
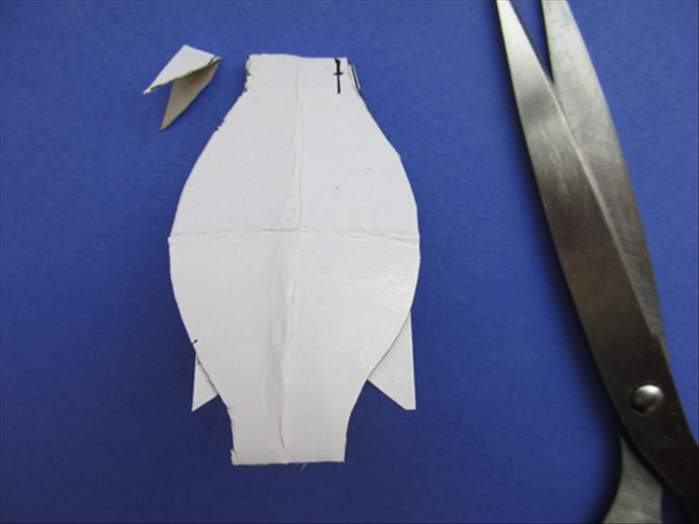 Fold the largest bow template over the folded strip you just made in the last step Make sure it is centered and mark the areas on both sides at the top showing beneath it Cut off along the marks – cut only on the top * leave the pointed bottom alone
 - 14
Step 14
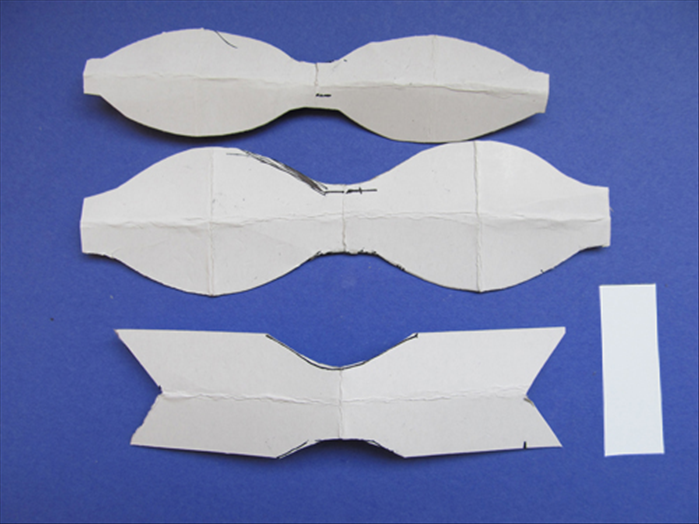 Your templates are ready. Now you can quickly make as many bows as you need Trace the outlines on your decorative paper - one of each for every bow
 - 15
Step 15
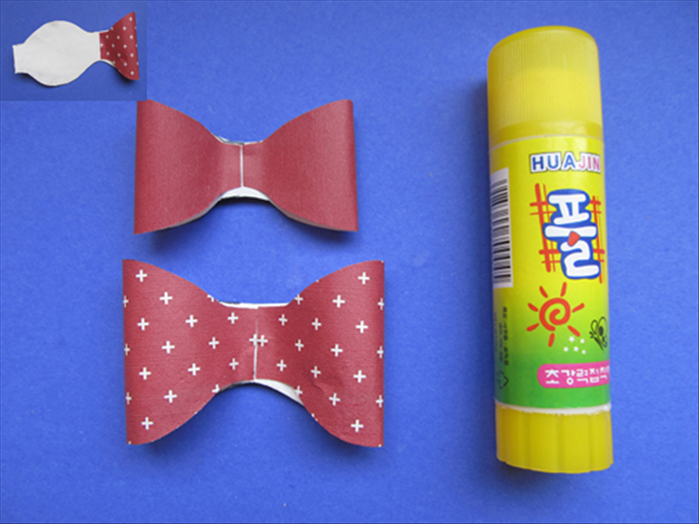 To make the looped parts of the bow: Colored side facing down, bring the sides up and around and glue them to the center. Do not crease the edges.
 - 16
Step 16
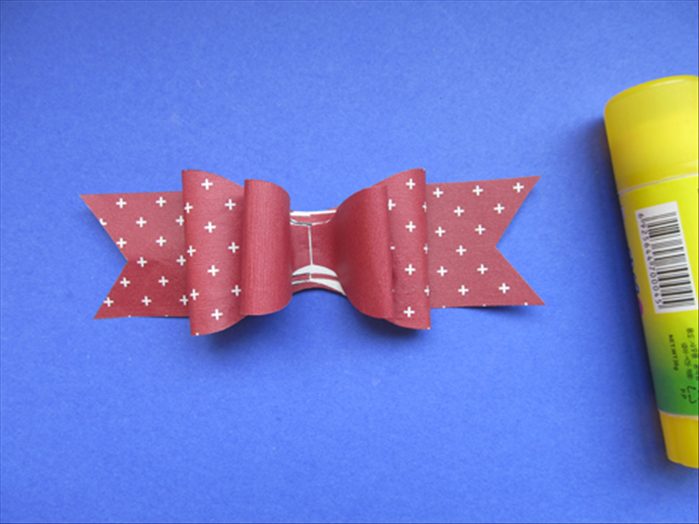 Glue the larger looped piece to the center of the piece with the pointed ends. Glue the smaller looped piece to the center of the larger one
 - 17
Step 17
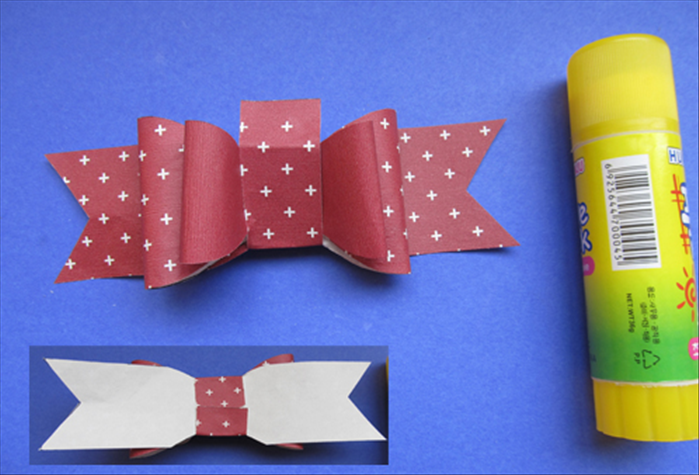 Place the small strip in the center and fold the ends over to the back. Glue the ends at the back.
 - 18
Step 18
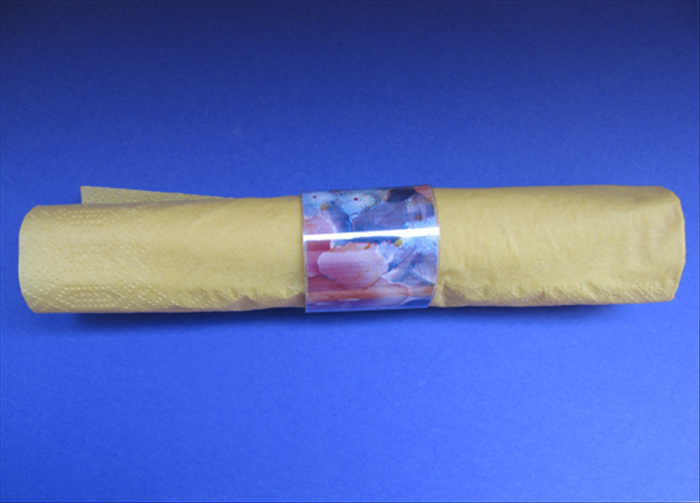
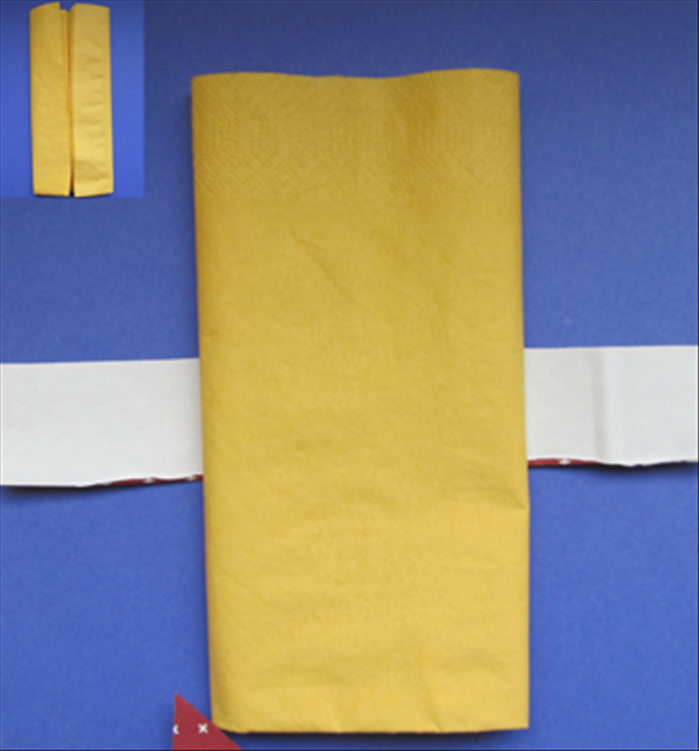 If you want to make a napkin ring with the bow take the napkin as it comes from the package. Bring the sides together as if you were going to fold it in half. Do not crease only pinch the top to mark the half way point Bring the sides to the half way mark as shown in the picture on the top left. Flip the napkin over so the folded ends are on the bottom Cut a strip of paper 1 inch X 8 1/2 inches long and place the napkin at the center Bring the sides of the strip over and glue them together.
 - 19
Step 19
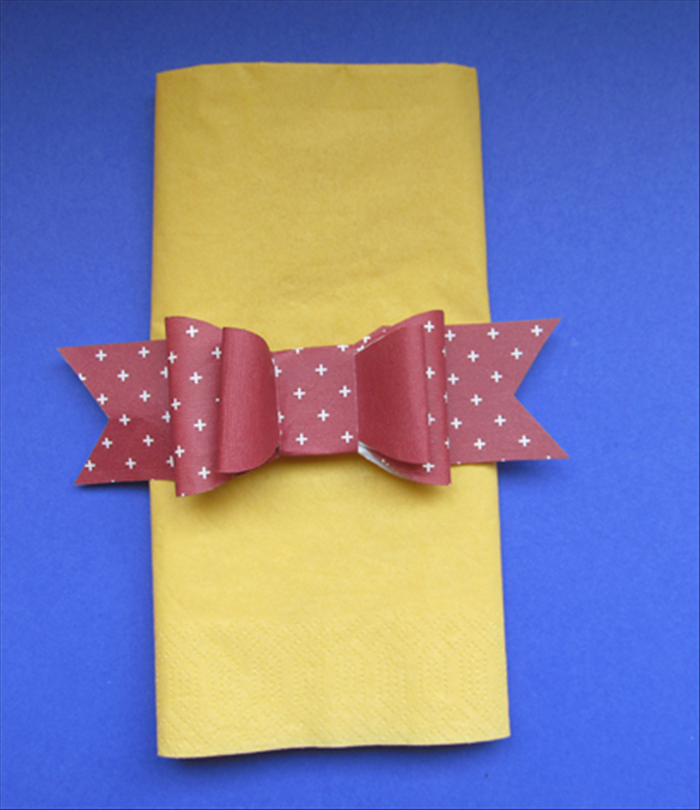 Glue the bow to the band you just made And your napkin ring is ready!
 - 20
Step 20
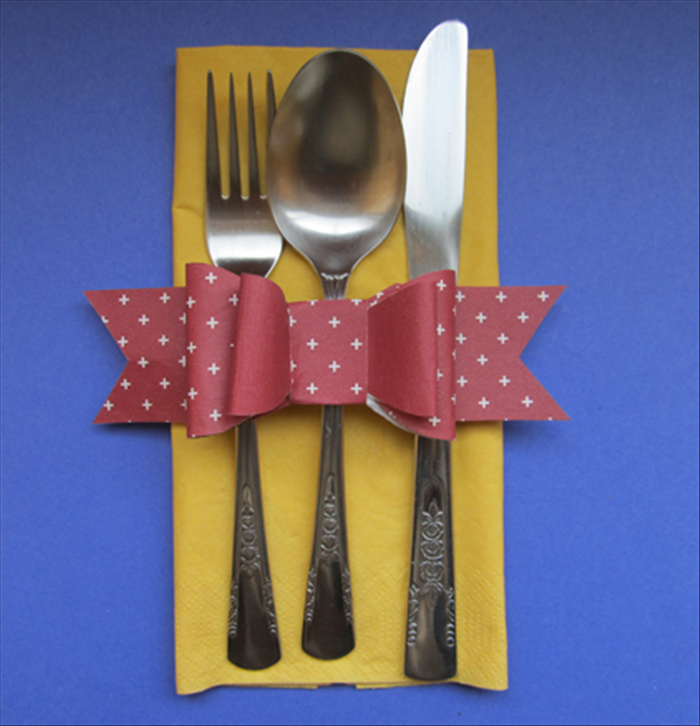 Slip the silverware under the band. Happy Holiday!