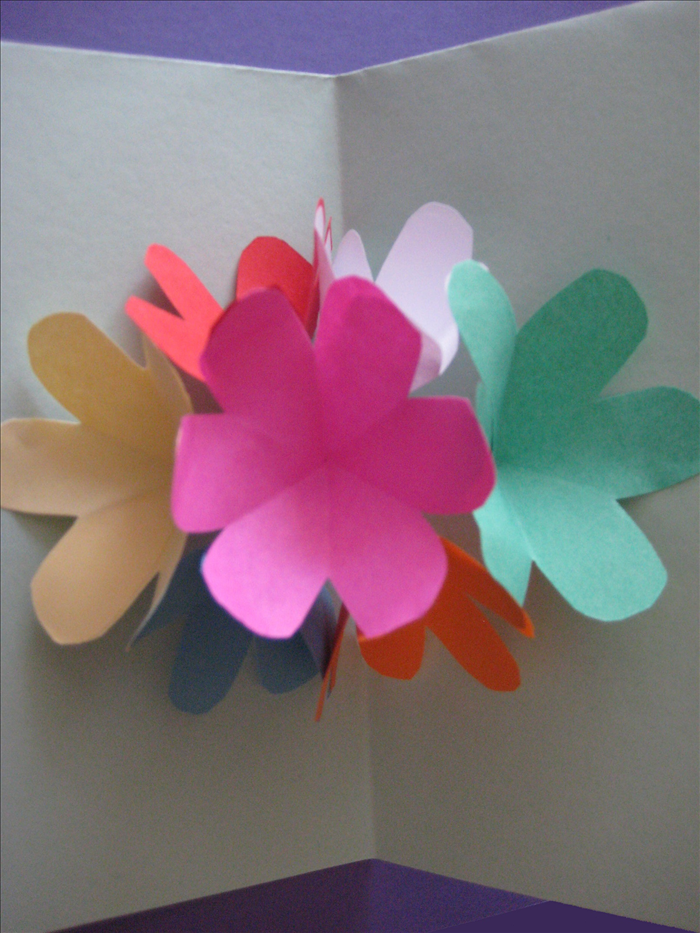
How to make a paper frame from strips of paper
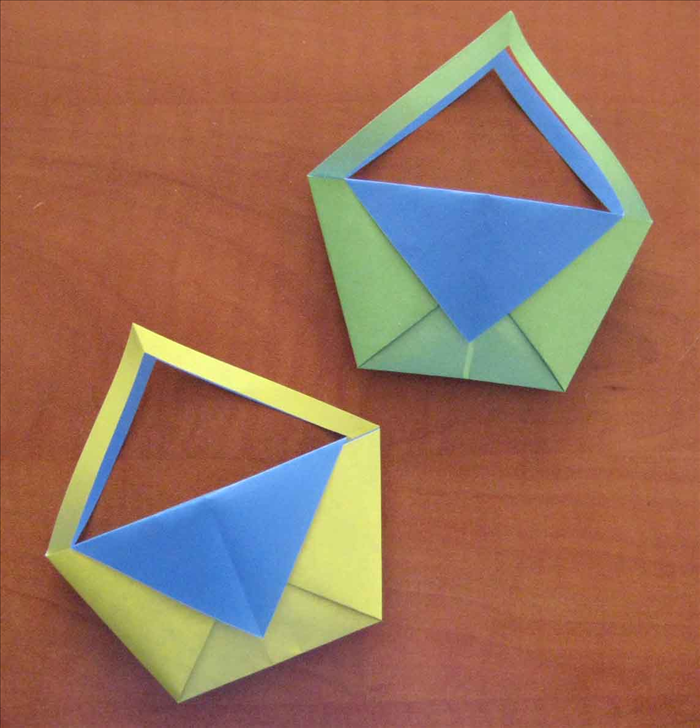
These frames are so quick and easy to make. They are great for framing pictures, putting on greeting cards and crafts projects.
What You'll Need
- paper frames
- paper crafts
- greeting cards
- frame
Steps
- 1
Step 1
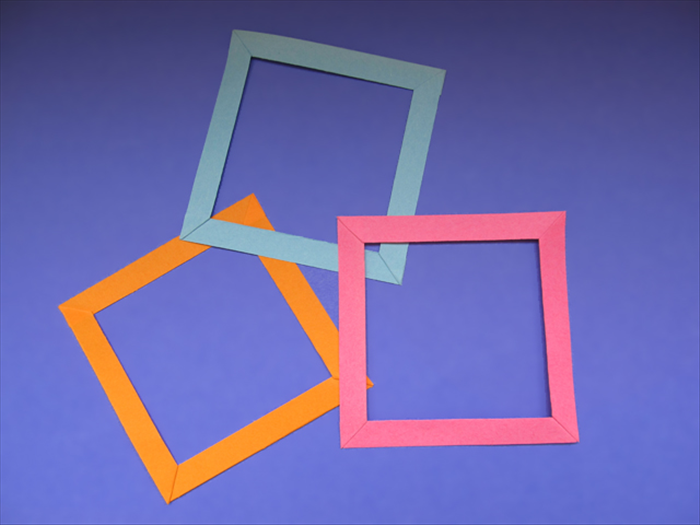
Materials:
Paper
Paper glue
Scissors
Pen or pencil
- 2
Step 2
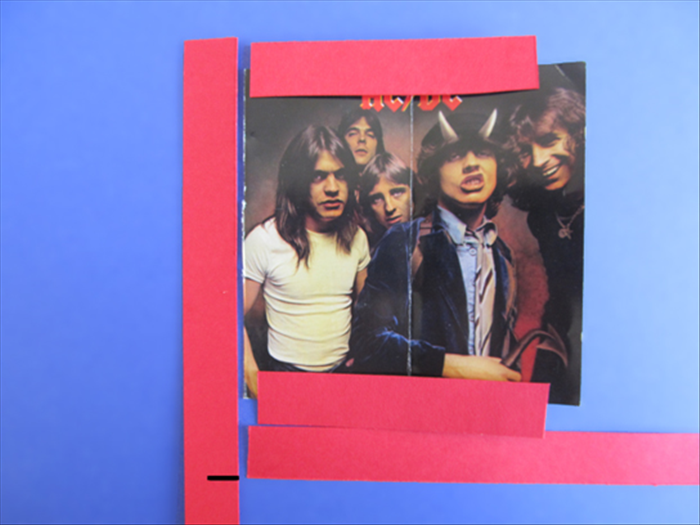
Cut strips of paper the width you want the frame to be.
Place a strip at the top and bottom of the picture to decide how much of the picture you want to cover with the frame.
Align another strip beneath the bottom strip.
Align a strip to the right of the picture and make a mark where the bottom edge of the lowest strip is.
This is the length you will need 4 strips to be if you are making a square frame.
*If you want to make a rectangular frame use the measurement to cut 2 strips
and rotate the picture, repeat the process and use that measurement to cut 2 more strips.
-
- 3
Step 3
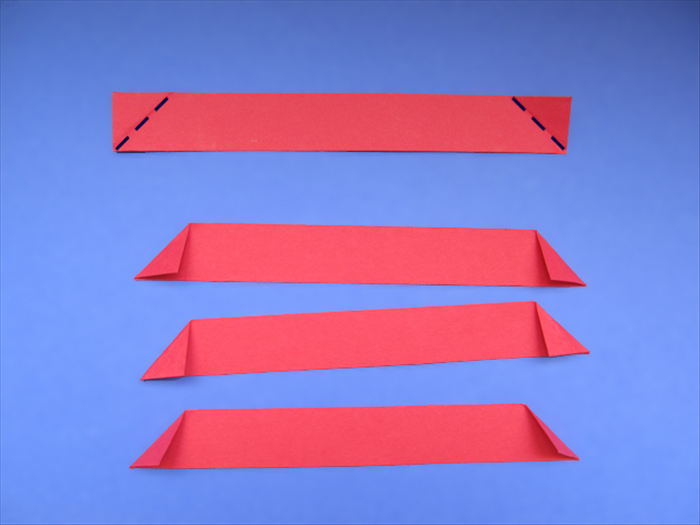
Carefully fold down the top points of the strips to align with the bottom edge.
*Make sure the bottom of the crease starts at the corner.
- 4
Step 4
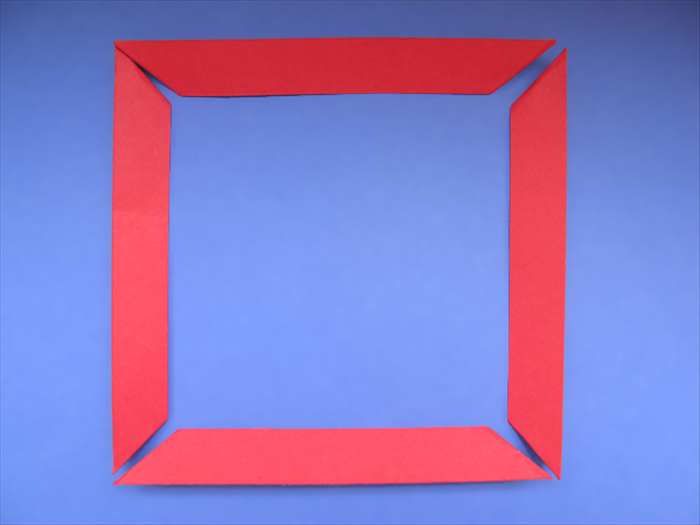
This is how the strips will be glued together. The shorter edges are on the inside.
- 5
Step 5
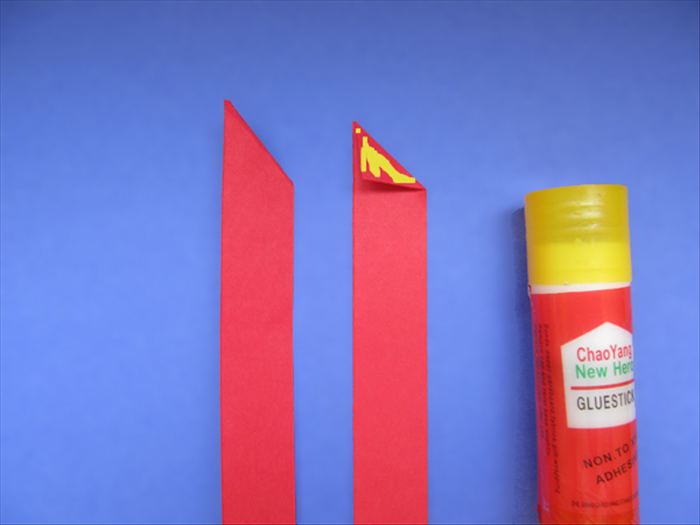
Take one strip with the fold facing up and put glue on the triangle.
Take the second strip with the fold facing down and carefully align it to the first strip.
- 6
Step 6

Result
- 7
Step 7
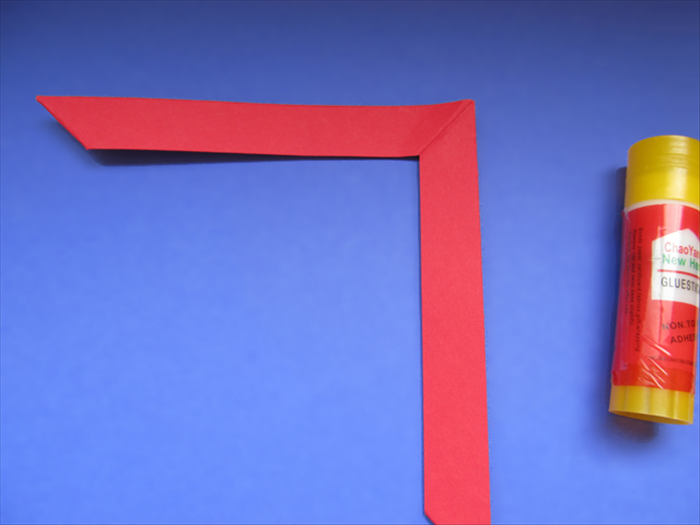
Before the glue dries, lift up the top strip to check if the edges of the folds are aligned.
- 8
Step 8
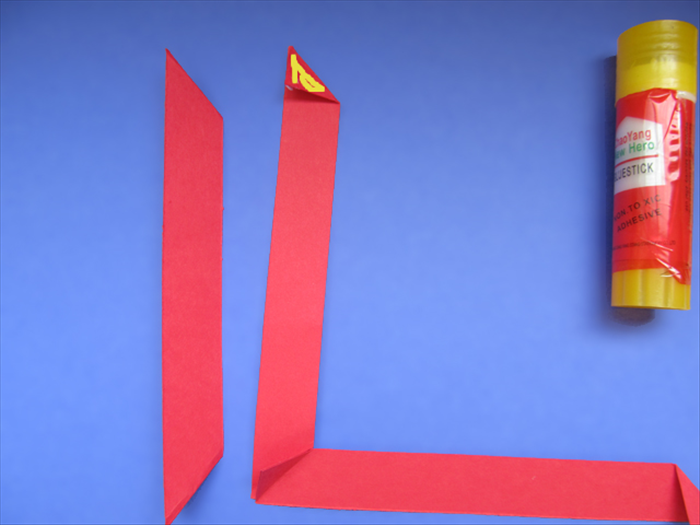
Put glue on one of the triangles and align the next strip on top of it.
Lift the strip and check if they are aligned.
- 9
Step 9
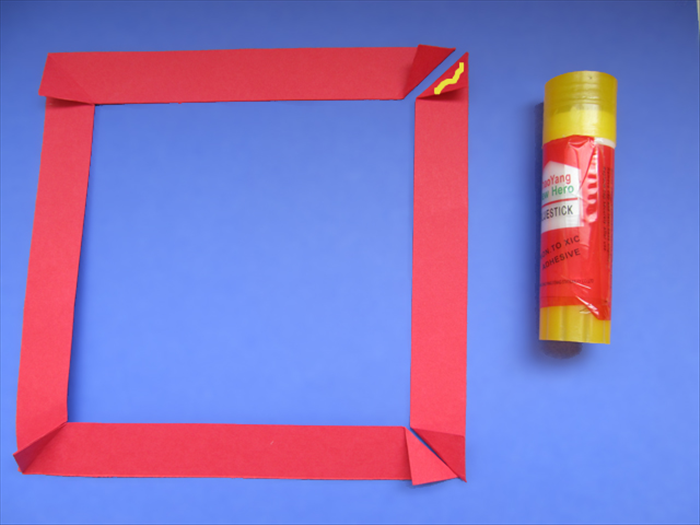
Take the last strip and put glue on the top triangle.
Align the edges of the triangle next to it and press them together.
Before the glue dries flip the frame over to check if they are aligned on the other side.
- 10
Step 10
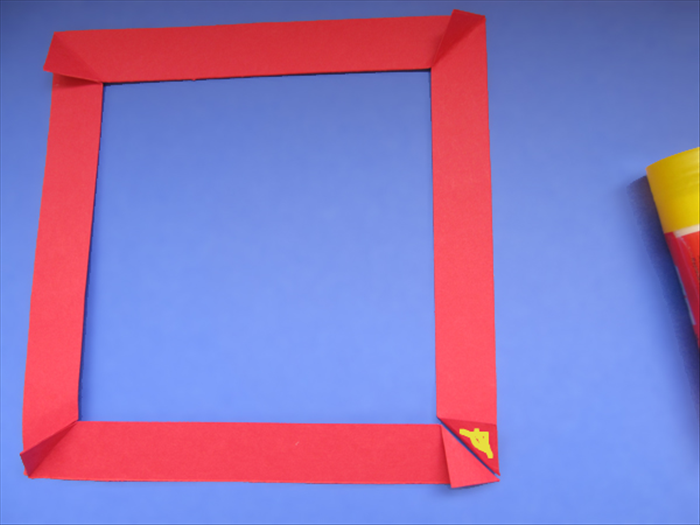
Repeat the process for the last corner.
- 11
Step 11
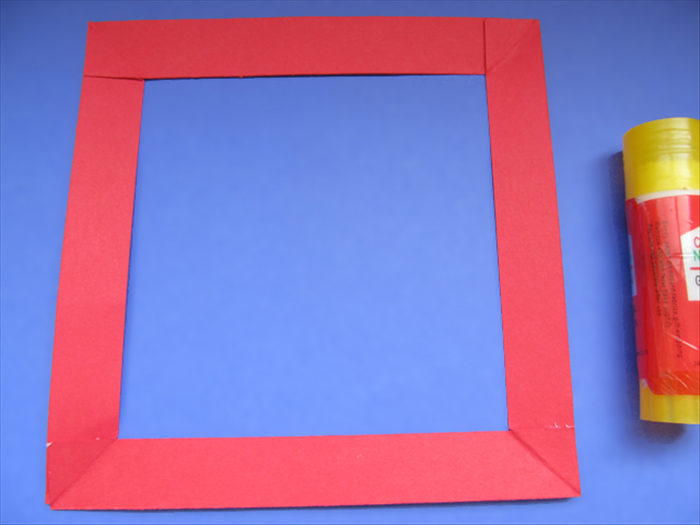
Glue the triangle flaps down.
- 12
Step 12
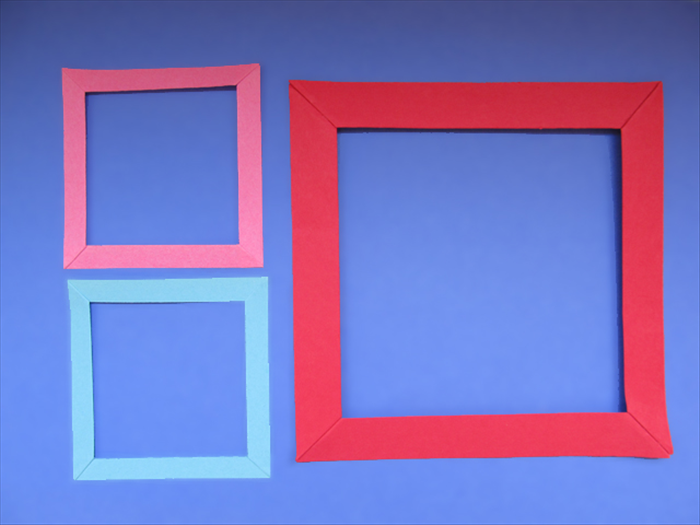
Flip the frame over and that’s it.
Enjoy!