How to Make an Icosahedron from Paper Circles
Cut 20 identical 2–3 inch circles, fold each to an equilateral triangle, and glue five triangles at each vertex. Cardstock and glue.
What You'll Need
- Cardstock or heavy paper
- PVA craft glue
- Craft scissors
- HB pencils (pack)
- Compass or a cup / tape roll to trace
Cardstock and glue are the build. A drinking glass will trace the circles.
An icosahedron has 20 equilateral-triangle faces and 12 vertices, with 5 triangles meeting at each vertex. You cut 20 identical circles, fold each into a triangle with 3 flaps, then glue flaps so five faces meet. Default circle diameter: 2–3 inches (5–7.5 cm). Cardstock 65–80 lb holds shape. Plan 1–2 hours plus dry time.
Supervise kids with scissors. Use non-toxic PVA.
Cut 20 identical circles
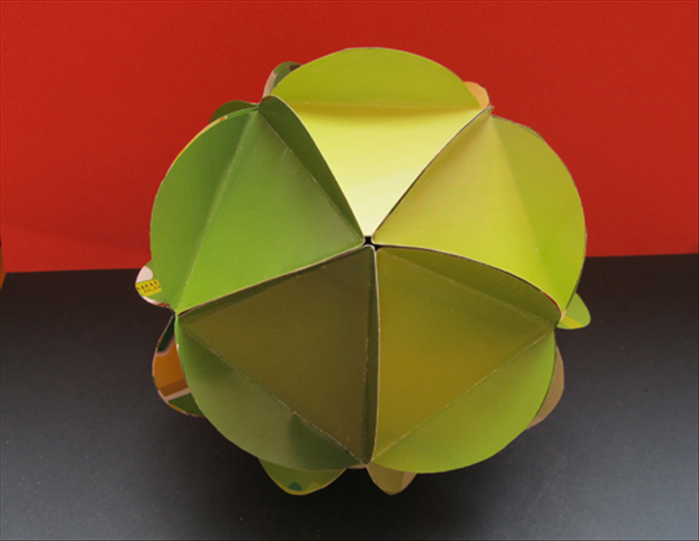
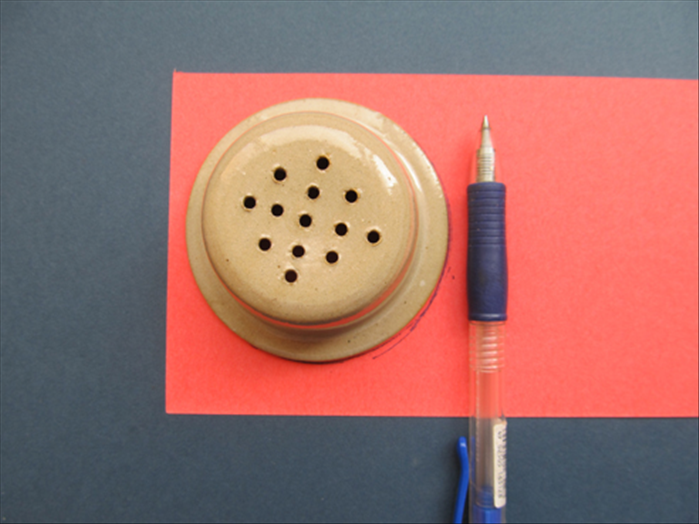
Trace 20 circles at the same diameter (2–3 inches / 5–7.5 cm) and cut them. Same size matters more than exact diameter — mixed sizes will not close.
Fold each circle into a triangle
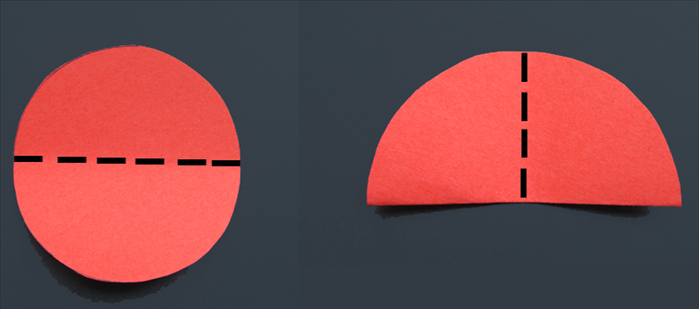
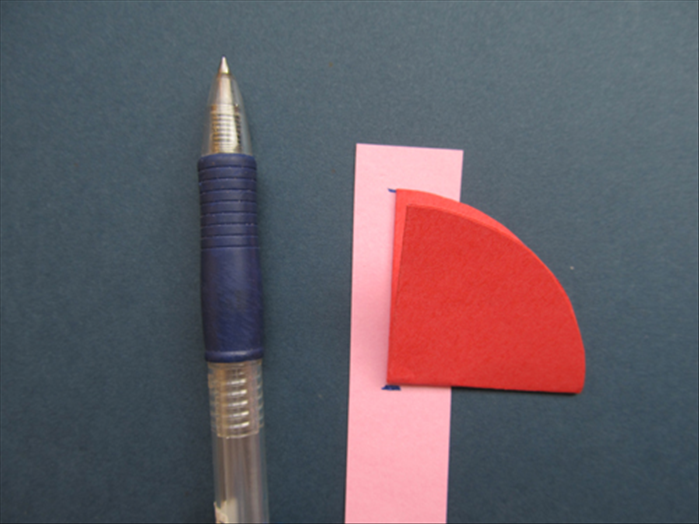
Lightly fold one circle in half and pinch only the center, then open it. Fold three evenly spaced chords so their creases meet at that center — you are making an equilateral triangle inscribed in the circle. Three curved flaps stick out past the triangle. Repeat on all 20. Score along each crease with the back of the scissors and a ruler if the cardstock fights you.
If the triangle won’t sit even, mark three 120° rays from the center first, then fold each flap to those lines.
Glue the first pentagon
Take 5 folded circles. Glue a flap of one to a flap of the next, around in a ring, until five triangles meet at a point. That cup is one vertex. Hold each joint until the PVA grabs.
Build out, then close
Keep adding circles on the open flaps. Every vertex must gather exactly 5 triangles. You will use all 20 faces and close 12 vertices. Glue the last flaps and let the ball dry until the joints don’t flex. Paperclips or clothespins hold flaps while the glue sets.