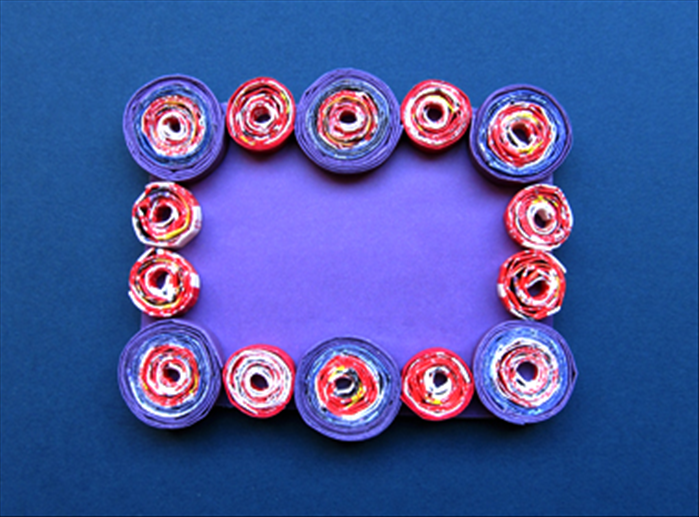
Easy DIY Decorative Balls: Craft Stunning Home Decor from Plastic Cord
Learn how to make beautiful DIY decorative balls using plastic cord or rope. Perfect for vase fillers or bowl decor, this easy craft adds a handmade touch to any home.
Looking for a simple yet stunning way to spruce up your home decor? These DIY decorative balls, crafted from humble plastic cord or rope, are surprisingly easy to make and offer endless possibilities for customization. Whether you're filling a decorative bowl, adorning a vase, or creating a unique centerpiece, these handmade spheres add a charming, personal touch to any space. Let's get crafting!
Step 1: Prepare Your Balloon Base
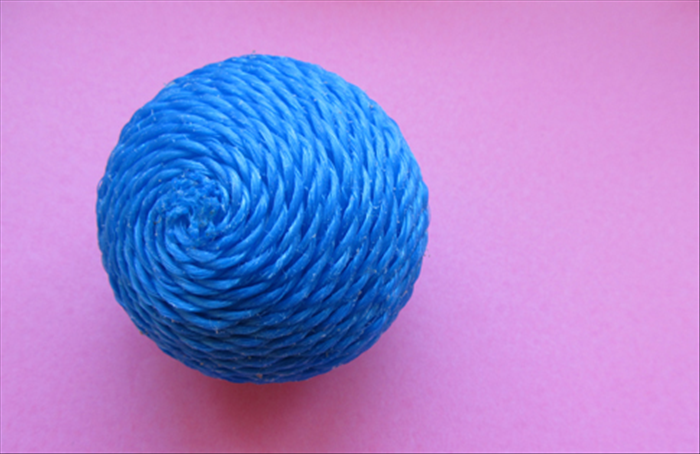
Begin by inflating a balloon to your desired size for the decorative ball. Tie it securely. The size of your balloon will directly determine the final size of your decorative sphere. If you anticipate difficulty removing the balloon later, you can lightly grease its surface with petroleum jelly or cooking oil, though this is often not necessary with strong craft glues.
Experiment with different balloon sizes to create a collection of varied decorative balls for a more dynamic display.
Step 2: Begin Wrapping the Cord
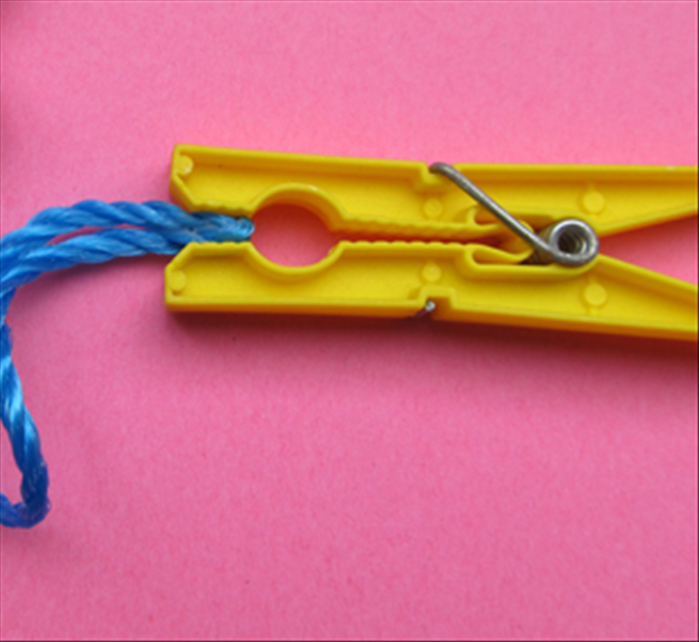
Unroll about 1-2 feet of your plastic cord or rope. Apply a generous, even amount of craft glue directly onto this section of the cord. Don't be shy with the glue – it's what will hold your ball together! Begin wrapping the glued cord around your inflated balloon. Start by securing the initial wraps firmly, overlapping slightly, to prevent the cord from unraveling as you continue.
Work in manageable sections, applying glue to only a foot or two of cord at a time. This prevents the glue from drying out before you've had a chance to wrap it.
Ensure you work in a well-ventilated area, especially if using a strong craft glue, to avoid inhaling fumes.
Step 3: Build the Ball's Structure
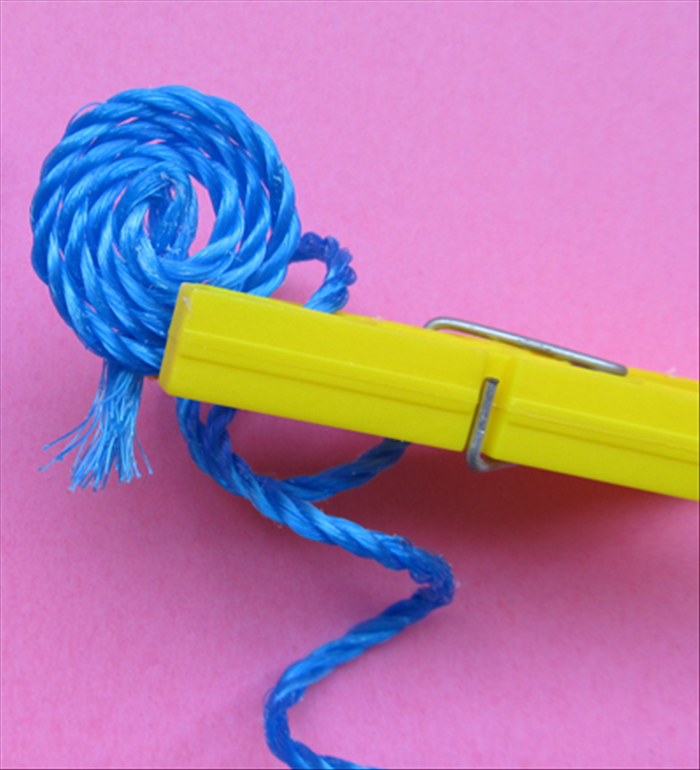
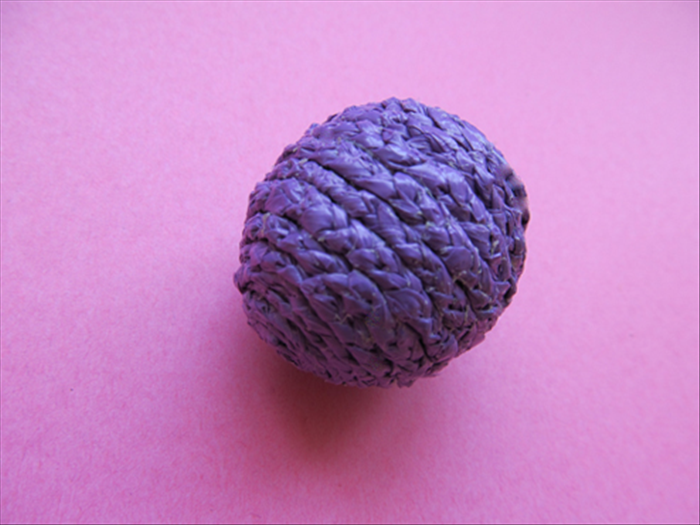
Continue applying glue to sections of the cord and wrapping it around the balloon. Vary the direction of your wraps, crisscrossing and overlapping the cord to create an intricate, web-like pattern. Ensure you cover the entire balloon surface to your desired density. For a more open, airy look, wrap less densely. For a sturdier, more opaque ball, wrap more closely. Once you're satisfied with the coverage and shape, snip the end of the cord and secure it tightly to the ball with a final dab of glue.
For a unique look, try using two different colors or thicknesses of cord, wrapping them simultaneously or in alternating layers.
Step 4: Allow to Dry & Remove Balloon
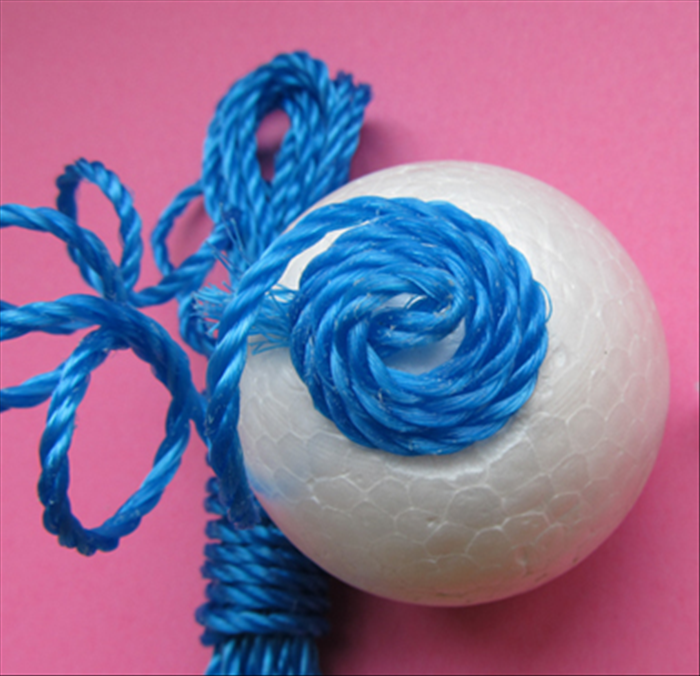
Carefully place your wrapped balloon on a non-stick surface (like wax paper) and let it dry completely. This is a crucial step! Depending on your glue, humidity, and cord thickness, this can take anywhere from 24 to 48 hours. The cord must be fully rigid and dry before proceeding. Once completely dry, carefully pop the balloon with a pin or needle. Gently remove the deflated balloon from inside the cord sphere through one of the openings. You might need to twist or wiggle it a bit.
To confirm the ball is fully dry, gently press on a section. If it feels firm and rigid, it's ready. If it still has any give, allow more drying time.
Step 5: Add Finishing Touches (Optional)
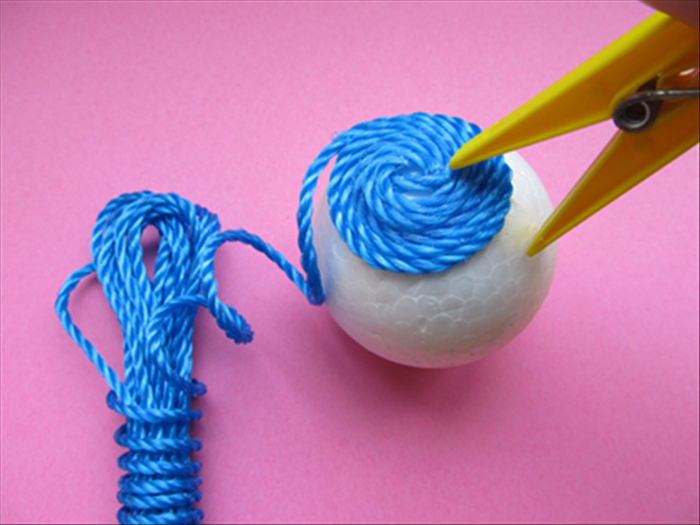
Your decorative ball is now complete! If desired, you can personalize it further. Apply glitter, spray paint it a different color, or attach small embellishments like beads or small artificial flowers. Arrange your new handmade decorative balls in bowls, on trays, in glass vases, or even string them together to create a unique garland. Enjoy your beautiful, custom home decor!
These easy DIY decorative balls are a fantastic way to add a personal, artistic touch to your living space. They’re a budget-friendly project that yields impressive results. Get creative with your cord choices and display arrangements!