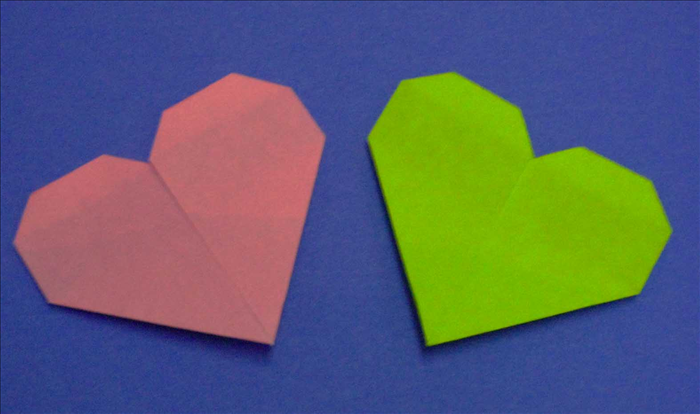
How to Make Easy DIY Ladybug Magnets from Recycled Paper
Turn junk mail into ladybug fridge magnets. Kid-friendly, 30-60 minutes.
What You'll Need
- Red or colored recycled paper (from junk mail or magazines)
- Black paper
- White paper (for eyes)
- Craft magnets
- Glue (white or hot glue)
- Scissors
- Pencil
- Hot glue gun (optional, for stronger hold)
Use recycled paper to make simple ladybug magnets. You need basic supplies and about 30–60 minutes.
Step 1: Cut Out Ladybug Shapes
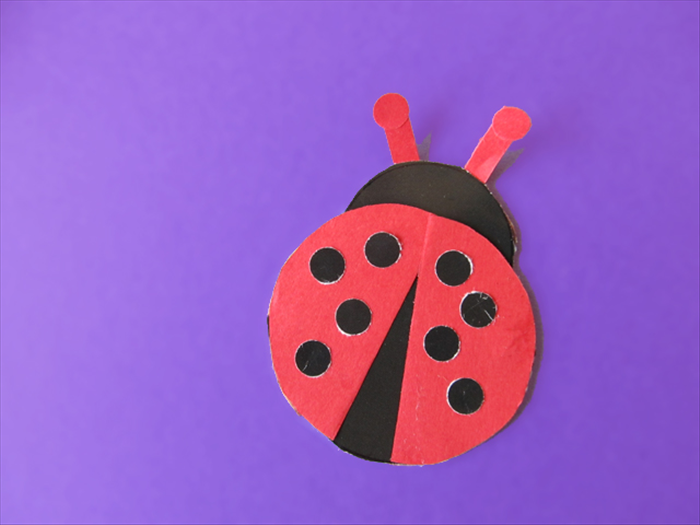
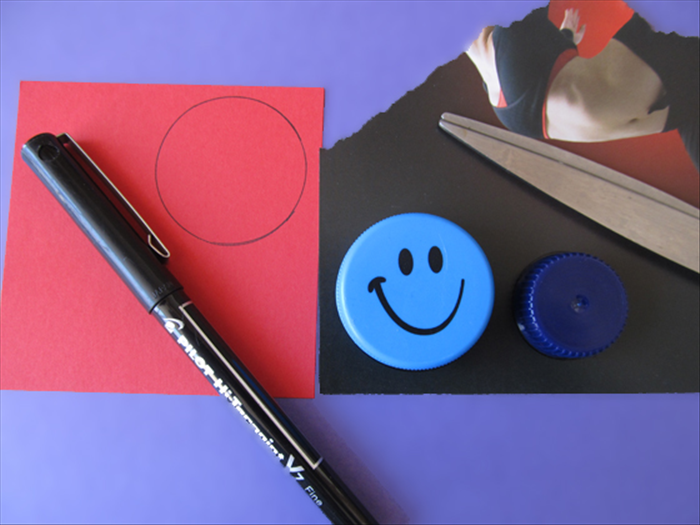
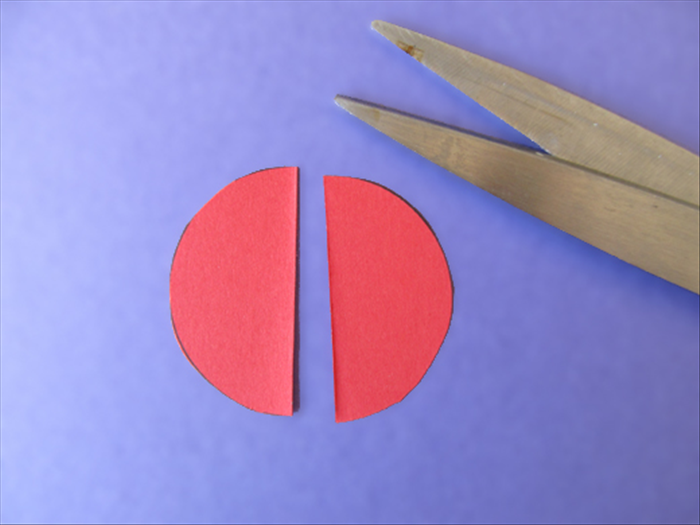
From red or colored recycled paper, cut a large circle (body). From black paper, cut a smaller circle (head) and several tiny circles (spots).
Step 2: Assemble the Ladybug
Glue the black head circle onto one edge of the red body. Glue the black spots onto the body. Cut two tiny white circles and draw black dots for eyes, then glue them onto the head.
Step 3: Attach the Magnet
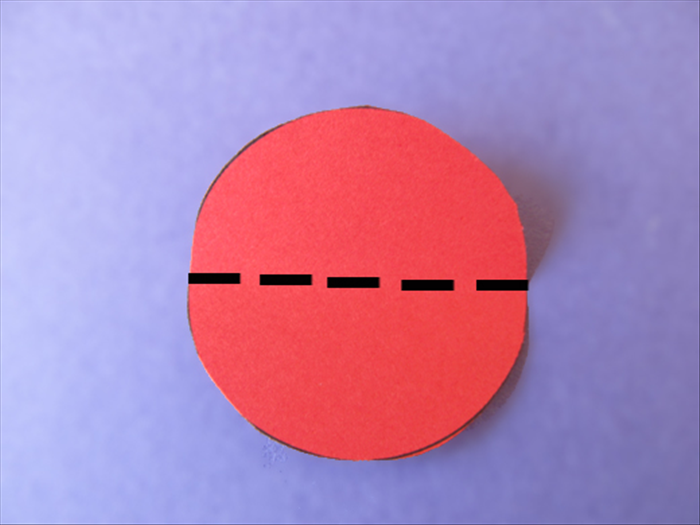
Apply a generous dab of glue to the back of the ladybug. Press the magnet firmly onto the glue. Let it dry completely (about 10–15 minutes for white glue, or 1 minute for hot glue).
Step 4: Test and Use
Place the magnet on your fridge. If it doesn't stick well, add a second magnet or use stronger glue.
Safety Tip
Adult supervision required for scissors and hot glue. Use child-safe scissors for younger kids.
Variation Tip
Use different colored papers, add glitter or sequins, or draw patterns on the body.
Fixing Weak Magnets
If the magnet doesn't hold, ensure the glue is fully dry, use a stronger magnet, or attach a second magnet on top.