DIY Tissue Paper Plaster Relief Art
Create textured plaster relief art using a shoe box lid and tissue paper.
What You'll Need
- Shoe box lid (approx. 30 x 20 cm)
- Tissue paper (various colors, at least 10 sheets)
- Plaster of Paris (500 g or enough for 2–3 mm layer)
- Water (room temperature, about 350 ml per 500 g plaster)
- Mixing bowl (plastic or rubber, not metal)
- Stir stick (wooden or plastic)
- Paintbrush or spreader (2–3 cm wide)
- Scissors
- Dust mask (N95 or equivalent)
- Gloves (latex or nitrile)
Use a shoe box lid as a base, arrange torn tissue paper into a design, then cover with plaster to create a textured wall art piece. This project takes about 30 minutes of active work plus 24–48 hours of drying time. The result is a lightweight, custom relief panel you can hang or display on a shelf.
Prepare the Base
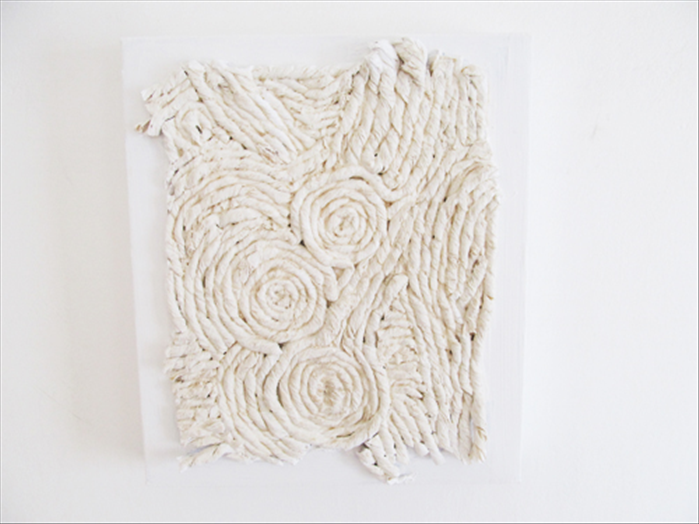
Clean the shoe box lid with a dry cloth to remove dust. Peel off any stickers or labels. If the lid has glossy coating, lightly sand the surface with fine-grit sandpaper (220 grit) to help the plaster adhere. Wipe again with a dry cloth. Ensure the lid is completely dry before proceeding.
Arrange Tissue Paper
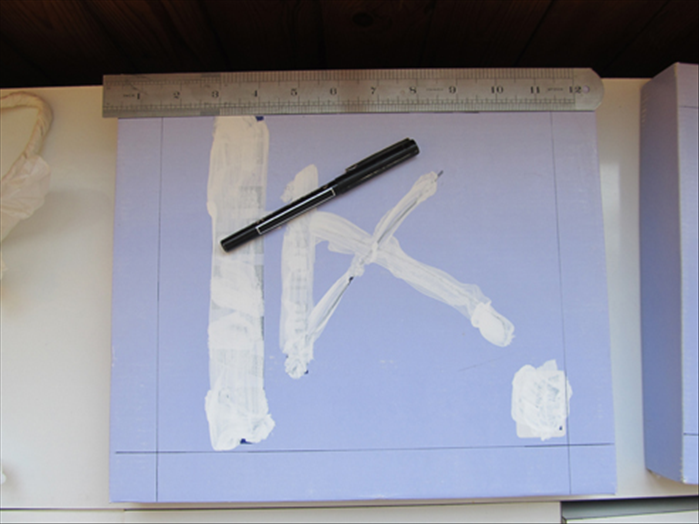
Tear or cut tissue paper into shapes—triangles, circles, or freeform pieces. Aim for pieces 3–8 cm across. Arrange them on the lid to form your design. Overlap layers to create depth; for example, place 2–3 layers in some areas and single layers in others. Press the paper down gently so it lies flat. Leave a 1–2 cm border around the edges for a clean frame. Adjust the design until you are satisfied.
Mix and Apply Plaster
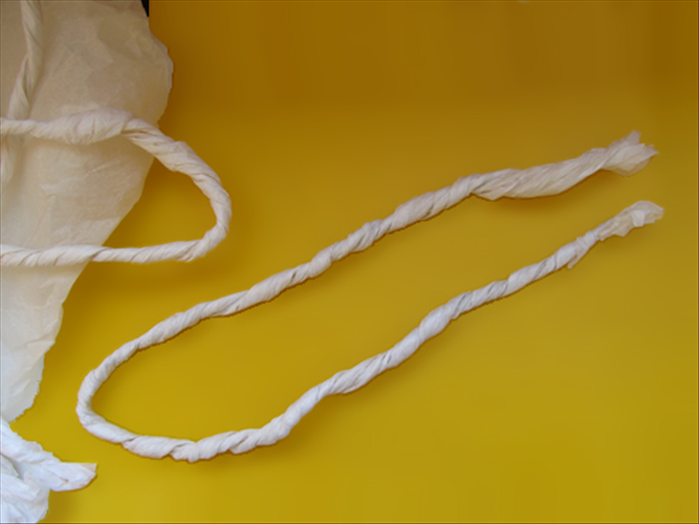
Put on gloves and a dust mask. In a mixing bowl, combine 500 g of plaster of Paris with 350 ml of room-temperature water. Stir slowly with a stir stick for 2–3 minutes until the mixture is smooth and lump-free, with a consistency like thick pancake batter. Work quickly—plaster sets in 10–15 minutes. Using a paintbrush or spreader, apply a 2–3 mm layer of plaster over the entire tissue paper design. Start from the center and spread outward. Cover all paper completely, but avoid making the layer too thick or it may crack. Smooth the surface with the spreader, but leave some texture if desired.
Dry and Cure
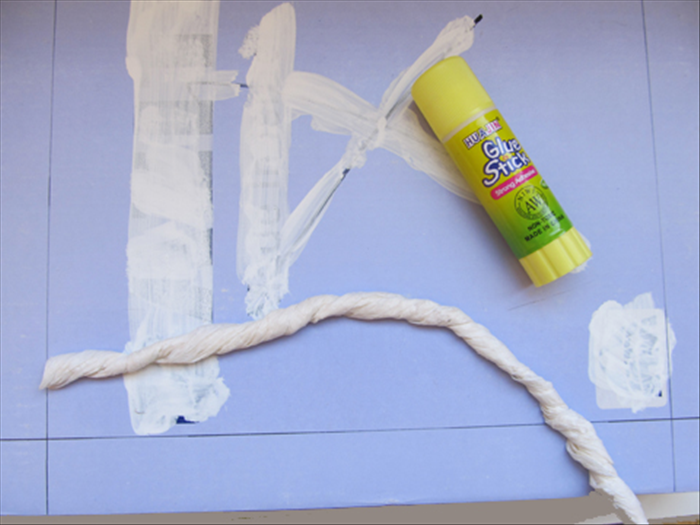
Let the plaster dry undisturbed for at least 24 hours. For best results, wait 48 hours. Place the lid on a flat, level surface in a well-ventilated area. Do not move it during drying. After 24 hours, check for any soft spots; if present, wait another 12–24 hours. Once fully hard and dry to the touch, your relief art is ready to display. You can hang it with a picture hanger on the back or prop it on a shelf.
Texture Tip
Vary tissue paper thickness and layering for more dynamic relief. Use crumpled tissue paper for higher bumps, or fold pieces for sharp ridges. You can also press objects like leaves or string into the wet plaster and remove them after 5 minutes to leave impressions.
Safety Warning
Always wear a dust mask when mixing plaster to avoid inhaling fine particles. Wear gloves to protect your skin. Do not pour excess plaster down drains—it can clog pipes. Instead, let leftover plaster harden in the bowl, then dispose of the solid in the trash. Work in a well-ventilated area and avoid contact with eyes.