How to Draw a 3D Rectangle: Easy Perspective Drawing for Beginners
Learn to draw a 3D rectangle using basic perspective: horizon line, vanishing point, and orthogonal lines.
What You'll Need
- Paper
- Pencil
- Ruler
- Eraser
Perspective drawing creates depth on a flat surface. Key elements: horizon line (your eye level), vanishing point (where parallel lines converge), orthogonal lines (receding lines), and transversal lines (connecting lines).
Draw the Horizon Line
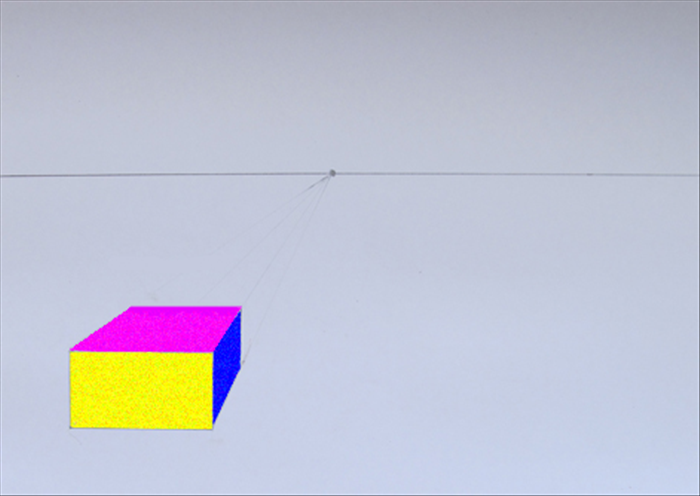
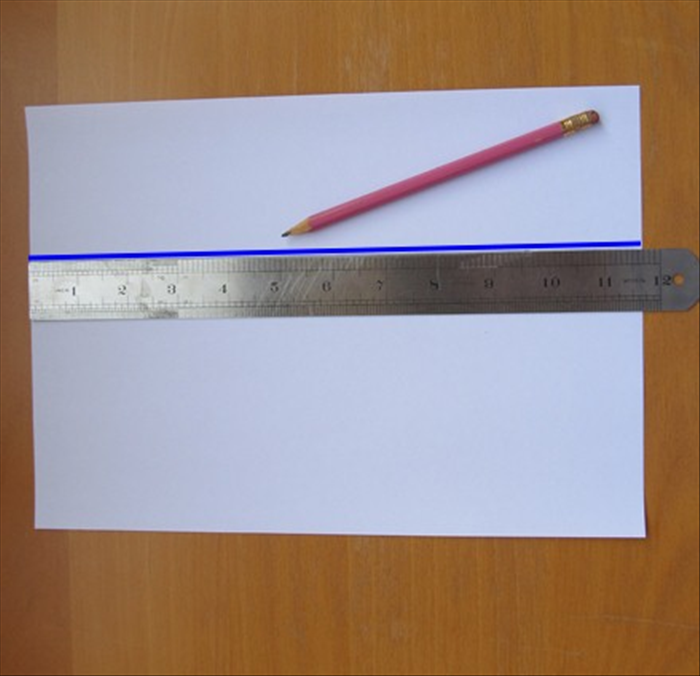
Draw a straight horizontal line across your paper. This is your eye level.
Place the Vanishing Point
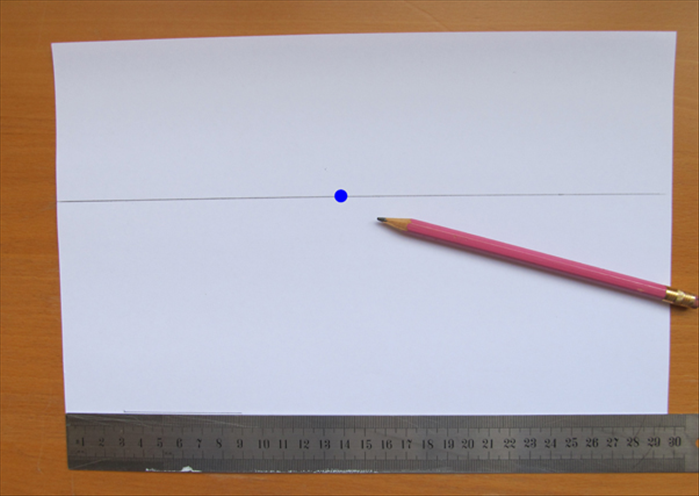
Mark a dot on the horizon line. For a head-on view, center it; for a side view, place it off-center.
Draw the Front Face
Draw a rectangle or square below the horizon line. This is the front face of your 3D rectangle.
Extend Orthogonal Lines
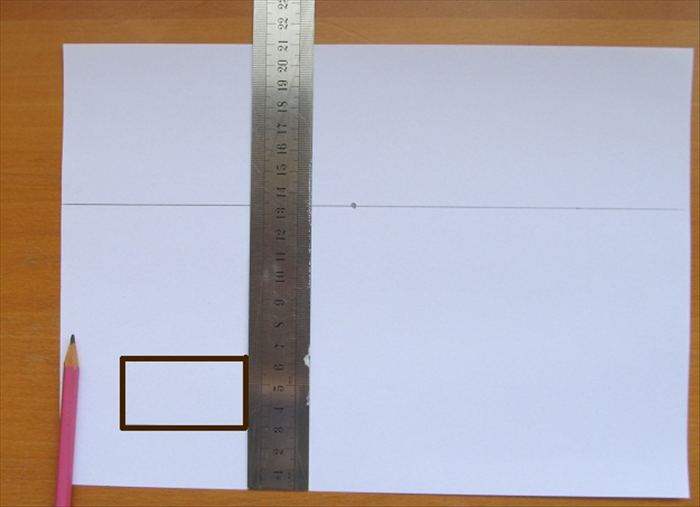
From each corner of the front face, draw a straight line to the vanishing point. These are the receding edges.
Draw the Back Face
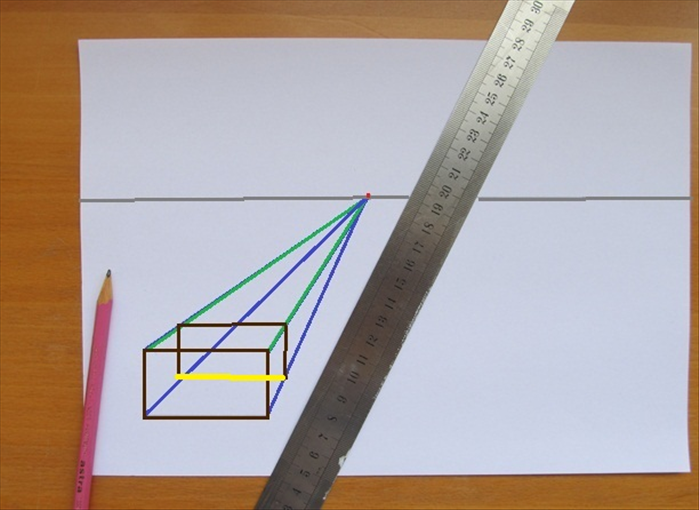
Choose a point along one orthogonal line to be the back corner. Draw a horizontal line and a vertical line to form the back rectangle, connecting to the other orthogonal lines.
Finalize the Shape
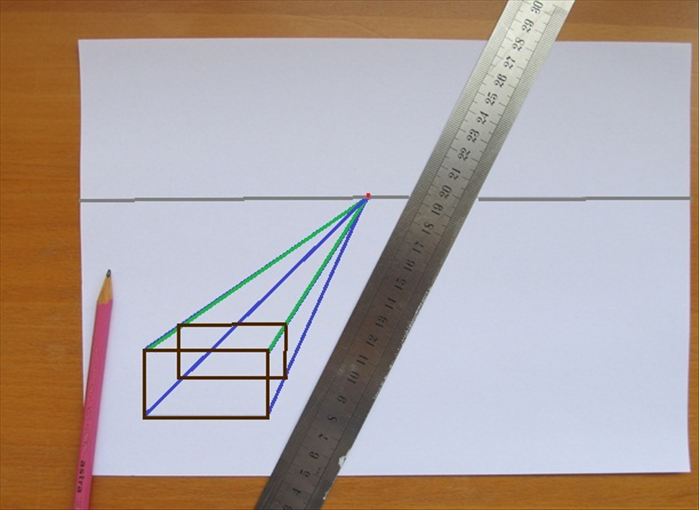
Erase the orthogonal lines that extend beyond the back face. Darken the visible edges: front face, top, and one side.
Placement Tip
Placing the vanishing point off-center shows more of one side, making the rectangle look more dynamic.
Common Mistake
Keep all orthogonal lines straight and converging exactly at the vanishing point. Slight deviations break the illusion.