The Essential Guide to Finding the Horizon Line in Perspective Drawing
Master the fundamentals of perspective drawing by learning how to accurately identify and utilize the horizon line, also known as eye level. This beginner-friendly guide provides step-by-step instructions, practical examples, and common mistake tips to elevate your artistic skills.
Understanding the horizon line is arguably the most crucial concept in perspective drawing. It acts as the anchor for all your vanishing points and dictates how objects appear in relation to your eye level. Without a clear understanding of the horizon line, your perspective drawings can look distorted or inaccurate. This guide will walk you through everything you need to know about the horizon line, also often referred to as eye level, and how to effectively use it in your artwork.
Pencil (HB or 2B recommended)
Paper (sketchbook or loose sheets)
Ruler or straight edge
Eraser
Understanding Eye Level and the Horizon Line
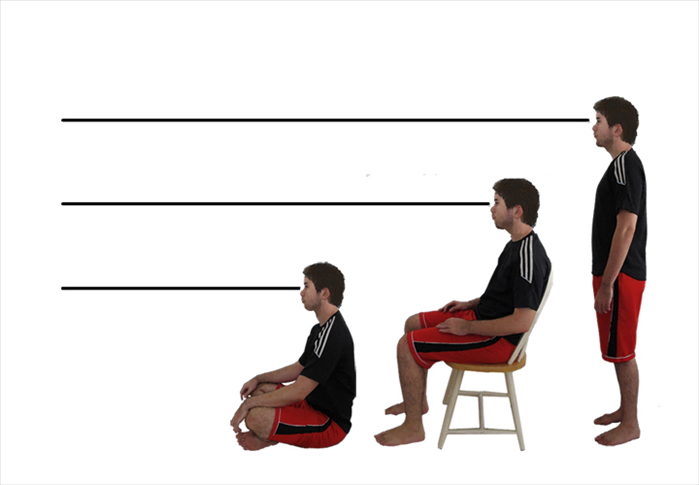
Before you can draw the horizon line, it's essential to grasp what it represents. In perspective drawing, the horizon line is always at your eye level. Imagine you're standing on a vast, flat plain; the line where the sky meets the land is your horizon line. If you sit down, your eye level drops, and so does the horizon line. If you stand on a ladder, your eye level rises, and the horizon line rises with you.
Think of the horizon line as your "line of sight." Everything above this line is seen from below, and everything below this line is seen from above.
Step 1: Identify Your Eye Level
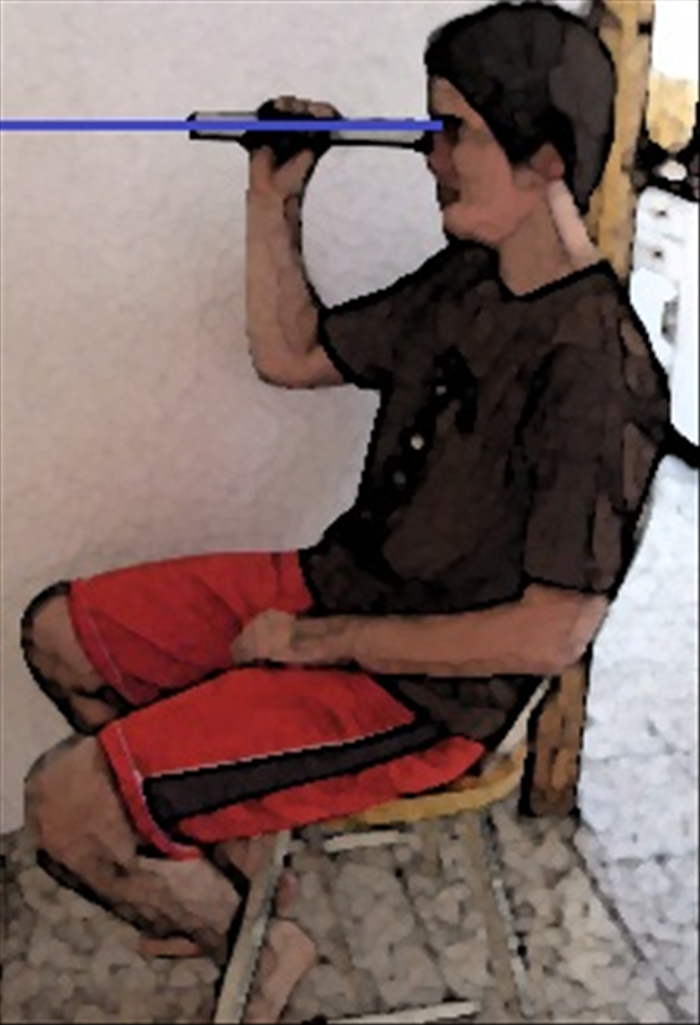
The first step in any perspective drawing is to establish your eye level. This is often the most overlooked part, yet it's fundamental. Your eye level determines where the horizon line will be placed on your canvas or paper. If you're drawing from observation, simply look straight ahead. The imaginary line that aligns with your eyes is your eye level.
If you're drawing from imagination, you need to decide what the viewer's eye level will be. Will they be looking down on the scene (high eye level), looking straight ahead (mid-level eye level), or looking up (low eye level)?
Step 2: Draw the Horizon Line on Your Paper
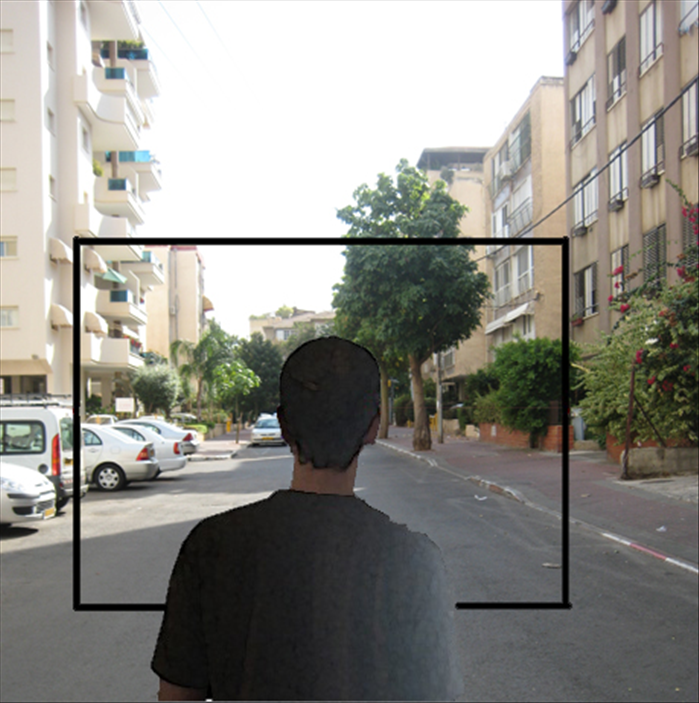
Once you've determined your eye level, it's time to draw the horizon line on your paper. Use your ruler to draw a straight horizontal line across your drawing surface. The placement of this line will depend entirely on your chosen eye level:
High Eye Level: Place the horizon line higher on your paper. This gives the viewer a bird's-eye view, looking down on the scene.
Mid-Level Eye Level: Place the horizon line roughly in the middle of your paper. This is a common and natural eye level, as if the viewer is standing and looking straight ahead.
Low Eye Level: Place the horizon line lower on your paper. This makes the viewer feel as though they are looking up at the scene, perhaps from the ground or a sitting position.
Lightly draw your horizon line. It's a foundational guide and often doesn't need to be a prominent part of your final drawing, especially if it's an interior scene.
Examples: Horizon Line in Different Scenarios
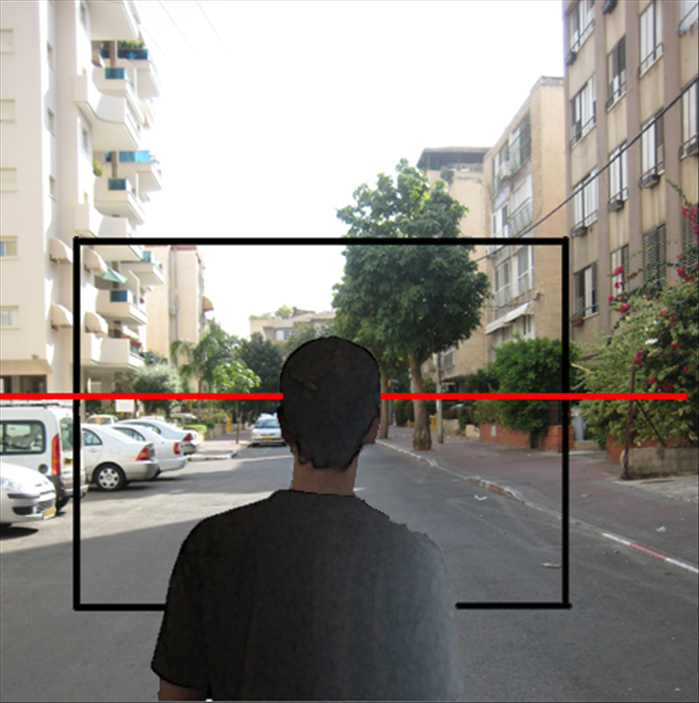
Understanding how the horizon line shifts with different viewpoints is crucial for realistic perspective drawing. Let's look at a few examples:
Standing on a Hilltop: If you're standing on a hill looking out, your eye level is higher, and therefore the horizon line will be high on your paper. Objects below you will appear smaller and recede quickly.
Sitting on the Ground: When sitting, your eye level is much lower. The horizon line will be low on your paper, making objects appear larger and towering over the viewer.
Looking Across a Table: In an interior scene, the horizon line still represents your eye level. If you're looking across a table, the horizon line might be somewhere across the middle of the table, and objects on the table will be below it, while a painting on the wall might be above it.
Common Mistakes and Troubleshooting Tips
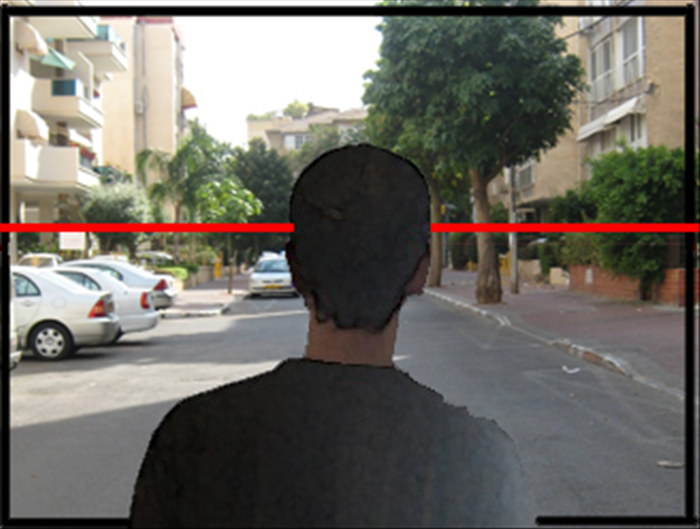
Even experienced artists can make mistakes when working with the horizon line. Here are some common pitfalls and how to avoid them:
Confusing Horizon Line with the Vanishing Point: While vanishing points always sit on the horizon line, the horizon line itself is not a vanishing point. It's an imaginary line representing your eye level.
Ignoring Your Eye Level: The most common mistake is drawing a horizon line without first considering what eye level you want to portray. Always establish your viewpoint first.
Drawing a Tilted Horizon Line: A truly horizontal horizon line is critical. If your paper isn't aligned, your entire drawing can feel off-balance. Use a ruler and ensure it's perfectly parallel to the top and bottom edges of your paper.
Mastering the horizon line is a cornerstone of perspective drawing and will significantly improve the realism and depth of your artwork. By consistently practicing identifying your eye level and applying the horizon line correctly, you'll build a strong foundation for more complex compositions. Keep exploring, keep practicing, and watch your drawings come to life!