How to Divide Equal Distances in One-Point Perspective
Master the art of creating perfectly spaced objects in your one-point perspective drawings. This guide offers clear, step-by-step instructions for beginners to accurately place fences, tiles, trees, and more, adding depth and realism to your art.
One-point perspective is a fundamental technique in drawing that creates the illusion of depth on a two-dimensional surface. While drawing objects receding into the distance can be straightforward, maintaining accurate, *equal distances* between them as they get smaller can be a challenge. Whether you're sketching a row of trees, a picket fence, or a tiled floor, precise spacing is key to realism. This comprehensive guide will walk you through a simple yet effective method to divide equal distances in one-point perspective, making your drawings more convincing and professional.
Step 1: Set Up Your Perspective
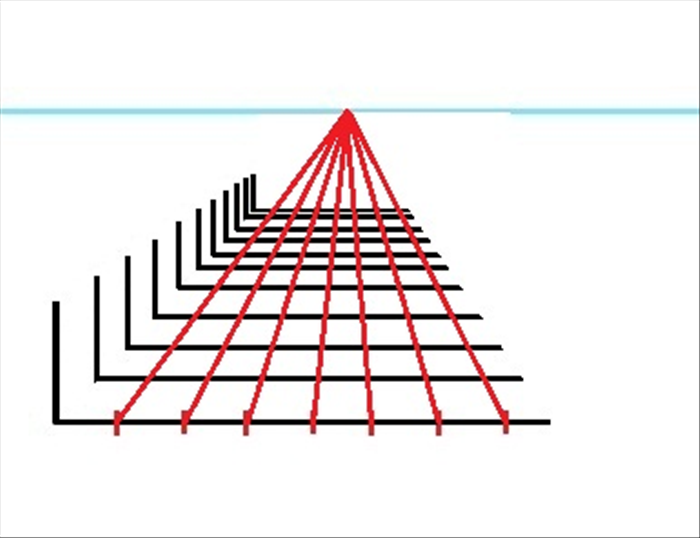
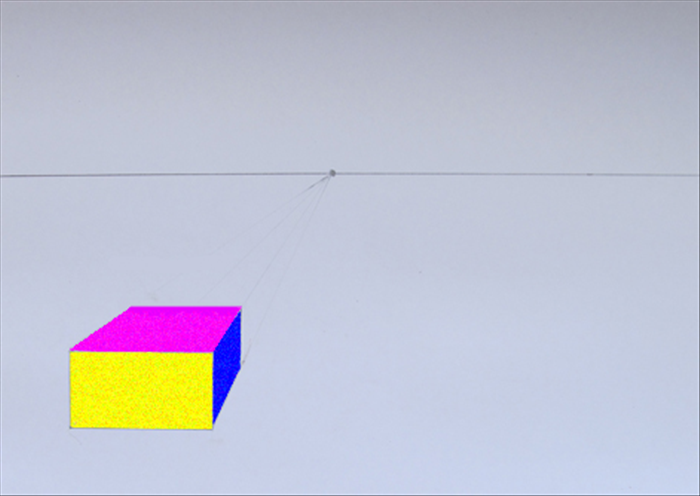
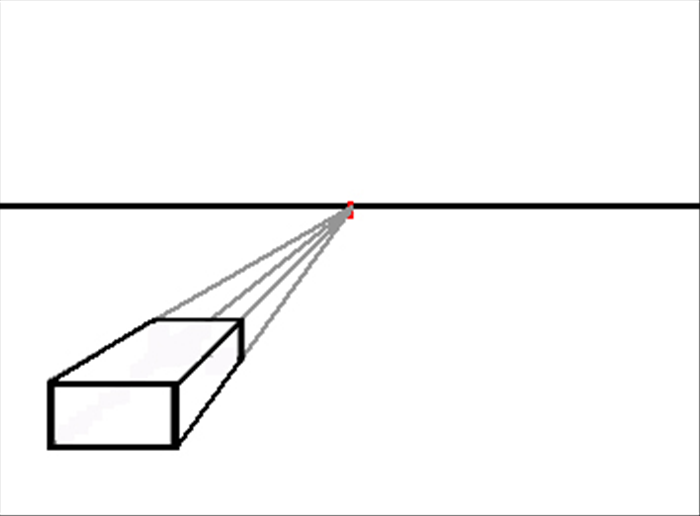
Start by drawing a horizon line across your paper. This represents your eye level. Choose a vanishing point (VP) anywhere along this horizon line – typically in the center for a direct view. From the vanishing point, draw two converging lines (orthogonals) that extend outwards to the bottom corners of your paper, forming the 'ground plane' for your perspective drawing. These lines will guide the recession of objects into the distance.
Step 2: Establish Your First Section
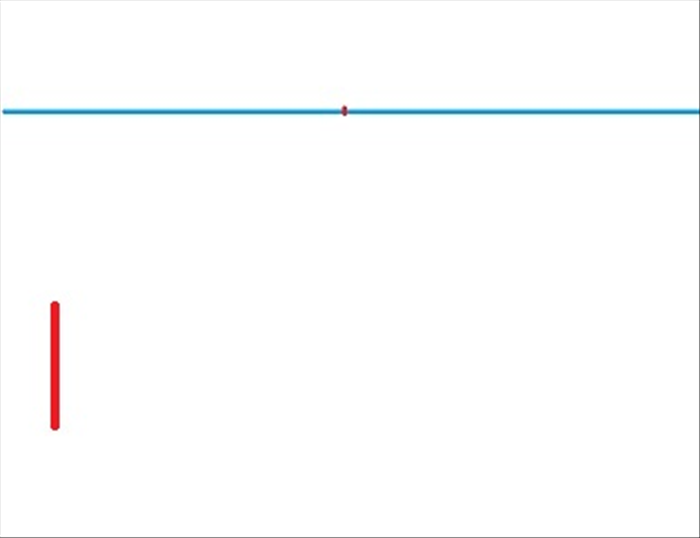
Draw a vertical line (or object) in the foreground, perpendicular to the horizon line, making sure its base rests on one of your orthogonal lines. This first line represents the closest object in your series (e.g., the first fence post, tile edge, or tree trunk). The height and width of this object will determine the scale for your subsequent divisions. For a series of objects, this initial placement is crucial for maintaining 'equal spacing perspective'.
Step 3: Draw a Diagonal Line
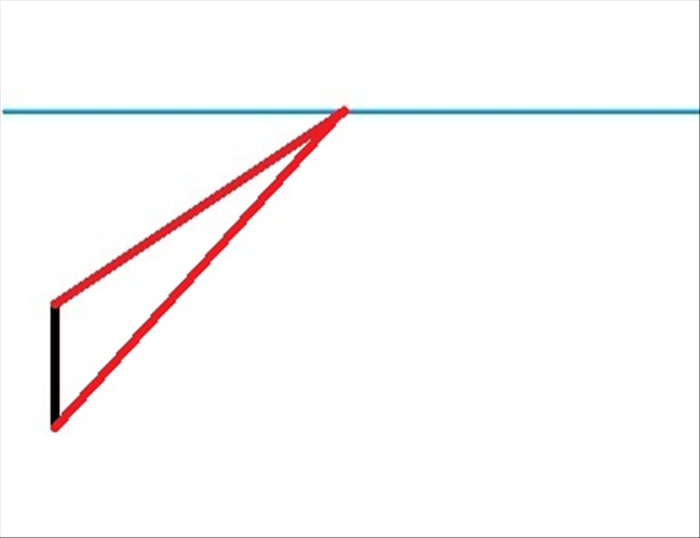
From the *base* of your first vertical line, draw a diagonal line that extends upwards and towards the vanishing point. This diagonal line should ideally pass through the *top* of your first vertical line and continue towards the horizon line, but it doesn't need to hit the vanishing point. The angle of this line is important; it will act as your 'measurement guide' for all subsequent equal divisions. This diagonal line is the secret to an 'easy way to space objects in one point perspective'.
Step 4: Mark Your Divisions
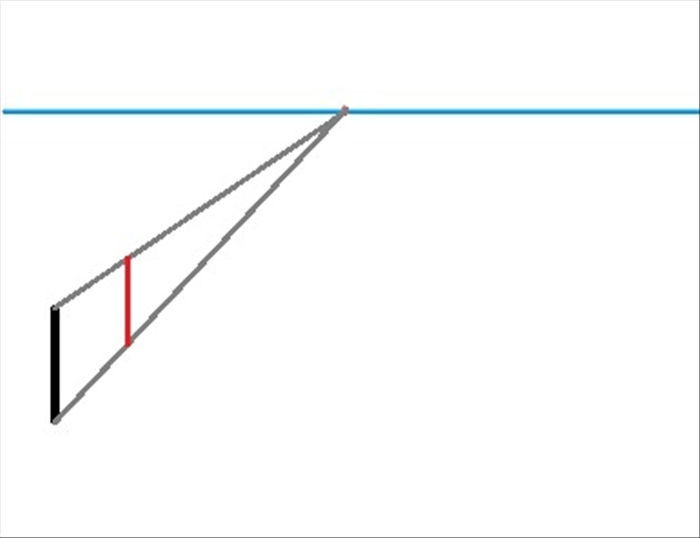
Now, along the bottom orthogonal line (the one your first object rests on), measure and mark out equal intervals starting from the base of your first vertical line. These marks represent the true, un-foreshortened equal distances in the foreground. You can use your ruler for precise measurements here. The accuracy of these initial marks is vital for accurately dividing perspective space.
Step 5: Project to the Vanishing Point
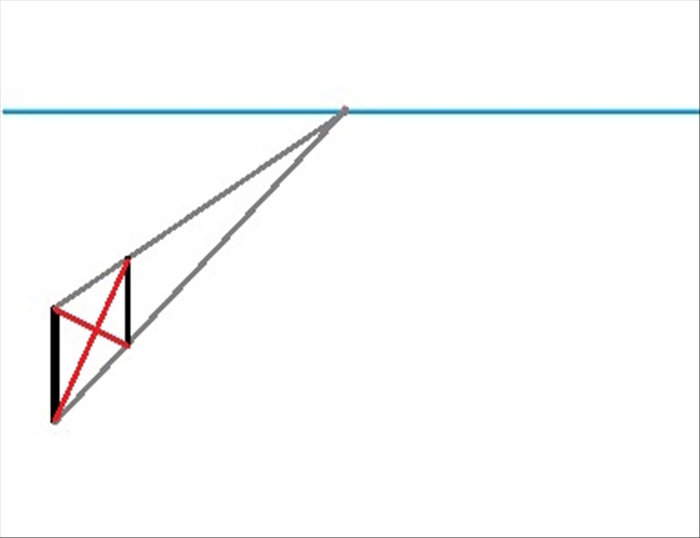
From each of the equal marks you made on the bottom orthogonal line (in Step 4), draw light lines that converge towards the vanishing point. These are your new orthogonal lines. Now, where your diagonal line (from Step 3) intersects these new orthogonal lines, draw vertical lines. These new vertical lines will represent your evenly spaced objects or divisions receding into the distance. Notice how they appear closer together as they approach the vanishing point, demonstrating 'visualizing depth perspective'.
Step 6: Refine and Erase
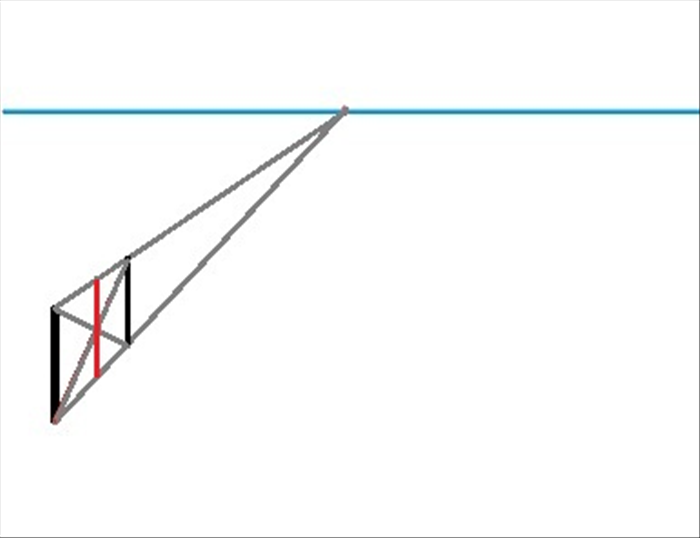
Once all your equal divisions are established, you can refine your drawing. Darken the lines of your intended objects (e.g., fence posts, tiles, trees) and erase any construction lines (the initial diagonal line, extra orthogonals, and the marks on the bottom line) that are no longer needed. Step back and admire your perfectly spaced perspective drawing! This method is a fantastic 'drawing guide for beginners' for creating a 'perspective grid method' for various applications.
Keep Lines Light Initially: Use a very light touch with your pencil for construction lines so they are easy to erase later.
Practice with Grids: Before drawing objects, practice creating simple perspective grids to get a feel for the technique.
Experiment with Diagonal Angles: The angle of your initial diagonal line affects how quickly your divisions recede. Experiment to find what works best for your drawing.
Consistent Object Size: Ensure your initial object's size is consistent with the overall scale you want for your drawing.
Reference Real-World Examples: Observe how evenly spaced objects appear in photographs or real life to develop your 'drawing guide for beginners' skills.
Objects Don't Look Evenly Spaced: Double-check that your initial marks on the foreground orthogonal are truly equal, and that your diagonal line is drawn accurately from the base of the first object.
Lines Are Not Parallel in Perspective: Ensure all your vertical lines are indeed vertical (perpendicular to the horizon line) and that your receding lines correctly converge to the vanishing point.
Perspective Seems Distorted: This can happen if your vanishing point is too close to your foreground objects, or if your horizon line is placed unrealistically high or low. Adjust your setup for a more natural view.
Difficulty with Complex Shapes: This method works best for objects that have a clear base. For more complex shapes, break them down into simpler forms first.
Mastering 'how to draw evenly spaced objects' in one-point perspective significantly enhances the realism and professionalism of your artwork. This 'one point perspective tutorial' provides a robust foundation for creating convincing depth and order, whether you're working on urban landscapes, interior scenes, or natural environments. With practice, this 'simple method for dividing perspective space' will become second nature, allowing you to confidently tackle a wide array of drawing challenges. Keep practicing, and watch your perspective drawings come to life!