How to Draw One-Point Perspective: A Beginner's Guide to 3D Art
Learn one-point perspective drawing step-by-step. Master vanishing points and horizon lines to create realistic 3D art easily.
What You'll Need
- HB pencil
- 2B or 4B pencil
- Drawing paper or sketchbook
- Ruler
- Eraser
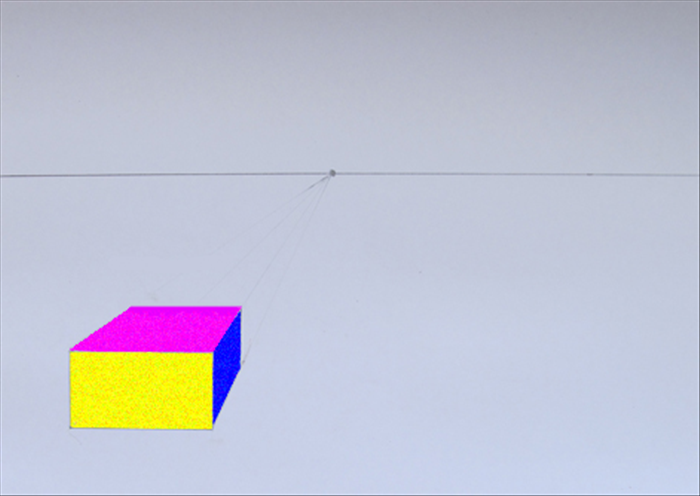
One-point perspective uses a single vanishing point on the horizon line to create depth. All parallel lines recede to that point, making objects appear 3D.
Step 1: Draw Horizon Line and Vanishing Point
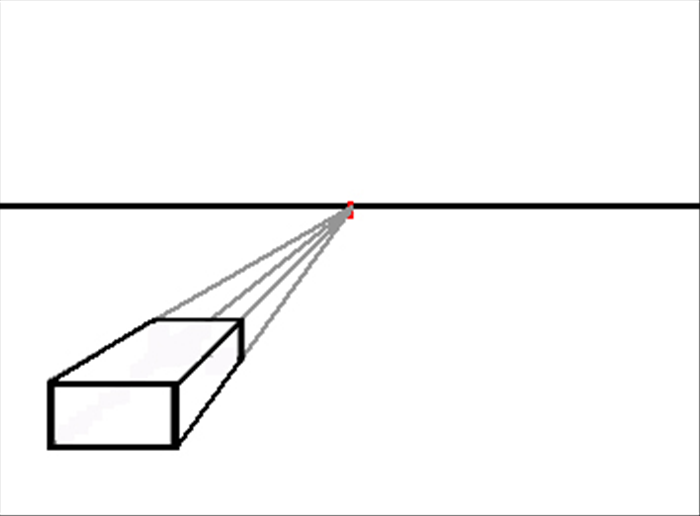
Use your HB pencil and ruler to draw a light horizontal line across your paper. This is the horizon line. Place a small dot anywhere on this line; that is the vanishing point.
Tip
Keep the horizon line light; you may erase parts later or cover them with objects.
Step 2: Draw the Front Face
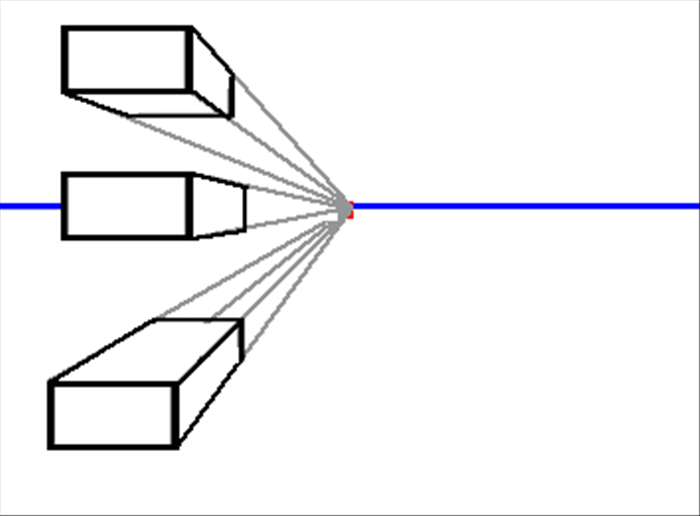
Draw a square or rectangle as the front face of your object. Position it above, below, or crossing the horizon line.
Step 3: Connect Corners to Vanishing Point
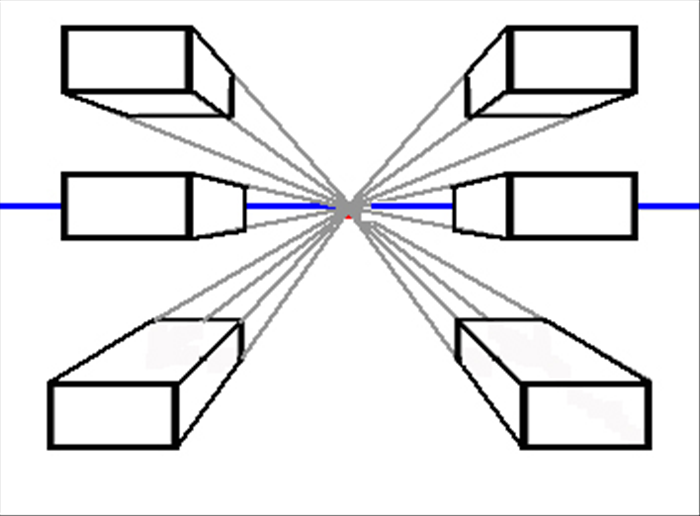
Using your ruler and HB pencil, draw light lines from each corner of the front face directly to the vanishing point. These are orthogonals.
Warning
Draw these lines very lightly; they are guidelines and will be erased later.
Step 4: Complete the Back Edge
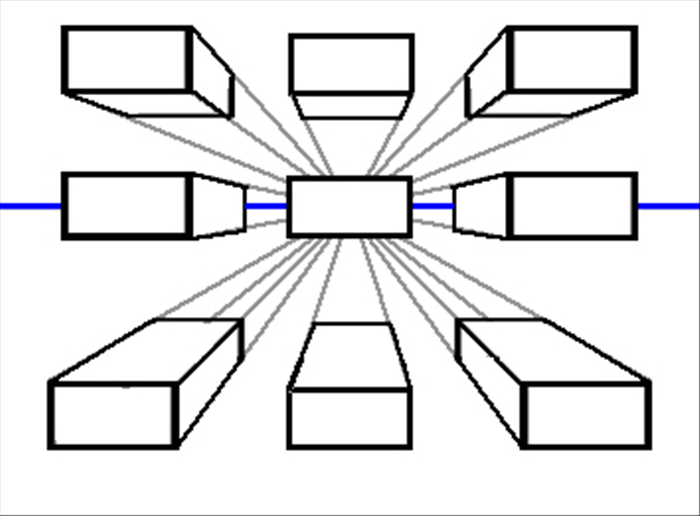
Decide the depth of your object. Draw a horizontal line between the top and bottom orthogonals, and vertical lines between the left and right orthogonals to form the back face.
Step 5: Erase Guidelines and Finish
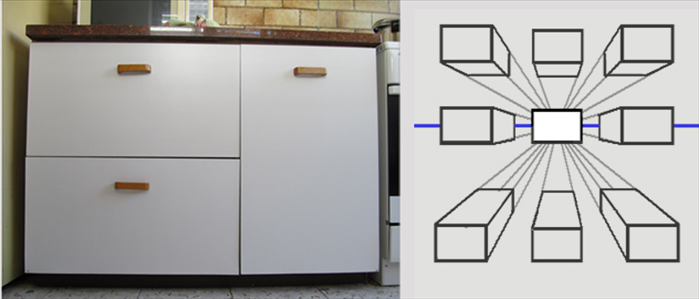
Erase the orthogonals that extend beyond the back face. Darken the visible edges with a 2B or 4B pencil. Add shading if desired.