Find the Center of a Circle Without Tools: The Easy Paper Strip Method
Learn how to quickly and accurately find the exact center of any circular object using just a simple strip of paper or cardboard. This DIY geometry trick requires no compass or special tools, perfect for quick fixes and creative projects.
Ever needed to find the exact center of a circular object but didn't have a compass, ruler, or any fancy tools handy? Whether you're working on a DIY craft, a home improvement project, or just curious, knowing how to locate the center of a circle without specialized equipment can be incredibly useful. This guide will show you a clever, simple, and surprisingly accurate method using nothing more than a strip of paper or cardboard.
Step 1: Prepare Your Paper Strip with a Right Angle
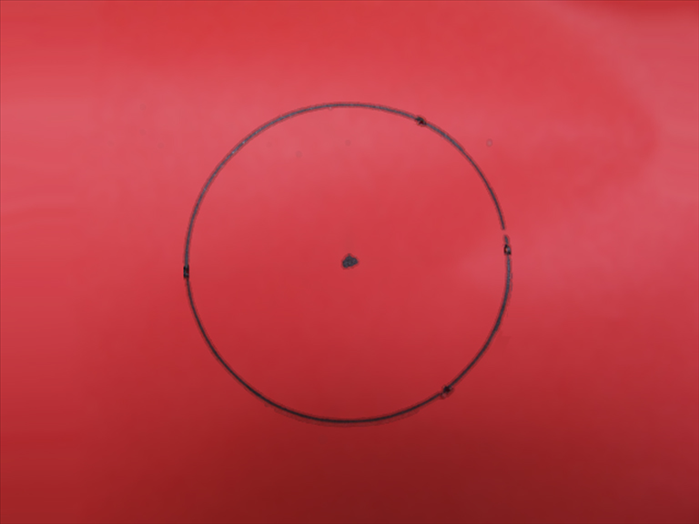
Take a strip of sturdy paper or cardboard. It needs to be long enough to span the diameter of your circular object and sturdy enough to hold its shape. A width of 1-2 inches is usually sufficient. On one end of the strip, create a precise right angle (90 degrees). The easiest way to do this is by folding the paper twice to create a crisp, square corner. Alternatively, you can use the corner of a book or another piece of paper as a guide to draw the right angle.
Step 2: Inscribe the Right Angle to Mark the First Diameter
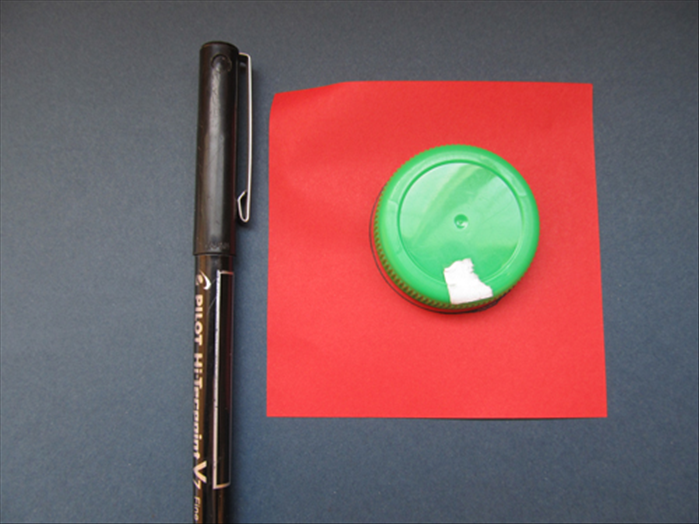
Place the very corner of your right-angled paper strip exactly on any point along the circumference (the edge) of your circular object. Ensure that both 'legs' of the right angle intersect the circle's circumference. With your pencil or pen, mark these two intersection points clearly on the circular object itself. When connected, these two points form a diameter of the circle. Lightly draw this first diameter line across the circle.
For maximum accuracy, make sure the corner of your paper strip sits perfectly on the circumference, and both legs extend to the edge without slipping.
Step 3: Inscribe Again to Mark the Second Diameter
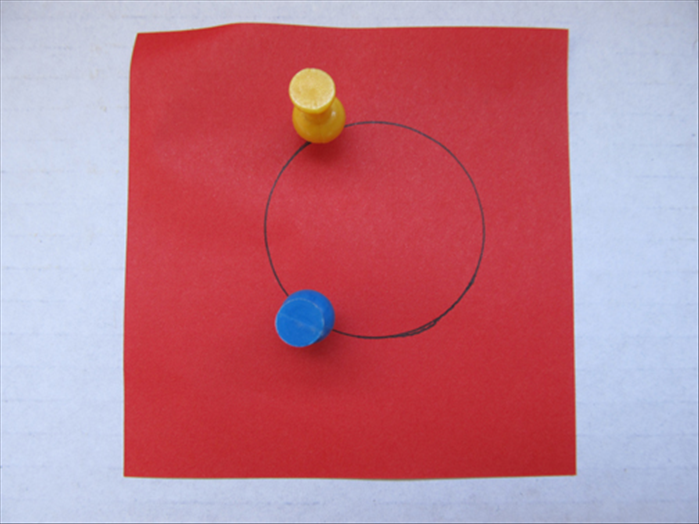
Now, rotate either your circular object or the paper strip. Find a different spot on the circumference – ideally, one that is not directly opposite your first point. Again, place the corner of the right-angled paper strip precisely on this new point on the circumference. Just like before, ensure both legs of the right angle intersect the circle's edge. Mark these new two intersection points on the circular object and lightly draw the line connecting them. This forms your second diameter.
Inaccurate right angles or loose placement of the paper strip can lead to errors. Take your time to ensure precision at each marking point.
Step 4: Locate the Center at the Intersection
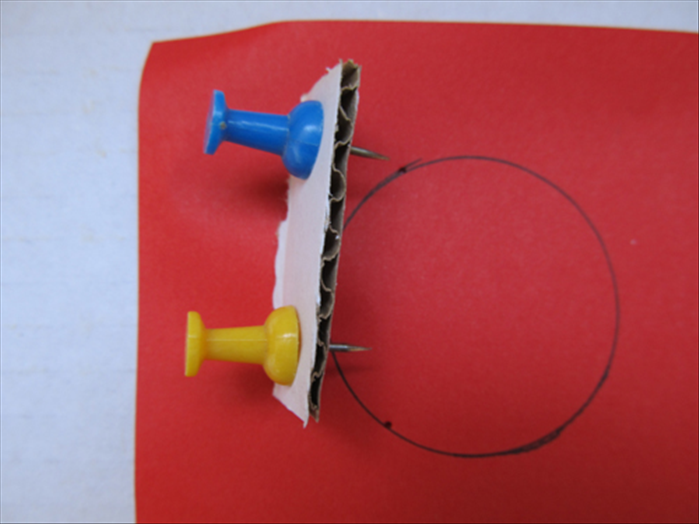
You should now have two distinct diameter lines drawn across your circular object. Observe where these two lines intersect. This single point of intersection is the exact geometric center of your circle. Mark it clearly with your pencil or pen. Congratulations, you've found the center without any specialized tools!
And there you have it! A simple, tool-free method to find the center of any circle. This clever geometry trick relies on the property that any angle inscribed in a semicircle is a right angle – meaning a right angle whose vertex is on the circumference will always subtend a diameter. This technique is perfect for quick DIY fixes, art projects, or anytime you need to pinpoint that elusive center point without a compass in sight. Keep this trick in your DIY arsenal for those 'just in case' moments!