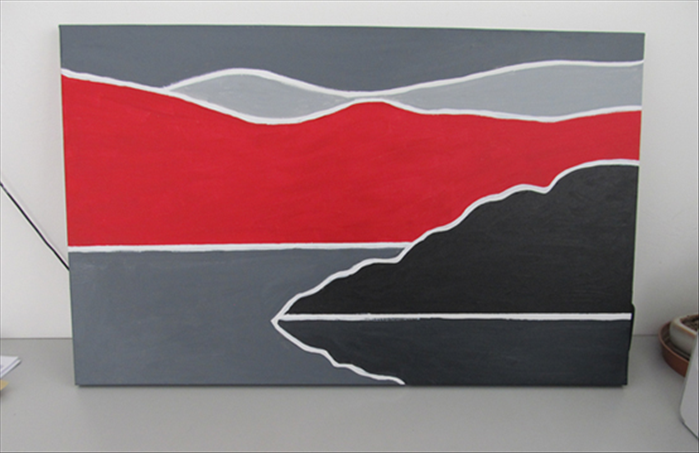
How to make a Frank Stella protractor type picture with Inkscape
This guide will show you how to divide a circle evenly into concentric circles with the interpolate extension and create a frame in the shape of a protractor.
What You'll Need
- Inkscape
- Frank Stella
- protractor
- divide a circle evenly
- concentric circles
- interpolate extension duplicates
- change colors
- group
- flip
- rotate
Steps
- 1
Step 1
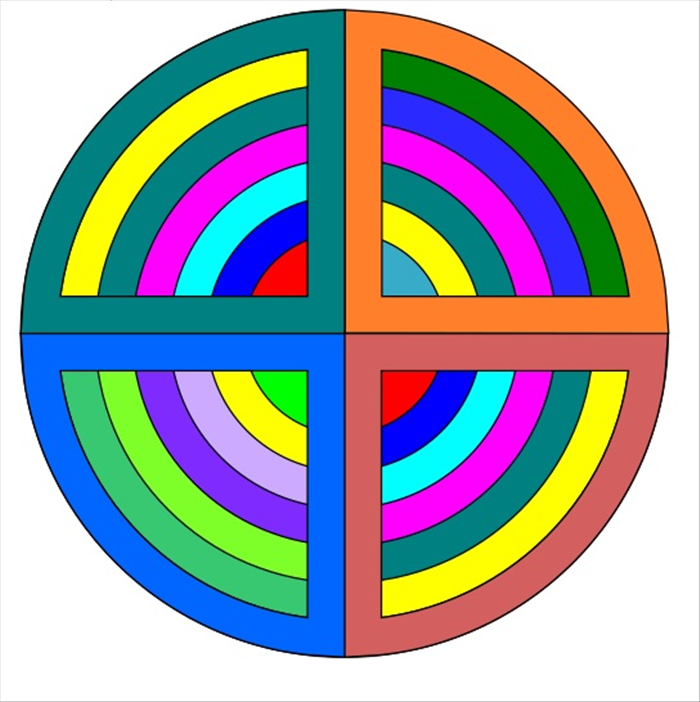
This is a fun way to play around with bands of color with or without a frame.
- 2
Step 2
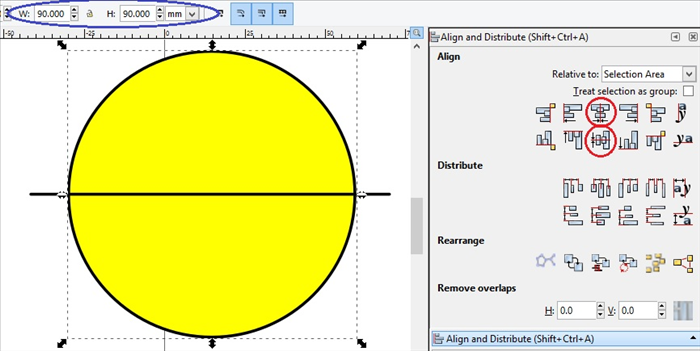
Create a circle with the same height and width. circled in blue.
Create a straight horizontal line a bit longer than the width.
Select the line and the circle. Align the line to the center horizontally and vertically. circled in red. -
- 3
Step 3
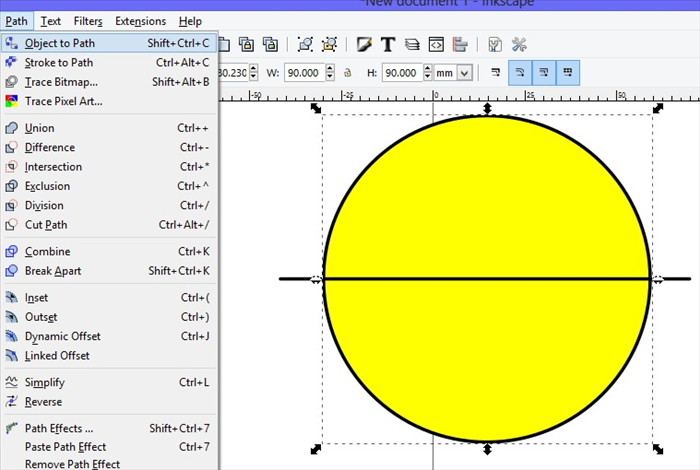
Select the circle. Click Path - Object to Path
- 4
Step 4
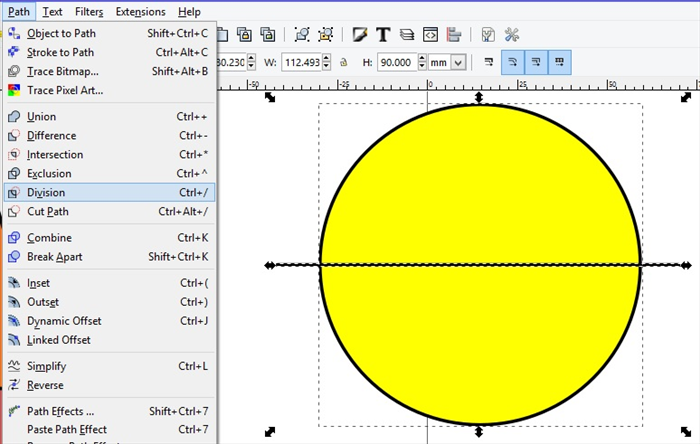
Select the circle and the horizontal line.
Click on Path - Division
The circle will be divided into 2 half circles. - 5
Step 5
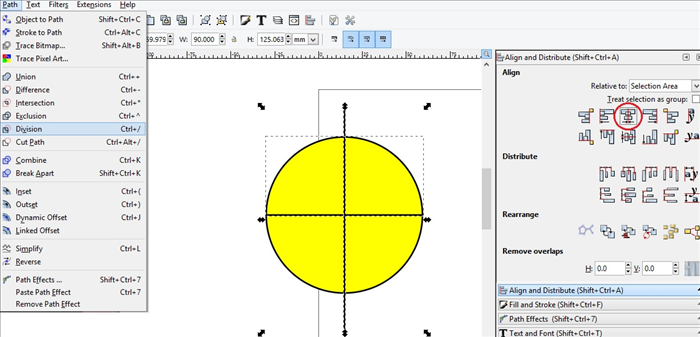
Create a Vertical line. Select the line and the top half circle. Align it to the center. Circled in red.
Click Path - Division
The top half circle will be divided into 2 quarter circles. - 6
Step 6
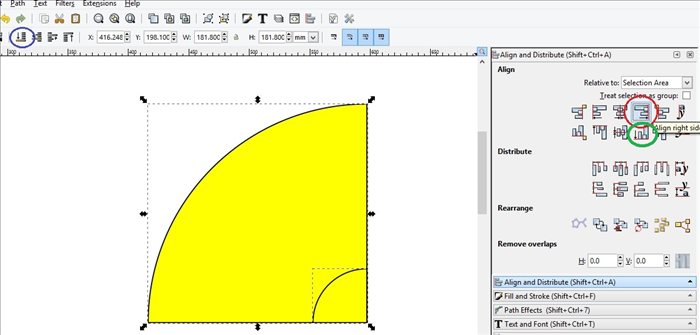
Select the left quarter circle. Move it to another area of your page.
Select the quarter circle. CTRL -d to duplicate it.
To make the copy 4 times larger - Select the width and height and multiply them by 4.
You can do this by clicking on the right side of the number then Shift and 8 and enter
Select the larger quarter circle and lower it to the bottom. Circled in blue.
Select both quarter circles. Click on Align right circled in green. - 7
Step 7
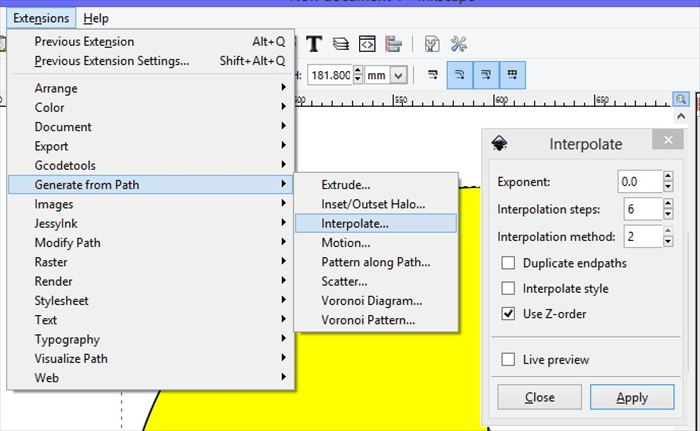
Select both quarter circles.
Click on Extensions - Generate from path - Interpolate.
Copy the setting from the picture. Then Apply. - 8
Step 8
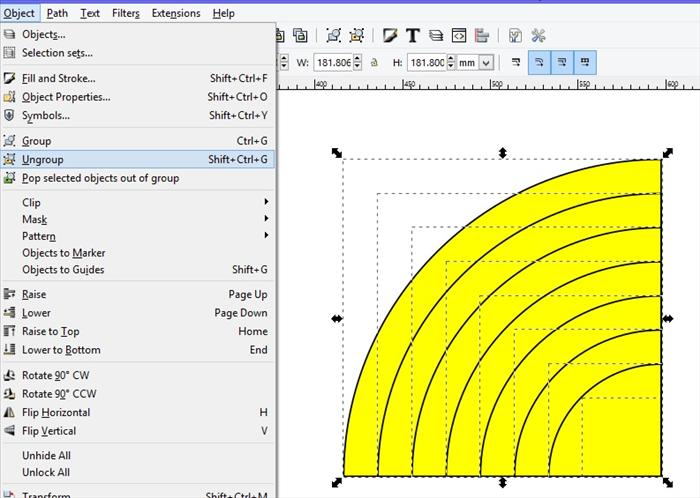
Drag the section box around the larger quarter circle to select it and everything underneath.
Click on Object - Ungroup. Repeat until you see 8 dashed lines . - 9
Step 9
Select and change colors for each band.
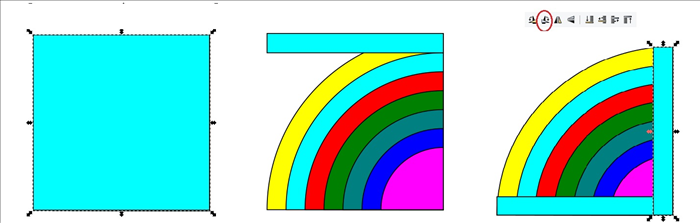
Drag a square to snap to the right bottom corner and to the bottom left bottom corner of the largest quarter circle for the same height and width .
Select the square then click on Path - Object to Path.
Drag the bottom of the square until it touches the second line. Then align it to the bottom edge.
CTRL and d to duplicate it. Click on Rotate 90 degrees. Circled in red. and align the copy to the left corner. - 10
Step 10
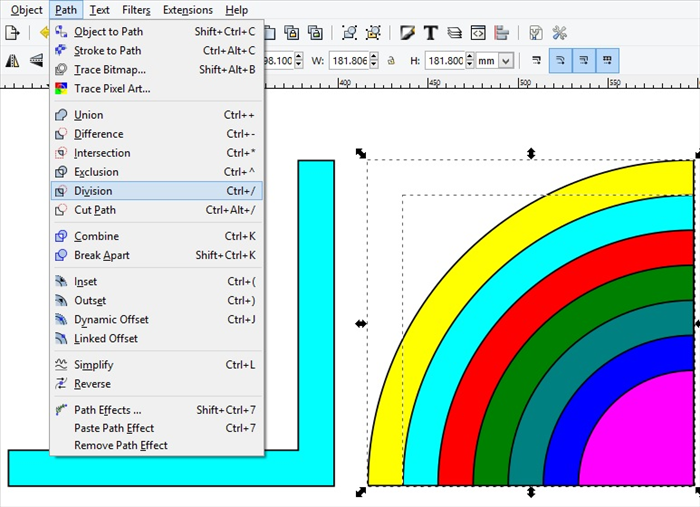
Select both rectangles. Click Path - Union. Move them to the side.
Select the top 2 quarter circles. Click Path - division
The second arc will turn the same color as the top one. - 11
Step 11
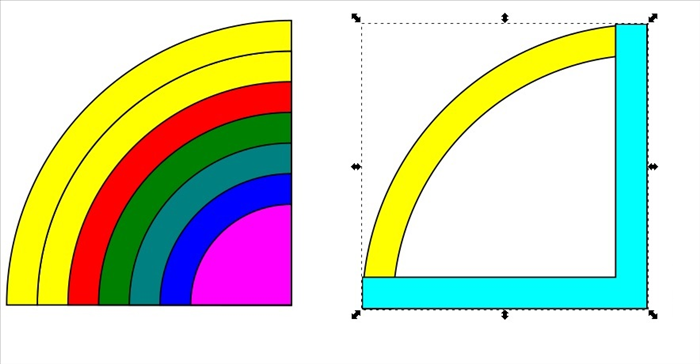
Select the top arc and move it to align it with the rectangles.
- 12
Step 12
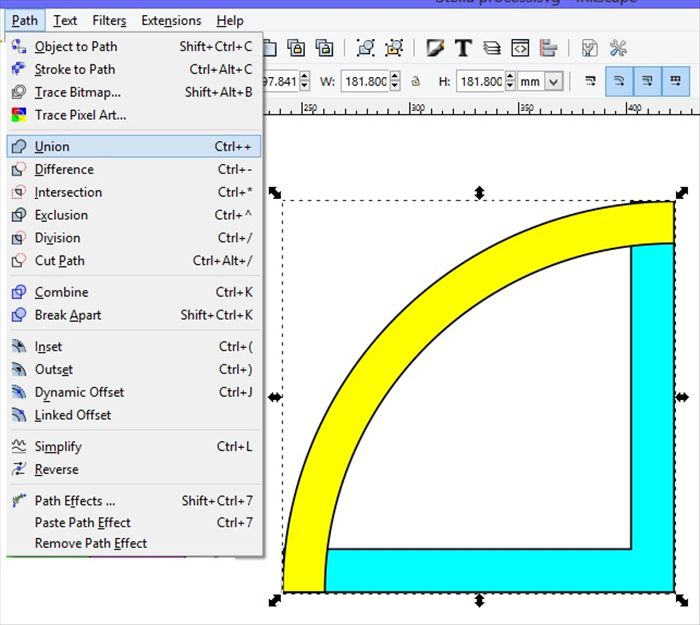
Select the arc and rectangles.
Click path - Union
They will become the protractor shape in one color. - 13
Step 13
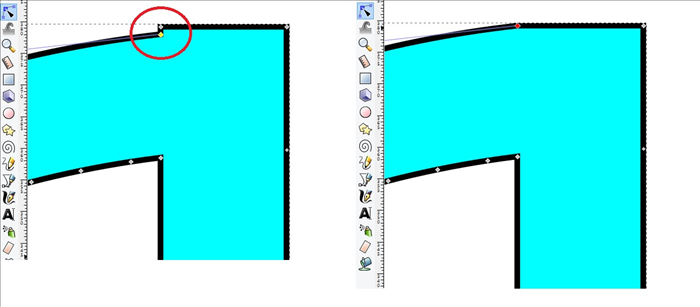
Zoom in to the top right corner. Click on the Edit Path by nodes tool.
Click on the node at the end of the arc and move it on top of the node of the rectangle.
Repeat on the bottom. - 14
Step 14
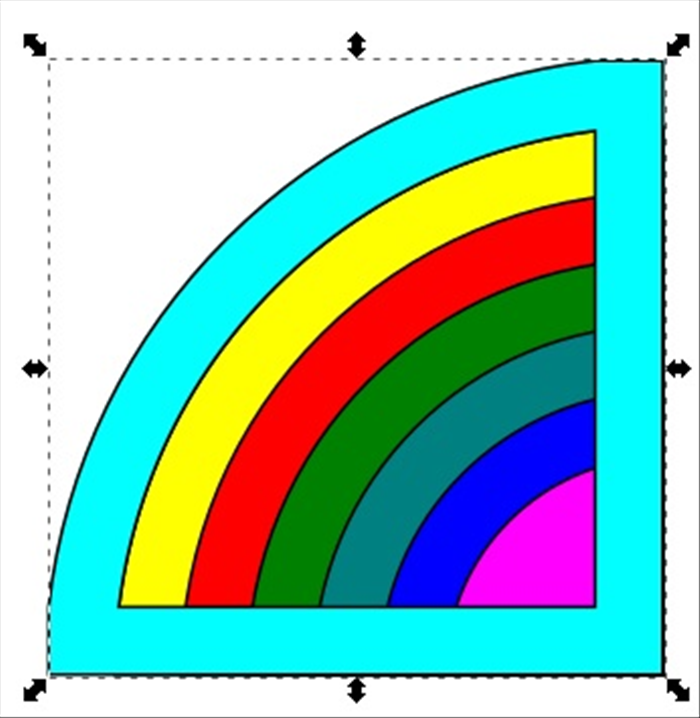
Select the protractor shape and move it over to align with the right and bottom of the arcs.
- 15
Step 15
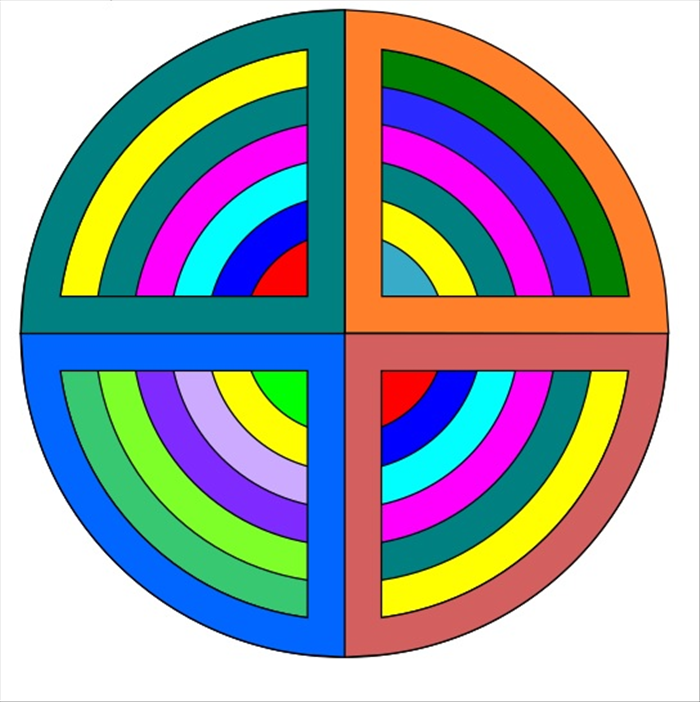
When everything is Ungrouped you can click on each arc and the protractor frame and change their colors.
You can make duplicates, change colors , group them, flip, rotate and move them around.
Have fun experimenting!