How to Make a Hexagon of Any Size: Easy DIY Guide Without Special Tools
Learn how to easily draw and construct a perfect hexagon using simple materials like string, stakes, or a ruler. Ideal for crafts, DIY projects, and building layouts.
Want to create a perfect hexagon for your next DIY project, craft, or even a large-scale layout without needing specialized tools? You're in the right place! This guide breaks down the simple geometric principles behind constructing a hexagon of any size, from a small paper cutout to a massive outdoor design. All you need are a few basic supplies and a keen eye.
Draw Your First Circle (The Foundation)
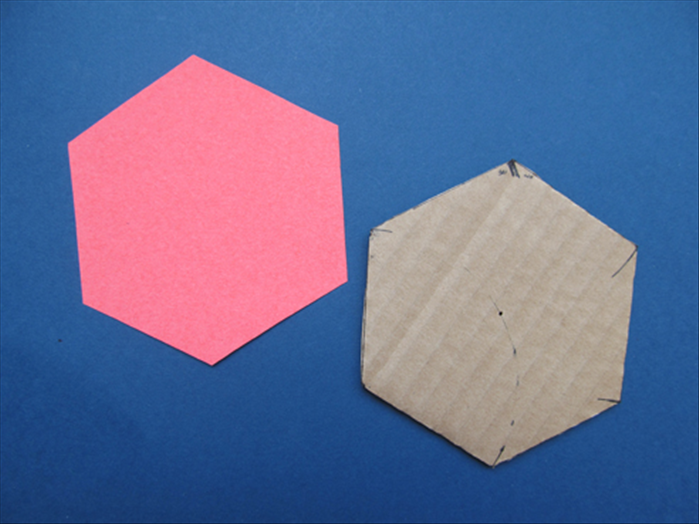
The first step to making a perfect hexagon is to establish your foundational circle. The radius of this circle will directly determine the length of each side of your hexagon.
1. Determine your desired hexagon size: Decide how long you want each side of your hexagon to be. This measurement will be your circle's radius.
2. Set your tool:
- For small hexagons (paper/cardboard): Set your compass to the desired side length.
- For larger hexagons (string method): Cut a piece of string or a strip of cardboard to the desired side length. If using string, tie a loop at one end for your pencil/marker and knot the other end to hold it steady.
3. Draw the circle:
- With a compass: Place the compass point at the center of your workspace and draw a full circle.
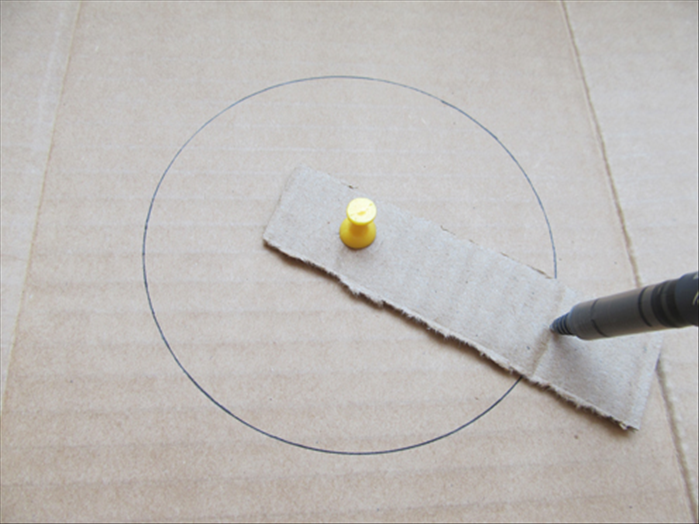
- With string/cardboard: Hold one end (the pivot point) firmly at the center. Place your pencil or marker at the other end (the radius end) and keeping the string/cardboard taut, swing it around to draw a complete circle. For very large outdoor layouts, you might use a central stake as your pivot point and a longer string.
Mark Your Six Points (The Hexagon's Vertices)
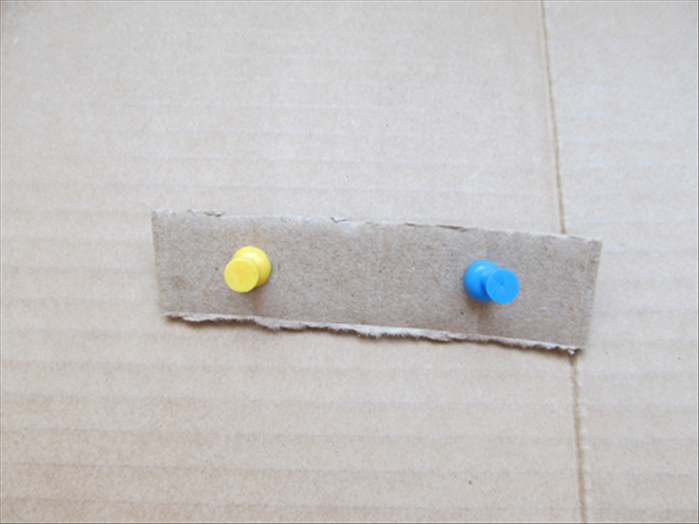
This is the clever part! A unique property of a regular hexagon is that its side length is equal to its radius. We'll use this fact to accurately mark the six equidistant points around your circle.
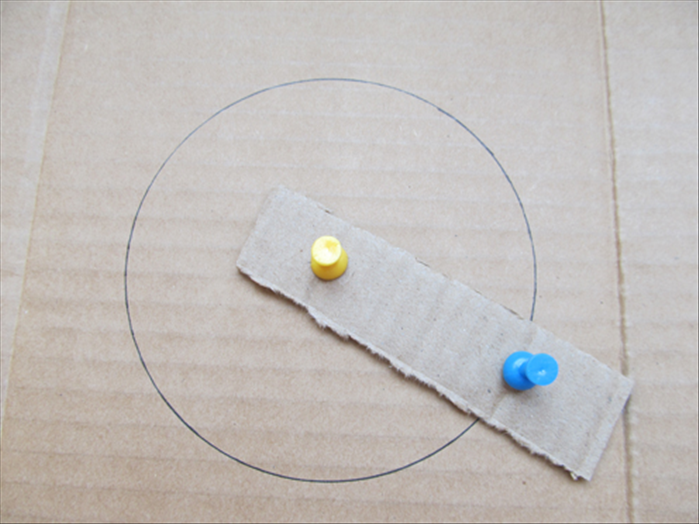
1. Place your starting point: With your compass still set to the circle's radius (or using your string/cardboard cut to the same length), place the compass point (or your string's pivot end) anywhere on the circumference of your drawn circle. This will be your first vertex.
2. Arc across the circle: Without changing the radius setting, swing the compass (or your pencil/marker with the string taut) to make a small arc that crosses the circle's circumference. This intersection point is your second vertex.
3. Advance and repeat: Move your compass point (or string's pivot end) to the newly marked intersection point. Repeat the process, swinging another arc to mark the next point on the circumference.
4. Continue around: Keep moving to the new point and marking the next one. You should end up with six equally spaced marks. The sixth mark should perfectly meet your original starting point (or be very close to it). For large scale projects, place a stake at each marked point.
For larger hexagons, instead of a compass, use a long string. Tie one end to a central stake firmly planted in the ground. Measure your desired side length along the string and tie a loop for a marking tool (like a spray paint can, chalk, or another stake). This creates your radius. Then, using the same length string, move your pivot point to the circumference marks to create the arcs for your vertices.
Connect the Dots to Form Your Hexagon
Now that your six vertices are marked, it's time to connect them to reveal your perfect hexagon.
1. Grab your straightedge: Use a ruler, a straight piece of wood, or any long, straight object that spans the distance between your marked points.
2. Connect sequentially: Carefully draw a straight line from your first marked point to the second, then from the second to the third, and so on, until all six points are connected in sequence.
3. Ensure precision: Take your time to make clean, precise lines. This is crucial for a symmetrical and professional-looking hexagon.
Refine and Use Your Hexagon
With your hexagon drawn, you can now put it to use!
1. Cut it out (if on paper/cardboard): If you've drawn your hexagon on paper or cardboard, carefully cut along the lines you've just drawn.
2. Use as a template: Your hexagon can now serve as a template for other crafts, quilting, stenciling, or design work.
3. Integrate into projects: For larger layouts, the marked points or the outline created can guide the placement of building materials, garden beds, or other structural elements.
4. Erase guides: Gently erase any unnecessary pencil lines, such as the initial circle, to highlight your finished hexagon.
When working with stakes and string for large outdoor layouts, always ensure the area is clear of obstructions and trip hazards. If using sharp tools for cutting, exercise caution and wear appropriate safety gear.
And there you have it! A perfectly constructed hexagon using simple techniques and readily available materials. Whether for intricate crafts or grand designs, this fundamental geometric skill will open up a world of DIY possibilities. Experiment with different sizes and materials to master the art of the hexagon!