DIY Paper African Hat: Craft Your Own Cultural Headwear
Make a vibrant, culturally inspired paper hat with this step-by-step guide. Ideal for costumes, parties, or exploring African artistry.
What You'll Need
- Large sheet of sturdy paper or cardstock (A2 size, or two A3 sheets, 150-200 GSM)
- Pencil
- Craft glue or strong adhesive tape
- Optional: markers, paints, glitter, fabric scraps, beads, feathers, or other decorations
- Ruler or measuring tape
- Scissors
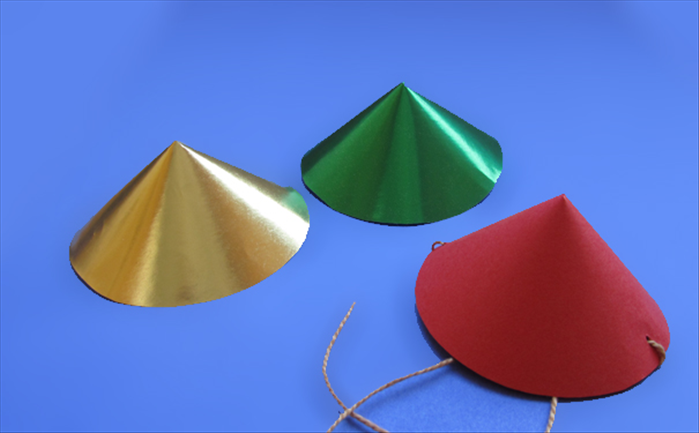
This project uses basic materials to create a cone-shaped hat reminiscent of traditional African headwear. You will measure, cut, roll, and decorate paper to form a wearable piece. The process takes about 30 minutes plus drying time. Customize with colors and patterns to reflect your own style.
Prepare the Paper Base
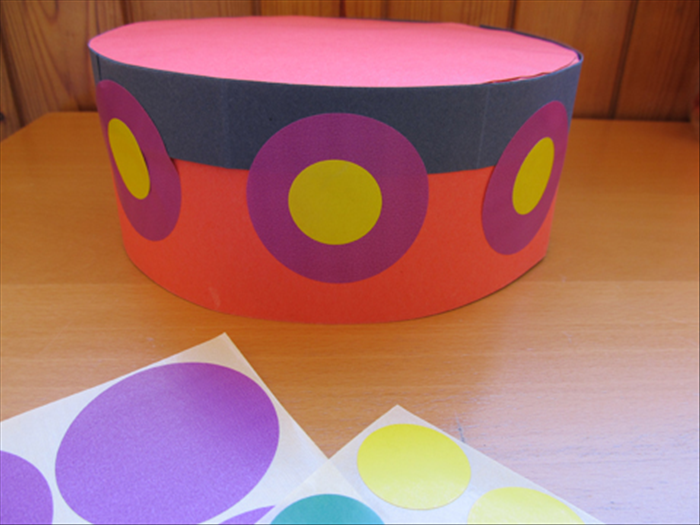
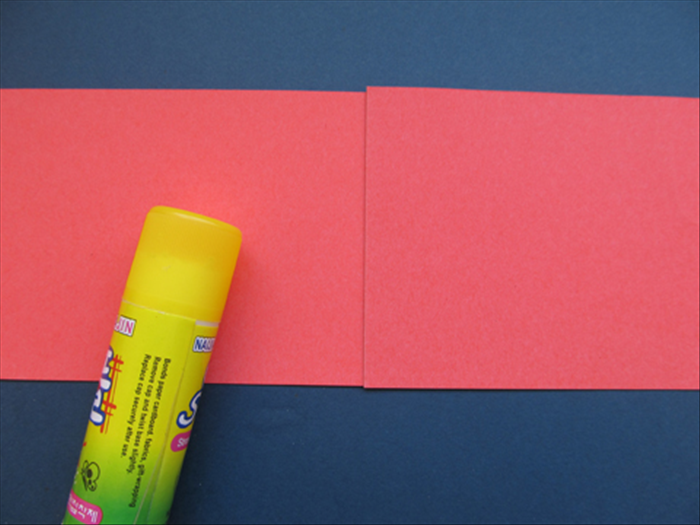
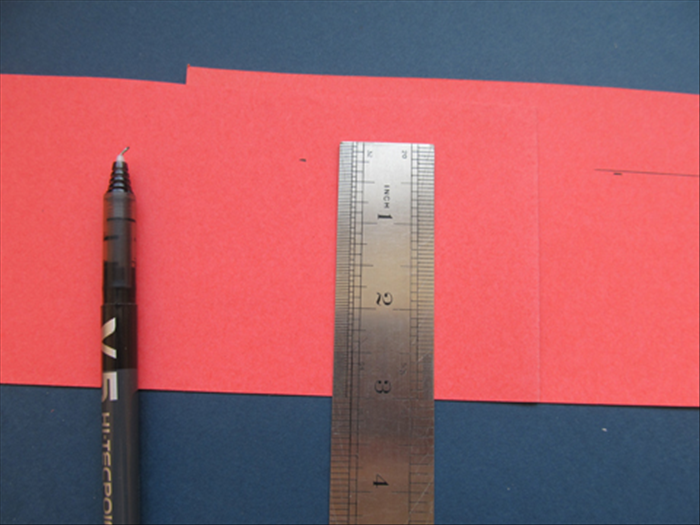
Lay your large sheet of paper or cardstock flat on a clean, smooth surface. If using two A3 sheets, overlap them along one long edge by about 2 cm and glue or tape them together to make one large rectangle. Use a ruler to measure and mark a straight line across the width if you need to trim uneven edges. Ensure the paper is smooth and free of wrinkles. For extra durability, especially if the hat will be worn frequently, consider using cardstock or gluing two layers of heavy construction paper together. Let the glue dry completely before proceeding.
Form the Conical Shape
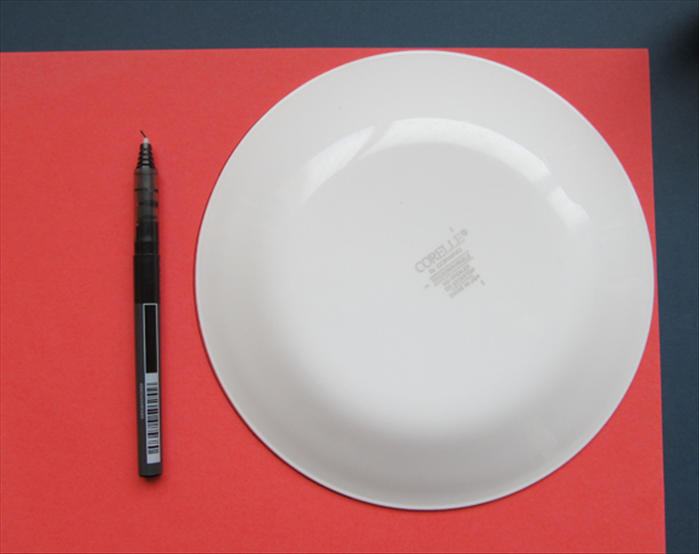
Take one of the shorter edges of your prepared paper rectangle. Begin to roll the paper tightly from one corner, gradually forming a cone shape. As you roll, keep the bottom edge even and the point at the top centered. Adjust the tightness to achieve the desired hat size—looser for a wider fit, tighter for a snugger one. Once the cone is formed, hold it in place and apply glue or tape along the overlapping seam. Press firmly and allow the adhesive to set for a few minutes. Check that the cone stands upright and the point is not lopsided.
Refine the Brim and Fit
Place the hat on your head (or the intended wearer's head) to test the fit. The cone should sit comfortably without slipping. If it is too loose, roll the paper tighter and re-secure. If too tight, unroll slightly and adjust. Mark the desired brim line with a pencil—typically about 2-3 cm from the bottom edge. Use scissors to cut along this line, creating a smooth, even brim. For a more finished look, you can fold the brim outward slightly to create a small lip. Ensure the bottom edge is level all around.
Decorate the Hat
Now personalize your hat. Use markers, paints, or glitter to draw geometric patterns, stripes, or symbols inspired by African art. You can also glue on fabric scraps, beads, feathers, or other embellishments. Work in sections, allowing each area to dry before adding more. For a symmetrical design, sketch lightly with pencil first. If using paint, apply thin layers to avoid warping the paper. Let all decorations dry completely before wearing.
Durability Tip
For a sturdier hat, reinforce the inside of the cone with an extra layer of paper or tape along the seam. You can also spray the finished hat with a clear sealant to protect it from moisture.
Safety Warning
Always use scissors carefully. If children are crafting, ensure adult supervision or use child-safe scissors. Avoid using sharp objects near the face.