Easy Origami Bow for Kids: Simple Step-by-Step Paper Craft
Learn how to make an easy origami bow with this simple, step-by-step guide for kids! A perfect paper craft project for young children and beginners.
Welcome to the wonderful world of origami! Learning to fold paper into different shapes is a fantastic way for kids to boost their creativity, improve their fine motor skills, and even practice following instructions. Today, we're going to make a beautiful origami bow that's so easy, even little hands can do it!
Prepare Your Paper
If your origami paper has a colored side and a white side, place your paper white side up (or pattern-side down) on a flat surface. This helps ensure the color or pattern shows correctly on your finished bow.
First Diagonal Fold

Take your square paper and fold it diagonally, bringing one corner to meet the opposite corner. Press firmly along the fold to create a sharp crease, then unfold it completely. You should see a diagonal line across your paper.
Second Diagonal Fold
Now, fold the paper along the other diagonal, connecting the two remaining corners. Crease it well and then unfold. When you open your paper, you should see a clear "X" shape made by the two diagonal creases.
Horizontal Fold
Next, fold the paper in half horizontally, bringing the top edge down to meet the bottom edge. Crease firmly and then unfold. Now you have three creases: an "X" and a horizontal line.
Form the Triangle Base

This step can be a little tricky, so ask an adult for help if you need to! Gently push the top and bottom edges towards the center, along the horizontal crease. At the same time, push the side corners inwards along the diagonal creases. This will make your paper collapse into a large flat triangle. This is often called the "water bomb base" in origami.
Shape the Bow Loops (Part 1)
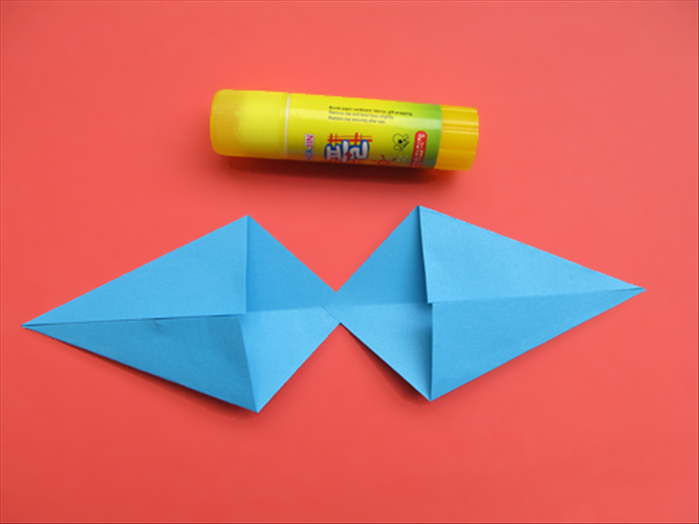
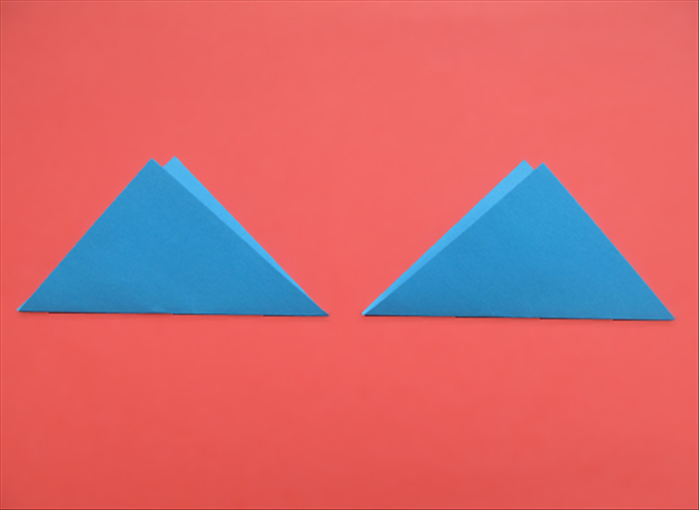
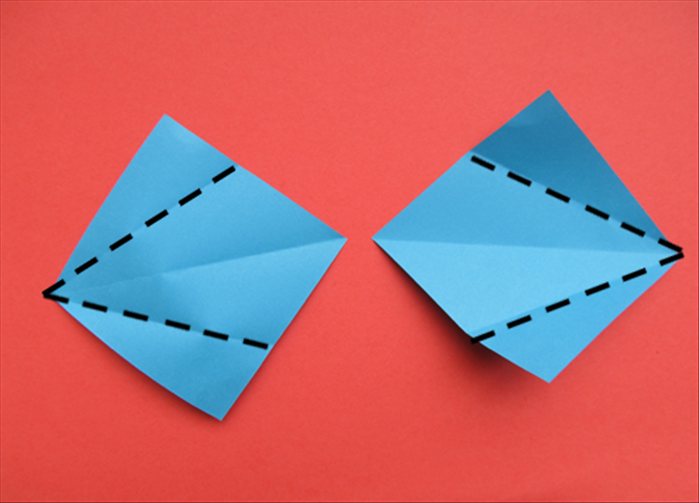
With the triangle tip pointing upwards, take the bottom-left corner of the top layer and fold it upwards so its tip meets the top point of the large triangle. Do the same with the bottom-right corner of the top layer. These will be the first parts of your bow's loops.
Flip the Paper Over
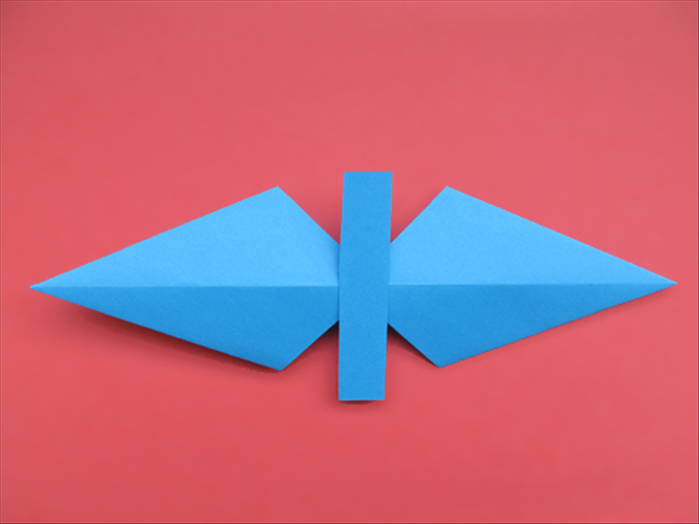
Carefully flip your paper over to the other side. The flat triangle base should still be intact.
Shape the Bow Loops (Part 2)
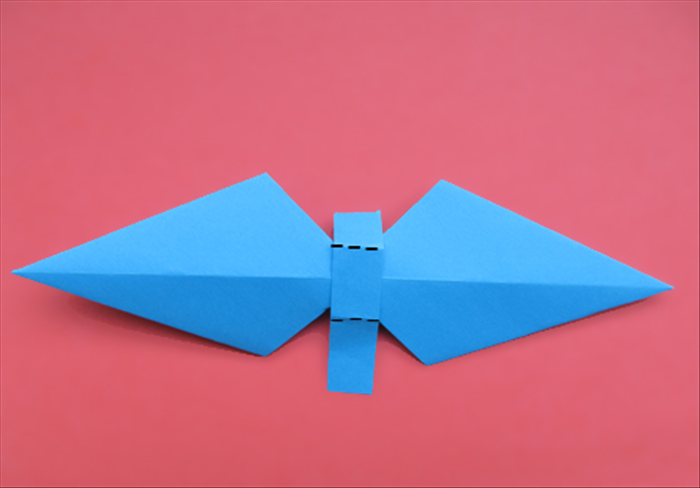
Just like on the first side, take the bottom-left corner of the new top layer and fold it upwards to meet the top point. Repeat with the bottom-right corner. Now both sides of your bow should look similar.
Add Volume and Finish
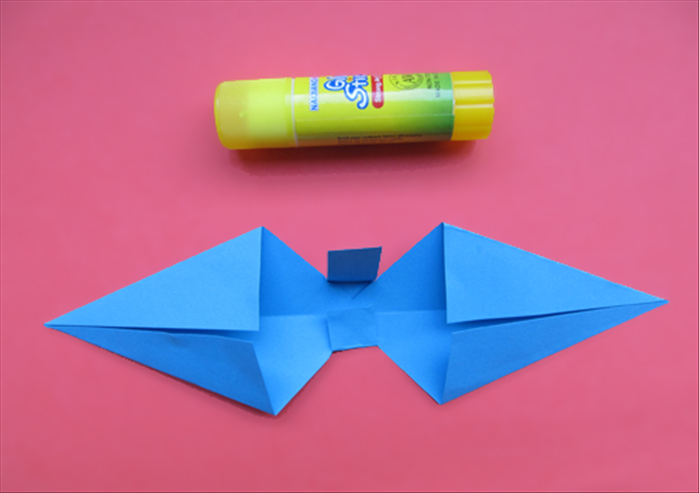
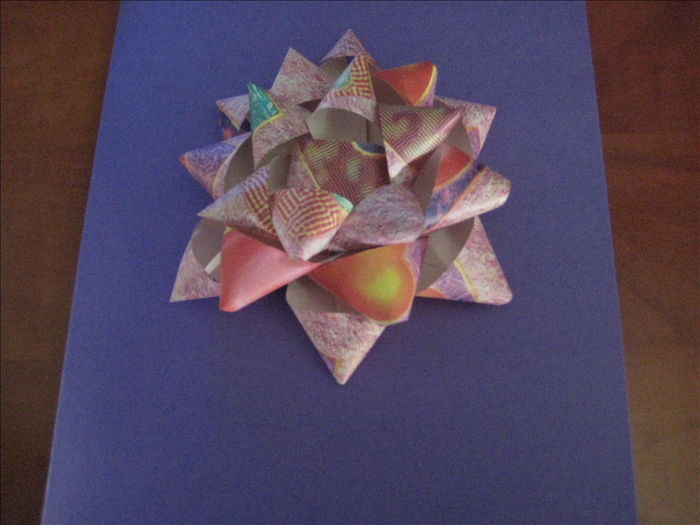
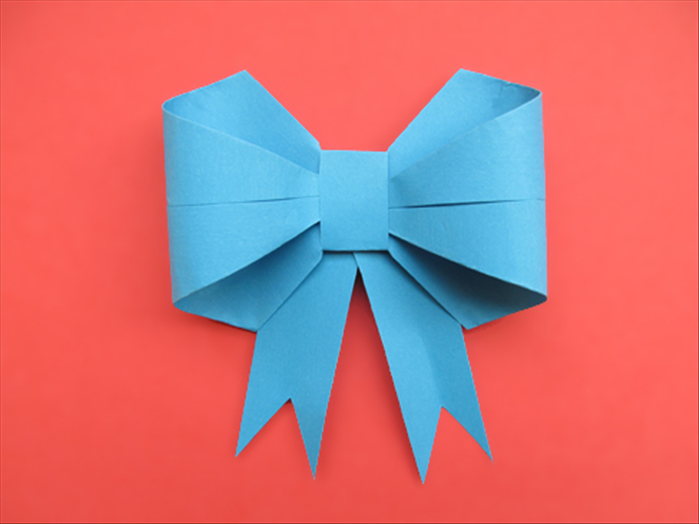
To give your bow a lovely plump shape, gently open the central folds on both sides. You can also curl the "ribbon ends" if you like, to make them look more realistic. Your easy origami bow is now complete!
Now that you've mastered the easy origami bow, what will you do with it? Here are some fun ideas:
- Gift Decorations: Glue them onto wrapped presents for a handmade touch.
- Card Embellishments: Stick them on homemade birthday or thank-you cards.
- Hair Accessories: Attach a small clip or bobby pin to the back for a cute hair bow.
- Wall Decor: Create a collection of bows in different colors and sizes to decorate your room.
- Bookmarks: Make a smaller bow and use it to mark your page in a book.