How to make an origami cup into a toy. Children’s origami
This guide will show you how to make a traditional origami cup into a toy to catch a swinging ball.
Easy 17,232 views
What You'll Need
- origami cup
- cup and ball toy
- origami toy
- children's crafts
Steps
- 1
Step 1
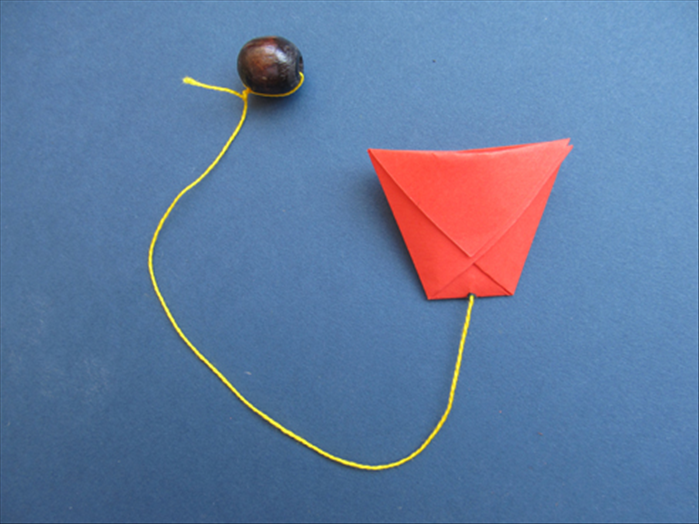 Materials: 1 square piece of paper String about 2 and a half times the length of the side of the square paper 1 bead A pointed object such as a toothpick or point of a pen Scissors to cut the string
 - 2
Step 2
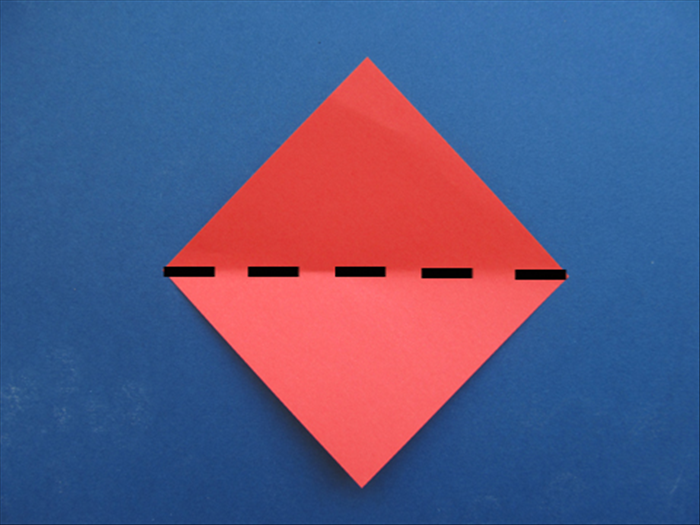 Hold the paper with the points at the top, bottom and sides Bring the top and bottom points together to fold it in half
 -
- 3
Step 3
 Use the pen point or toothpick to make a small hole in about the center of the crease line
 - 4
Step 4
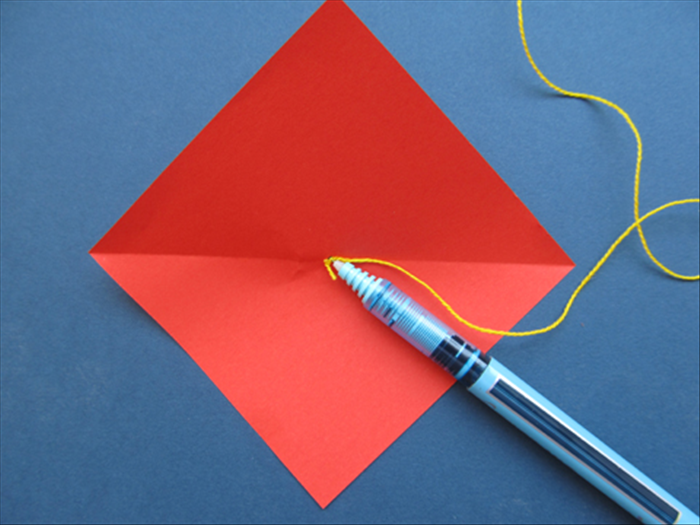 Use the point of the pen or toothpick to help you push the string through the hole
 - 5
Step 5
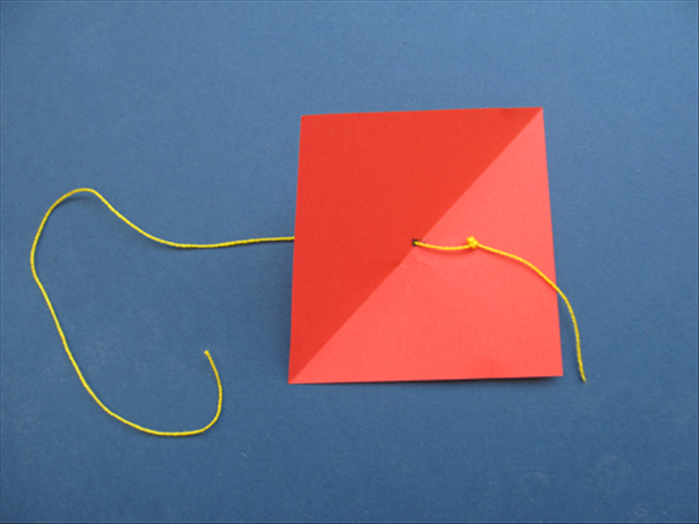 Tie a knot a few times, to make it bigger than the hole, so it does not slide through.
 - 6
Step 6
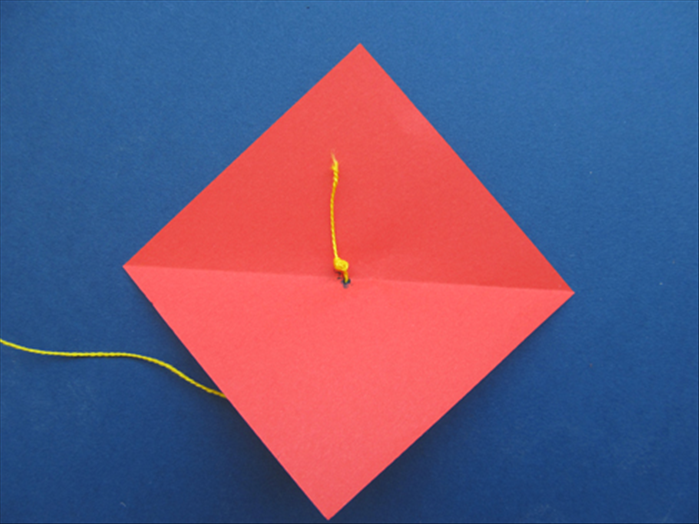 Result with the extra string cut off Fold the paper again along the crease line
 - 7
Step 7
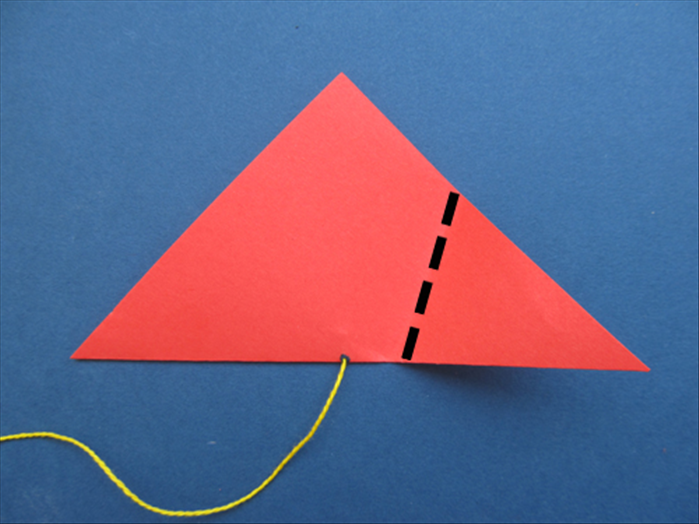 Place the paper with the long edge at the bottom Bring the right point up and over to the left side See the next picture for result. Pay attention that the top of the flap is parallel to the bottom
 - 8
Step 8
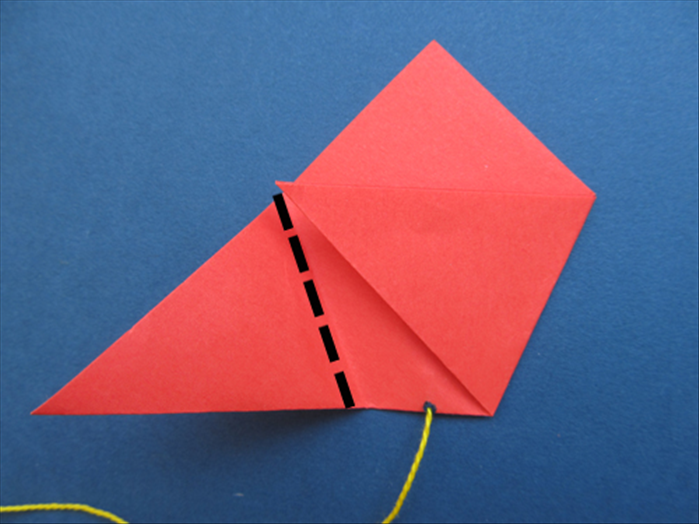 Fold the left point up to the top right point of the flap you just made
 - 9
Step 9
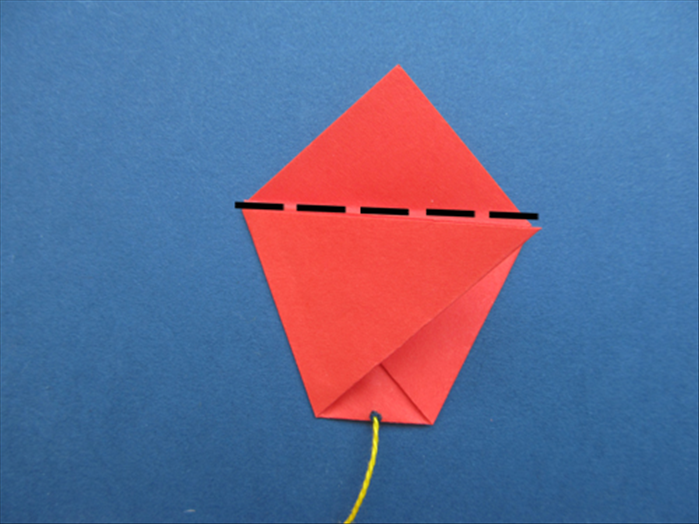 Fold the top layer down along the flaps.
 - 10
Step 10
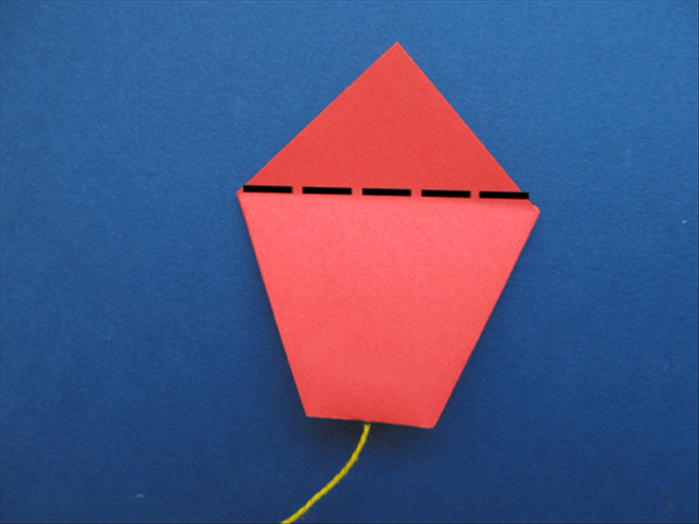 Flip the paper over to the back side Fold the flap down to match the front
 - 11
Step 11
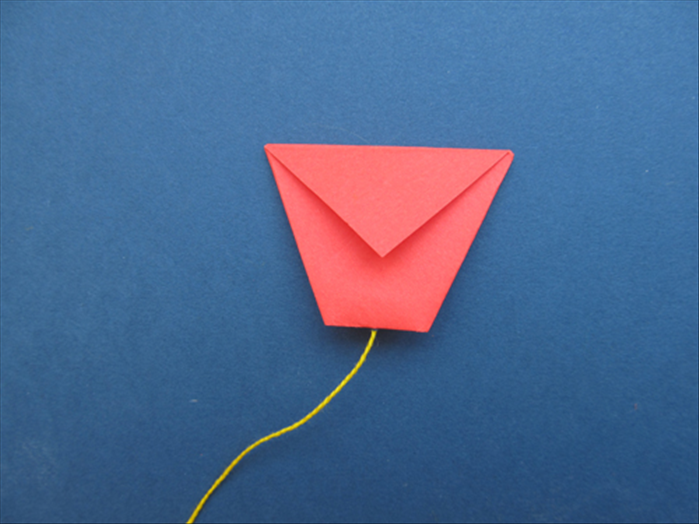 Result
 - 12
Step 12
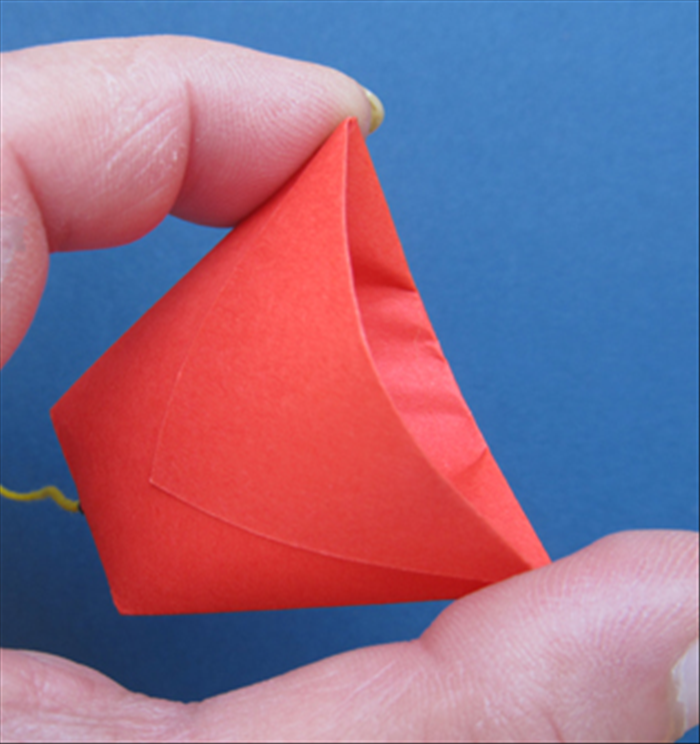 Hold the 2 top points between your fingers and press them towards each other to round out the top
 - 13
Step 13
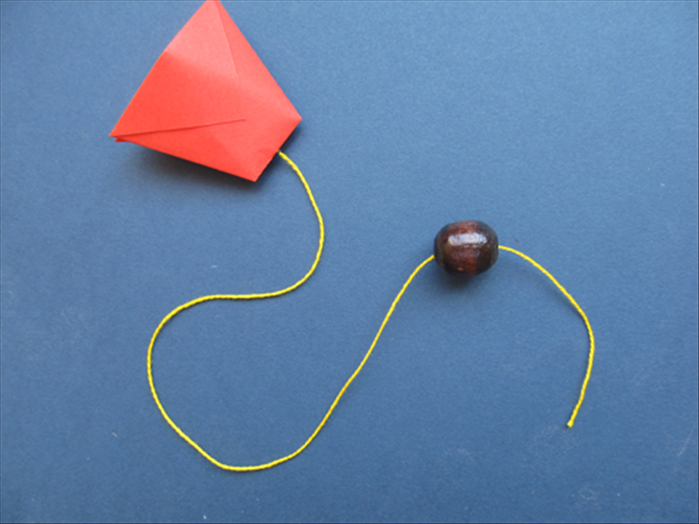 String a bead on the bottom of the string
 - 14
Step 14
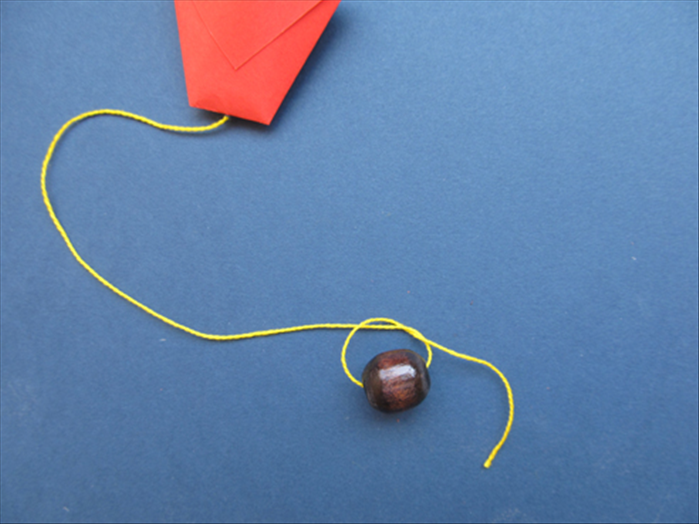 Bring the end of the string around to the other side of the bead and make a knot
 - 15
Step 15
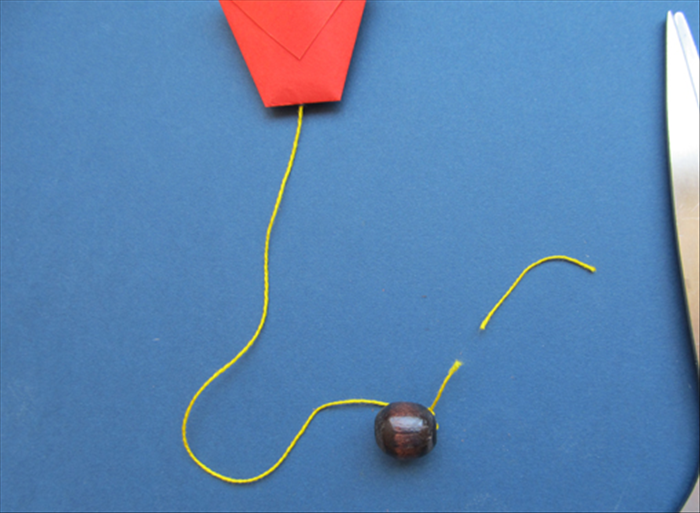 Tighten the knot and make a few more to make sure it doesn't open Cut off the extra string
 - 16
Step 16
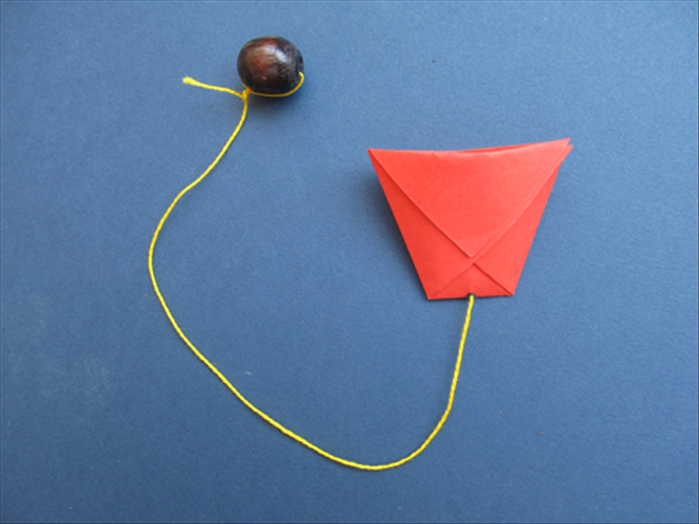 Your cup toy is ready for play! Hold the cup at the side folds, swing the bead up and move the cup to catch it. When you get really good at it, try making one with a longer string. Have fun!